Let’s break it down. Imagine you’re putting the knobs and hinges on your brand-new door. If you don’t set your drill correctly, you could end up stripping the screws or damaging the door frame. That’s not the kind of DIY project you want to tackle. By understanding torque settings, you can ensure your door hardware is installed just right—strong and stable without the risk of damaging anything.
In this article, we’ll explore how to find the right torque settings for various types of door hardware. We’ll cover everything from what torque ratings mean, how to adjust your drill, and why it all matters. Let’s get started!
What Are Torque Settings?
Torque settings refer to the amount of turning force applied to a screw or bolt. You can think of it as the pressure you apply while turning a knob. When it comes to door hardware, using the right torque setting is vital. If you tighten a screw too much, you can strip the threads. If it’s too loose, the hardware might not function properly.
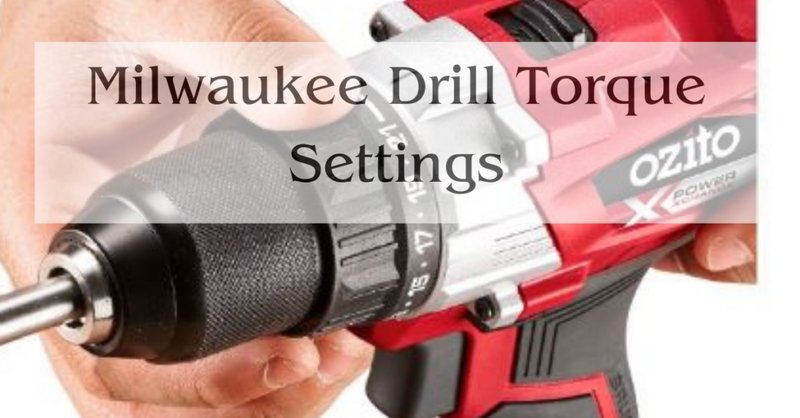
Most drills have adjustable torque settings, often noted with a numbered dial or a switch. The numbers generally range from low to high, indicating how much force will be applied. For instance, a setting of 1 might be suitable for small screws in lightweight materials, while a setting of 5 or higher would be better for larger screws in heavier materials like hardwood.
Understanding these settings helps you choose the right level of force needed for your specific task. Knowing when to use each setting can be the difference between a job well done and a costly repair.
Why Torque Settings Matter for Door Hardware
You might be wondering why this matters so much. Well, door hardware is only as strong as its weakest link. If screws are under-tightened, hinges can sag, and knobs can wobble. This can lead to overall instability, making your door less secure.
On the flip side, overtightening can cause materials to fracture or screws to strip out of their holes, making replacements more challenging. In some cases, you may even need to drill out the damaged screws entirely. This not only wastes time but can also result in additional costs for repairs.
By using the right torque settings, you ensure that each piece of hardware is secure without risking damage. This attention to detail means your door will not just look good, but it’ll function properly for years to come.
How to Adjust Torque Settings on Your Drill
Adjusting torque settings on your drill is straightforward, but it can vary between models. Here’s a simple guide:
1. Locate the Torque Setting Dial: Most drills have this dial on the top or side. It typically has numbers ranging from low to high.
2. Set the Desired Torque: For door hardware, you generally want a medium torque setting. Start around 5 and adjust if necessary.
3. Test the Setting: Before tackling the actual hardware, test the setting on a scrap piece of wood. This helps ensure you’re not applying too much or too little force.
4. Adjust as Needed: If the screw strips or the material bends, readjust your torque setting downwards.
Here’s a little experience to illustrate this: I once rushed through a door installation without adjusting my torque settings properly. I ended up with a stripped screw, which required extra work to fix. Now, I always test my settings first, saving both time and frustration.
Common Mistakes When Setting Torque
Even the best DIY enthusiasts can make mistakes, especially when dealing with something as precise as torque settings. Here are a few common pitfalls to avoid:
– Ignoring Material Differences: Different types of wood or metal require different torque settings. A harder wood needs more torque than softer wood. Always consider the material before tightening.
– Rushing the Process: It can be tempting to speed through a project, but taking a moment to ensure your torque setting is right can save you from future headaches.
– Not Testing: Failing to test your settings on scrap material can lead to unexpected issues. Always do a quick test first.
By being aware of these common mistakes, you can approach your door hardware installation with confidence, knowing you’re less likely to run into problems down the road.
Comparing Torque Settings Across Different Brands
Different brands may have variations in their torque settings, and it’s worth noting. For instance, a Bosch drill might have different torque applications compared to a DeWalt drill, even if both have similar settings. Here’s how to compare:
1. Check the Manufacturer’s Recommendations: Always refer to the user manual for torque specifications. Manufacturers often provide guidance for specific projects.
2. Look for Online Resources: Many forums and DIY sites have invaluable community input on real-world experiences with different brands.
3. Ask for Expert Advice: If you’re unsure, don’t hesitate to ask at your local hardware store. Staff members often have firsthand experience and can provide insights.
By understanding how to compare torque settings, you empower yourself to make informed choices, ensuring you select the best tools for the job.
Best Practices for Using Torque Settings
To make the most of your torque settings, here are some best practices to keep in mind:
– Start Low, Go Slow: If you’re not sure about the proper torque, start with a lower setting. You can always increase if needed.
– Use the Right Bit: Make sure you’re using the correct drill bit for the screws you’re working with. A mismatched bit can lead to stripping.
– Check for Consistency: After installing your hardware, check each screw to ensure they’re secure and evenly tightened.
By following these best practices, you minimize the risk of damaging your door hardware while ensuring a secure installation.
Wrapping Up: The Importance of Proper Torque Settings
Understanding torque settings is a small yet crucial part of installing door hardware. It can make the difference between a long-lasting, secure installation and an unstable one. By taking the time to adjust settings, avoid common mistakes, and follow the best practices given, you set yourself up for success.
Ultimately, proper torque settings ensure your door handles, hinges, and locks are installed correctly. It’s about making your home safe and functionally sound. So next time you pick up your drill, remember: these small adjustments lead to big results!
