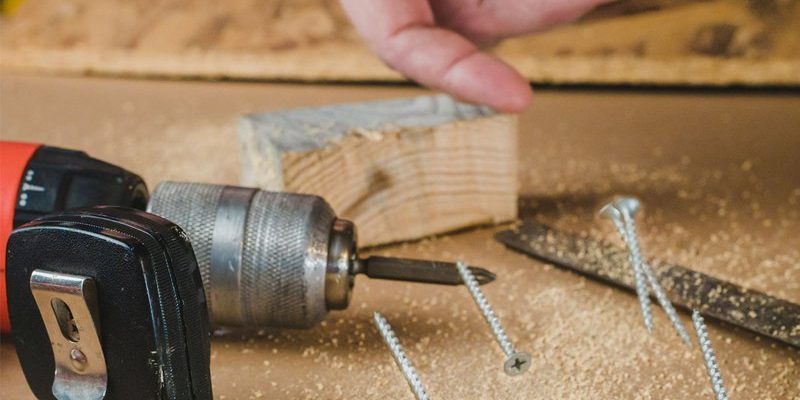
Stripping screws can be a common issue with power drills, whether you’re using a well-known brand like DeWalt or a more budget-friendly model. But don’t worry—this isn’t a permanent problem. Often, a little troubleshooting can save the day. In this guide, we’ll explore why it happens, how to fix it, and prevent it from recurring.
Understanding the Issue of Stripped Screws
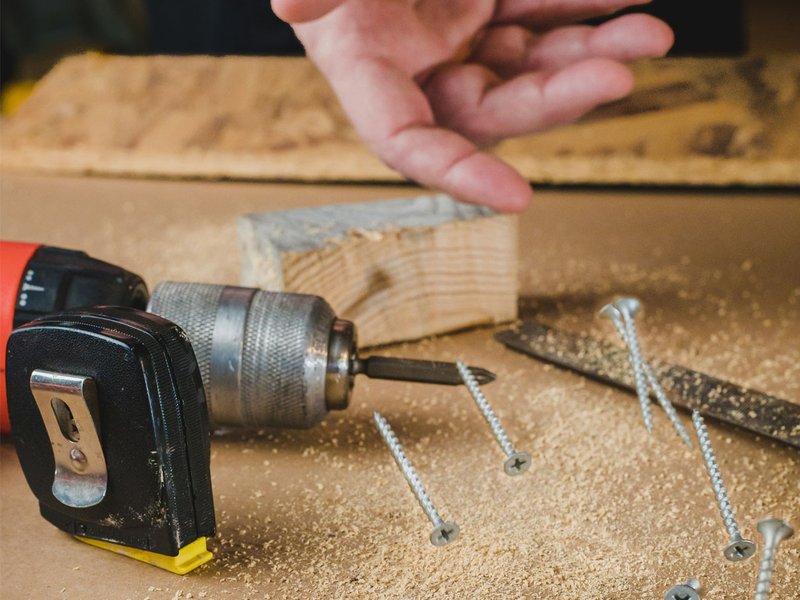
Stripped screws are when the head of the screw loses its shape and no longer allows a tool to grip it properly. This can happen for various reasons. Sometimes it’s the screw itself—maybe it’s made of soft metal or has seen its fair share of rough handling. Other times, it’s your power drill and how it’s being used.
Think of it like a battle between your drill and the screw. If either side doesn’t play fair—like using the wrong type of bit or applying too much pressure—you’re bound to have issues. The key to avoiding stripped screws is understanding the “rules” of the game.
Common Causes of Stripping Door Hardware Screws
Several culprits can lead to stripping screws. Here are the most common ones:
- Wrong Drill Bit Size: If the drill bit doesn’t match the screw’s head size, you can strip it easily.
- Over-tightening: Cranking down too hard can cause the screw head to strip.
- Using Dull Bits: A worn-out drill bit can slip, making it much easier to strip a screw.
- Incorrect Type of Screw: Some screws are simply softer than others. Using a power drill on softer screws increases the chance of stripping.
Understanding these factors can help you approach your next project with confidence. If you’ve experienced stripping in the past, remembering these points might prevent it in the future.
How to Fix Stripped Screws
If you find yourself with a stripped screw, you’re not out of luck. There are several techniques to get it out without causing further damage:
1. Rubber Band Method: Place a rubber band over the stripped screw head and try turning it with a screwdriver. The rubber provides extra grip.
2. Use Pliers: If there’s enough head left, grab it with pliers and twist it out gently.
3. Drill It Out: If all else fails, you can drill a larger hole in the center of the screw head. This may damage the surrounding area, so use it as a last resort.
When using these methods, patience is critical. You might have to try a few techniques before you find the right solution.
Preventing Stripped Screws in the Future
Taking steps to prevent stripping screws can save you a lot of hassle down the line. Here’s what you can do:
- Choose the Right Bit: Match the drill bit to the screw type. This ensures a snug fit!
- Don’t Over-tighten: Know when to stop. If you hear that crunching sound, it’s time to back off.
- Use Quality Screws: Opt for screws made from harder materials. They’re less likely to strip under pressure.
- Maintain Your Drill: Regularly check and replace worn bits. A sharp bit is your friend!
By being proactive, you can significantly reduce the chances of stripping screws in the first place. It might take a few extra moments at the start of your project, but it will pay off with fewer headaches later.
Choosing the Right Power Drill for the Job
If you’re experiencing consistent issues with stripping screws, it might be worth considering the power drill you’re using. Different drills have different torque settings, and a drill with adjustable torque can make a significant difference. Here’s what you should look for:
1. Adjustable Clutch Settings: This feature allows you to control how much torque is applied. Lower settings are perfect for delicate screws, while higher settings work for tougher materials.
2. Quality Brand: Brands like DeWalt or Makita often have better-built drills. Investing in a reliable tool can help you avoid unnecessary frustrations.
3. Lightweight Design: A drill that’s easy to handle lets you apply the right amount of pressure without straining your wrist.
Your drill is your best buddy during a project, so it’s worth investing in a reliable tool that fits your needs.
When to Ask for Help
Sometimes you might find yourself in a jam, and that’s okay! If you’re struggling with stripping screws and can’t seem to fix it, consider asking for help. Here are a few options:
– Consult a Friend or Family Member: Sometimes, a fresh set of eyes can make all the difference.
– Visit Your Local Hardware Store: Staff can provide advice and even suggest tools that may help.
– Online Forums: There are many DIY communities online where you can ask questions and get advice from seasoned pros.
There’s no shame in reaching out; we all need help sometimes.
Facing stripped screws can feel daunting, but with the right knowledge and tools, it’s a battle you can win. Understanding what causes stripping, how to fix it, and how to prevent it in the future makes you a more confident DIYer. Whether you’re using a drill from a top brand like DeWalt or another model, remember to choose the right bits, avoid over-tightening, and keep your tools in good shape.
Now, tackle those door hardware installations with newfound confidence! Your power drill is ready to rock—you just need the right approach and a few tips to guide you. Happy drilling!