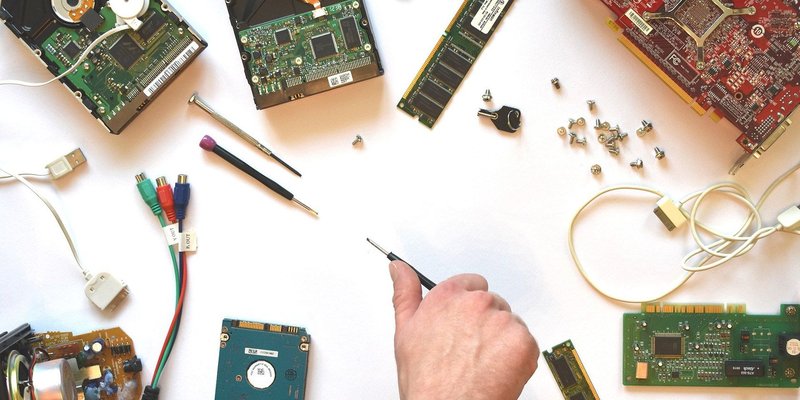
When it comes to devices such as remote controls or tech gadgets, it’s easy to think more pressure equals better performance. But over-tightening can lead to stripped screws, cracked casings, or worse. This article digs into how to troubleshoot hardware damage caused by over-tightening, helping you understand what went wrong and how to fix it.
Understanding the Issue: What Is Over-Tightening?
Over-tightening occurs when you apply too much torque to a screw or bolt, forcing it beyond its intended limits. Picture a stubborn jar lid—if you twist too hard, you could warp the lid or crack the jar. The same principle applies to hardware components.
When you crank that screw down too tight, you might think you’re securing everything perfectly. In reality, you could strip the threads, crush the material, or create stress fractures. This can lead to future malfunctions and, ultimately, the need for replacement parts.
You might be wondering, “How can I tell if I’ve over-tightened something?” Typically, if the screw feels unusually loose after you’ve tightened it, or if you notice visible damage, chances are you’ve applied too much pressure.
Common Signs of Damage from Over-Tightening
Let’s talk about some indicators that your hardware might be suffering from over-tightening. These signs can help you pinpoint problems before they escalate.
- Stripped screws: This is a telltale sign. If the screw turns but doesn’t tighten, the threads are likely damaged.
- Cracked casing: Look for visible cracks or breaks in the casing where screws were tightened too much.
- Loose components: If parts seem wobbly or don’t fit together snugly, that could be a result of damage from over-tightening.
- Unresponsive buttons: In devices like remotes, over-tightening can make buttons stick or fail to register.
Spotting these issues early is crucial. Ignoring them could lead to malfunctioning devices, and we all know how frustrating that can be.
How to Assess the Damage
Before you dive into repairs, it’s essential to assess the extent of the damage. Start by inspecting your hardware closely. Grab a flashlight to check for cracks, stripped threads, or loose parts.
Once you’ve identified any visible damage, try gently twisting the affected screws or components. If they move without resistance, you might have stripped them. However, if they seem stuck, don’t force them—doing so can cause further damage.
You might also want to check the corresponding area for other issues, such as bent parts or misalignments. Sometimes, the impact of over-tightening can affect more than just the immediate area.
Repairing Stripped Screws
If you’ve discovered stripped screws, don’t panic. There are a few straightforward methods to fix this issue.
1. Rubber band method: Place a rubber band over the stripped screw and try turning it with a screwdriver. The rubber provides extra grip, which can help you loosen it.
2. Super glue trick: Apply a small amount of super glue to the screw head and press a screwdriver into it. Let it dry for a bit, then attempt to turn it.
3. Thread repair kit: If the screw is beyond saving, consider using a thread repair kit. These kits come with taps and inserts that can help restore functionality.
Fixing stripped screws may seem daunting, but with patience and the right technique, you can often salvage the situation.
Dealing with Cracked Casings
If your hardware has developed cracks due to over-tightening, you need to decide on a repair strategy. Here are some options:
– Super glue or epoxy: For small cracks, using super glue can be effective. Ensure that the surfaces are clean before applying the adhesive. Epoxy works well for larger cracks and provides a more robust bond.
– Replace the casing: If the damage is extensive, it might be time to look for a replacement casing. This can be particularly true for devices like remote controls where the integrity of the casing is crucial.
– Reinforcement: Sometimes, you can reinforce a cracked casing with tape or a supportive material. Just ensure that it doesn’t obstruct any moving parts or buttons.
Remember, the goal is to restore functionality while ensuring that your device is safe to use.
Preventing Over-Tightening in the Future
Now that you’ve dealt with any damage, let’s focus on prevention. Here are some simple tips to avoid over-tightening next time:
– Use the right tools: Make sure to use screwdrivers that fit correctly with the screws. A tool that’s too small may lead to over-tightening.
– Know your limits: Tighten screws firmly but not excessively. Trust your instincts—if it feels too tight, it probably is.
– Follow guidelines: When assembling devices, always refer to the manufacturer’s instructions regarding torque specifications.
These tips can save you a lot of hassle later on.
Dealing with hardware that’s been damaged by over-tightening doesn’t have to feel overwhelming. By understanding the signs of damage, assessing the problem accurately, and employing simple repair techniques, you can often fix the issue yourself.
Remember, prevention is key—using the right tools and knowing when to stop can save your devices from unnecessary wear and tear. Now, you can tackle those minor repairs with confidence and keep your tech in great shape!