Here’s the thing: anyone who’s spent time wrestling with mismatched parts knows that “close enough” almost never works. If you’re dealing with something like tiny screws, gears, or circuit boards, even a difference of a tenth of a millimeter can mess you up. That’s where brands like Mitutoyo, Neiko, or iGaging become household names for DIYers and professionals alike. If you’ve never used a digital caliper before, don’t worry—it’s more approachable than it looks and can save you tons of time and frustration when troubleshooting hardware issues.
What Does a Digital Caliper Actually Do?
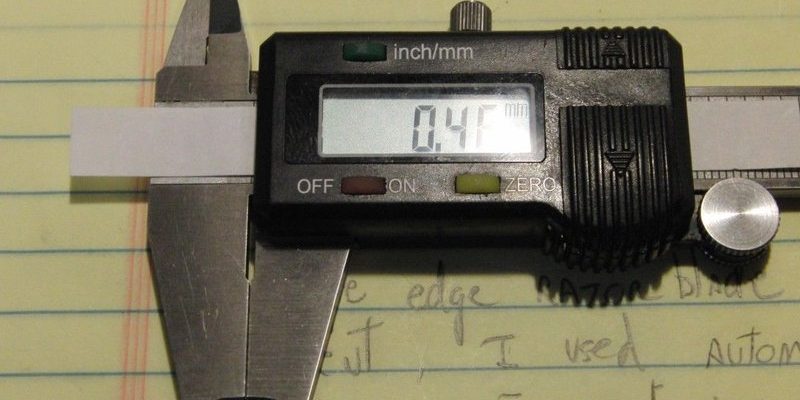
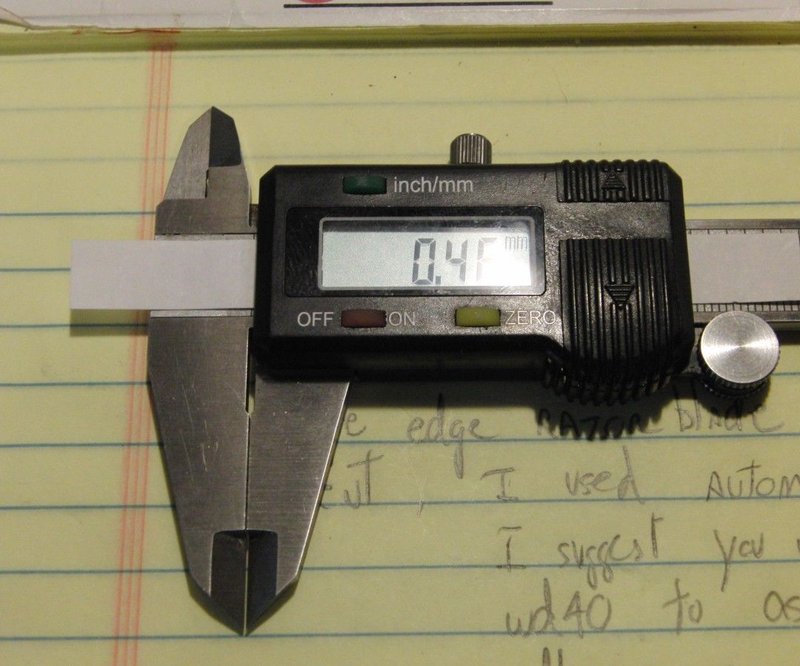
Let me explain: a digital caliper is a handheld measuring tool that gives super-precise readings, typically to within 0.01 mm or 0.0005 inches. Unlike analog calipers, which require you to interpret where lines line up, the digital display shows measurements instantly. Imagine checking battery contacts on a remote or figuring out if a replacement screw is the right diameter—no more squinting or guessing.
Honestly, it’s a total game changer for anyone who needs to measure:
- Outside dimensions (like the width of a screw head)
- Inside dimensions (such as the inner diameter of a washer or bearing)
- Depths (for example, how deep a slot or groove is cut)
The jaw of the caliper slides smoothly along a steel beam, and sensors inside interpret the movement with incredible accuracy. Some models even let you switch between metric and imperial units with a button push. So instead of fumbling with rulers and conversions, you get exactly what you need for that sync between parts or repairs.
Why Precision Matters When Troubleshooting Hardware
Here’s why this matters: hardware troubleshooting often comes down to figuring out *why* something isn’t working, right? Maybe your universal remote’s battery cover won’t snap shut, or a PC heatsink doesn’t clear the RAM sticks. If you rely on “eyeballing” those issues, you might miss the real culprit—tiny differences in size or spacing.
A digital caliper takes the guesswork out of the equation. For example, you can:
- Measure the thickness of a code board or circuit to check for damage
- Test the width of a mounting bracket to see if it’ll fit your setup
- Compare old and new parts before you reset or pair a device
You’ll be amazed how often the source of your problem is less than a millimeter off. Precise readings mean fewer surprises and less trial-and-error, which can save you HOURS—especially with complex projects or tight deadlines.
How to Use a Digital Caliper Step by Step
If you’re new to this tool, let’s walk through the basics together. Grabbing a digital caliper for troubleshooting is way less intimidating than it seems.
- Turn it on: Most digital calipers power up with a single button. The display should show “0.00” when fully closed.
- Zero the caliper: Always reset the measurement by pressing “zero” while the jaws are closed. This avoids errors from small misalignments.
- Place the object: For outside measurements, put the part between the big jaws. For inside measurements (like a groove), use the smaller top jaws. For depth, use the metal rod that extends as you open the caliper.
- Read the measurement: The digital screen shows the value instantly. Switch units if needed. Jot this down or compare it directly to your replacement part.
Keep the caliper clean, avoid moisture, and don’t force the jaws closed, especially if you’re measuring something hard like metal hardware. Treat it like you would a fine camera lens—precision matters.
Common Hardware Problems You Can Solve with a Digital Caliper
You might be wondering: what kinds of problems actually need this level of accuracy? Honestly, more than you’d think. Here are a few scenarios where a digital caliper shines:
- Mismatched screws: Ever tried to swap out a screw only to realize it’s just a hair too thick to fit through a hole? A digital caliper helps you find an exact replacement.
- Batteries that won’t fit: Remote controls or wireless devices sometimes need a precise battery size. Check the length and diameter before buying replacements or troubleshooting poor connections.
- Fitting parts in a 3D print: If you’re printing custom cases or adapters, checking the real-world size against your code specs ensures everything syncs perfectly together.
- Replacing gears or bushings: Small parts in appliances, bikes, or electronics are often only slightly different in size. Matching them correctly avoids long-term damage or annoying resets.
In short, whenever you need a “just right” fit, this tool cuts out the guessing and fiddling.
Comparing Digital Calipers with Traditional Measuring Tools
Let’s be real: if you have a trusty tape measure or ruler, do you really *need* a digital caliper? In some cases, sure—a tape measure is fine for measuring your desk or resetting your wall mount. But for hardware troubleshooting, digital calipers are in a different league.
Here’s the main difference: traditional tools are designed for bigger, rougher measurements—think centimeters or inches, not tenths of millimeters. That’s fine for basic jobs but can lead to mistakes when you’re dealing with things like PCB slots, battery compartments, or the inside of a universal remote.
A digital caliper offers the kind of accuracy you just can’t get from a ruler or tape. It can mean the difference between a clean fix and a constant headache.
If you regularly work with electronics, bikes, or any gear that requires *actual* precision, the digital caliper will quickly become your go-to tool.
Top Features to Look For in a Digital Caliper
All digital calipers share the same basic job, but some features make troubleshooting hardware issues even easier. Here’s what to keep an eye out for when you’re picking one out:
- Easy-to-read display: The bigger and clearer, the better—especially when working in tight spots or dim lighting.
- Unit switching: Look for a button to swap between inches and millimeters. This saves time when you’re syncing parts from different regions or brands.
- Sturdy build: Stainless steel calipers last much longer and stay accurate. Cheap plastic ones can flex and give you false readings.
- Battery life: Some cheaper models chew through batteries fast. If you use your caliper daily, consider brands known for efficiency, like Mitutoyo.
- Auto-off function: This helps preserve battery if you forget to turn it off mid-troubleshooting session.
You don’t need all the bells and whistles, but a solid, reliable caliper makes all the difference over time.
Maintenance Tips to Keep Your Digital Caliper Accurate
You might think digital calipers are set-and-forget tools, but a bit of care goes a long way. When you’re relying on sub-millimeter accuracy, even a little dirt or a weak battery can throw things off.
- Clean after each use: Wipe down the jaws with a soft, dry cloth. Avoid moisture or harsh chemicals that can corrode the metal and mess with the sensors.
- Replace the battery regularly: If the display flickers or the caliper won’t zero properly, it’s probably time for a new battery. Most models use standard lithium button cells you can pick up anywhere.
- Store properly: Keep your caliper in its case when not in use to avoid bumps, dust, and accidental resets.
- Check for calibration: If you drop your caliper or it starts giving odd readings, compare it against a reference (like a known-gauge block) to ensure it hasn’t lost sync. If you need help, many manufacturers offer codes or instructions for recalibration.
Treat your digital caliper well, and it’ll pay you back with years of reliable troubleshooting help.
When a Digital Caliper Isn’t Enough: Alternatives and Add-Ons
Sometimes, even a digital caliper can’t solve every problem. For really tiny or delicate measurements—think microchips or thin wires—you might need a micrometer, which is even more precise. For big, rough jobs, stick with a tape measure.
Some troubleshooting also needs more than just size. For example:
- Multimeters help diagnose electrical issues in remotes or circuit boards.
- Feeler gauges are perfect for checking the gap between metal parts, like in engines or bikes.
- Laser measures are handy for quick distance checks when building or resetting hardware setups in a room.
Here’s the thing—digital calipers are one tool in your kit. If you pair them with the right alternatives, you’ll speed up your troubleshooting and reduce the number of frustrating “why doesn’t this fit?” moments.
Wrapping Up: Why Digital Calipers are Worth It for Hardware Troubleshooting
If you’re serious about fixing, building, or syncing up hardware, a digital caliper is honestly one of the smartest investments you can make. It makes the invisible visible—saving you time, money, and stress every time you face a stubborn fit or mysterious error.
Start simple: measure a few things around your desk or workshop. You’ll be surprised how often “precision” is the real answer to hardware headaches—from battery swaps in your favorite remote to pairing up new PC parts. Keep your caliper handy, treat it with care, and you’ll wonder how you ever got by without it. In the end, it’s all about making troubleshooting less about luck and more about *knowing*—down to the very last millimeter.