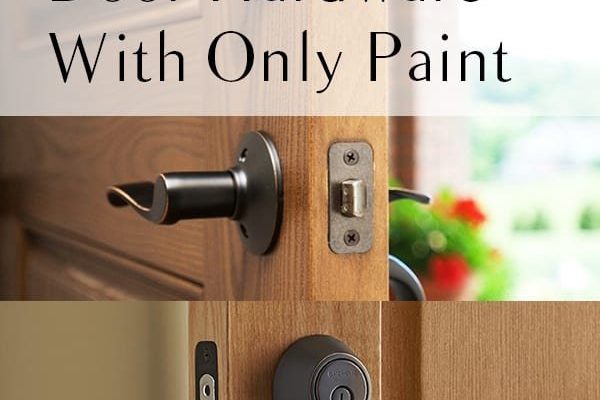
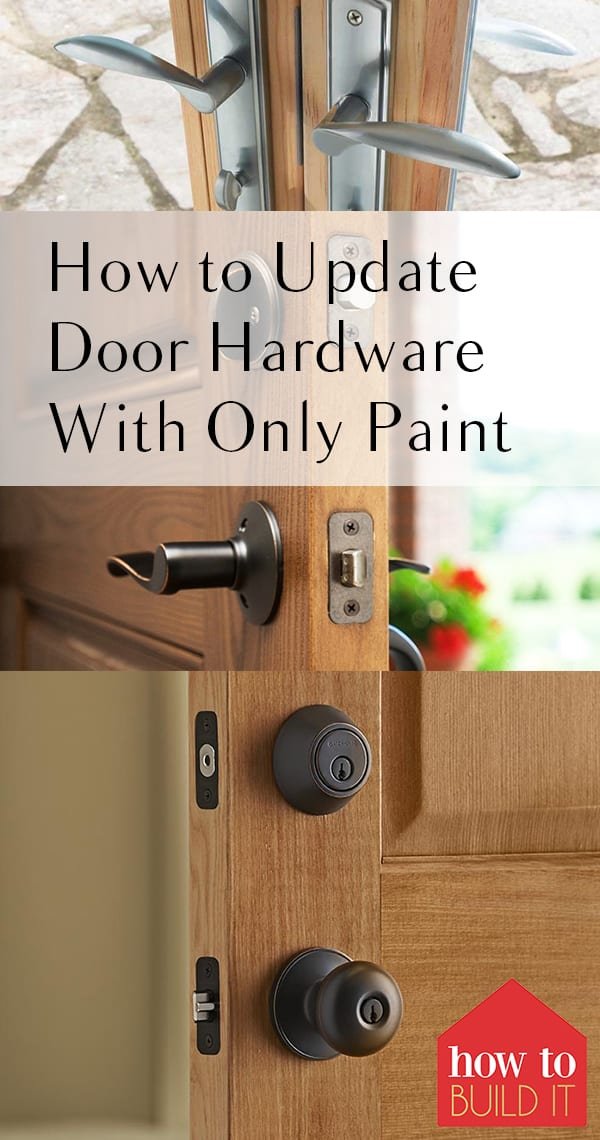
If your painted door hardware isn’t working the way it should, you’re not alone. Whether you’re fiddling with a classic Kwikset or Schlage lock, or just an old brass doorknob, the problem often isn’t the hardware itself. It’s the buildup of paint—sometimes so many layers that the original shape of the hardware is lost underneath. Let’s break down why this happens, what you can do about it, and how to troubleshoot like a pro (even if you’ve never held a screwdriver before).
Why Multiple Paint Layers Cause Door Hardware Problems
You might be wondering what’s so bad about a little extra paint. Here’s the thing: door hardware is designed with tight tolerances. That means every piece, from the latch to the hinges, has to fit together just right for smooth operation. When you keep slapping on new paint jobs over the years, those tight spaces get tighter—sometimes to the point where moving parts stop moving.
Here are a few ways thick paint causes headaches:
- Paint fills in gaps around hinges and latches, which leads to sticking, squeaking, or outright jamming.
- Screw heads and keyholes get clogged, making it tough (or impossible) to use or remove the hardware.
- Latches and bolts may not retract fully, causing trouble with locking or unlocking.
Imagine trying to press a button on your remote when something’s jammed underneath—it’s the same idea here. The buildup stops everything from syncing and working smoothly.
Common Signs of Paint-Related Hardware Issues
A lot of people assume that if a lock or knob feels off, it’s broken inside. But with painted doors, most problems are right on the surface. Let me explain what you’re likely to notice.
- Stiff or stuck locks: You turn the key or thumb-latch, and it barely moves, or won’t budge at all. This usually means paint has gotten into the mechanism or around the strike plate.
- Doorknobs that won’t turn: If the knob feels glued in place, check for visible paint where it meets the plate or door. That extra paint can literally “glue” it.
- Sticky hinges or creaks: Too much paint on hinges leads to squeaks, slow closing, or even doors that won’t swing freely.
- Hardware that looks misshapen: If the faceplate or screws are painted into odd, lumpy shapes, it’s a clue you’ve got a paint problem, not necessarily a hardware failure.
Honestly, these symptoms can make a brand-new lock or knob act just as wonky as a twenty-year-old one. That’s why troubleshooting is key before replacing anything.
How to Remove Excess Paint From Door Hardware
If you’re staring at a mess of painted-over screws or a doorknob you can’t turn, don’t panic. Here’s a simple, beginner-friendly method to strip off the paint without damaging your hardware or the door.
First, gather your supplies. You’ll need:
- A screwdriver (usually Phillips or flat-head)
- An old utility knife or razor blade
- Painter’s tape
- Cotton swabs or a small brush
- Citrus-based paint stripper (safer for hardware than harsh chemicals)
- Soft cloth
- A small bowl of warm water
Step-by-step:
- Protect the area: Use painter’s tape to shield the door surface around the hardware. This keeps stripper only where you want it.
- Score the paint edges: Gently run a utility knife around the hardware plate and screw heads to break the “seal” of old paint.
- Apply paint stripper: Dab a little onto the painted hardware using a brush or cotton swab. Wait for it to bubble or soften (usually 10–15 minutes, but follow the product’s directions).
- Wipe and scrape: Use a soft cloth to wipe softened paint away. For tight spots, a flat-head screwdriver or an old toothbrush works wonders. Be gentle to avoid scratching.
- Remove the hardware if needed: If the screws are completely buried, apply more stripper and try again. Once you free them, remove the hardware and soak stubborn pieces in warm water with more remover for 20 minutes before scrubbing clean.
- Reinstall when dry: Let all parts dry fully before putting things back together. This prevents future sticking or corrosion.
You don’t need to buy fancy tools for this job—patience and a soft touch are more important than brute force.
Fixing Hardware Function After Stripping Paint
Once you’ve peeled away layers of old paint, it’s time to see how your hardware works on its own. Here’s where you find out if paint was the real problem, or if there’s something deeper going on.
First, inspect all moving parts—turn the knob, test the lock, open and close the latch. If everything feels normal, congrats: the paint was your only foe. If things still stick or grind, it might be time to clean and re-lubricate the hardware.
- Lubricate moving parts: Use a dry graphite powder or a silicone-based lubricant (avoid oil, because it can attract more dirt and grit).
- Check alignment: Sometimes, years of paint can warp how the hardware sits. Make sure the latch lines up with the strike plate, and hinges are straight.
- Tighten screws: Hardware that was “glued” by paint might be loose after stripping. Tighten but don’t overdo it—overtorquing can strip out the holes.
- Replace worn parts: If you notice old, corroded, or stripped screws, swap them out for new ones that match the original size and type.
Here’s a tip: Don’t toss a lock just because it still feels sticky after stripping. Sometimes a reset—removing, cleaning, and carefully reinstalling the hardware—does the trick.
When to Replace Versus Repair Door Hardware
This is one of those questions that comes up a lot. Should you fight with old hardware, or just buy something new? Here’s how to decide.
Repair makes sense if:
- Your hardware works perfectly once the paint is stripped.
- The parts are made of solid brass, steel, or another durable metal (old hardware can outlast modern versions if cared for).
- The style matches the look of your home, or you want to keep original details for character.
Replacement is better if:
- Parts are badly corroded, cracked, or broken beyond repair.
- The lock no longer works after a thorough cleaning and reset.
- You want to upgrade for better security (newer deadbolts and levers offer more protection and are easier to sync with smart systems).
Honestly, hardware from brands like Kwikset, Schlage, and Yale is built to last, but even the best can’t survive endless coats of paint forever. Sometimes it’s just easier (and safer) to swap in something new—especially if you’re eyeing a universal lock that fits multiple door styles.
Preventing Paint Buildup on Hardware Next Time
Once you’ve tackled painted hardware headaches, you’ll want to avoid this mess in the future. Here’s how to keep your door’s code running smoothly, no matter how often you redecorate.
- Remove or cover hardware before painting: It takes a few extra minutes, but removing knobs, locks, and hinges (or carefully taping them off) is the best insurance.
- Use painter’s tape generously: Go around all edges, screw heads, and keyholes. Press tape down firmly to keep paint from sneaking underneath.
- Clean hardware regularly: Dust, oil, and paint splatters are easier to wipe off before they dry. A quick swipe with a cloth keeps things moving smoothly.
- Consider modern hardware: Some new locks and handles are designed for easier removal—making resets and paint jobs less of a hassle.
Once you’ve wrestled with a painted-over screw for half an hour, you’ll never skip taping your hardware again.
Comparing Universal Hardware vs. Brand-Specific Replacements
If you do end up needing new hardware, you’ll notice two main options: universal kits, or brand-specific replacements (like those from Kwikset or Schlage). Here’s how they stack up.
Universal hardware is meant to fit a wide range of door thicknesses and pre-drilled holes. It’s convenient if you’re unsure who made your original hardware, or if your door has already survived several resets and repairs.
- Fits most standard doors
- Often comes with multiple adapters or plates
- Usually easier to pair and install, especially if matching old codes isn’t a concern
Brand-specific replacements are a direct swap for your original lock or knob. They offer a perfect fit and better sync with existing keys, remotes, or smart features.
- Better for matching your existing “system” (keys, remotes, reset codes)
- Maintains style and finish with your other doors
- Higher security and durability in most cases
If you’re torn, my advice is: stick to the same brand when possible for ease of troubleshooting. But don’t be afraid of universal kits if your door is a true oddball.
Final Thoughts: Getting Your Door Back in Sync
Dealing with hardware issues on doors with multiple layers of paint isn’t just a test of hand strength—it’s a real-world puzzle that almost every homeowner faces eventually. Whether you’re stripping off years of history to reset a stubborn lock, or finally upgrading to a better system, the most important thing is to go slow and stay patient. Remember, you’re not just fixing a door—you’re keeping your home secure and frustration-free.
If you take the time to properly troubleshoot, clean, and lubricate your door hardware, you’ll save yourself a world of headaches down the road. And hey—next time you paint, you’ll know exactly how to keep your hardware looking (and working) its best.