Here’s the thing: you don’t need to be a master carpenter or a lock-picking sleuth to get a Baldwin or Schlage handleset working perfectly on a smooth, factory-fresh fiberglass slab. Sure, fiberglass isn’t quite as forgiving as wood, and you only get one shot at drilling clean, accurate holes. But with some patience, the right tools, and a bit of troubleshooting savvy, you can absolutely tackle this project. Let me walk you through what to look out for, how to avoid the most common snags, and those “wait, that doesn’t look right…” moments that pop up along the way.
Why Fiberglass Doors Are Different (And What That Means For Handleset Installation)
It’s tempting to treat fiberglass doors just like wood or steel, but they truly have their own personality quirks. For starters, fiberglass is strong and weather-resistant—great for standing up to the elements, but not so great when it comes to cutting clean, splinter-free holes. Unlike wood, which can tolerate a bit of wiggling or over-drilling, fiberglass edges tend to chip and crack if you rush or push too hard.
Most major handleset brands (like Kwikset, Weiser, or Emtek) come with installation templates and screws sized for typical pre-bored holes. When your fiberglass door *doesn’t* have those holes, you’re on the hook for getting their positioning, size, and depth just right. Drilling in the wrong spot—or making a hole too big—means there’s no “undo” button.
You might also notice that fiberglass doors sometimes have a foam core or even integrated reinforcements. This can affect how drill bits or screws behave, leading to frustrating issues like bits skidding across the surface or the lock mechanism not sitting flush. So, before you even unbox your shiny new handleset, it’s crucial to understand what you’re working with—and what makes these doors tick.
Prepping For A No Pre-Bore Handleset Install
Let’s be honest: the prep work for a handleset installation on a fiberglass door (with no pre-bore) is more than half the battle. If you skip careful planning or rush the layout, you’ll run into headaches later—like misaligned latches, struggle-to-close doors, or even ugly cracks in the gelcoat.
Here’s how to set yourself up for a smooth job:
- Gather the right tools: You’ll need a measuring tape, pencil, handleset template (usually included), power drill, a set of hole saws (typically 2 1/8″ and 1″ for standard deadbolt and latch), a small drill bit for pilot holes, and masking tape. For fiberglass, a diamond or carbide-tipped hole saw is best, but sharp bi-metal works in a pinch.
- Double-check measurements: Use the template from your specific handleset brand. The center of the deadbolt and handle holes will likely be 2 3/8″ or 2 3/4″ from the edge (the “backset”). Height is usually about 36-38″ from the bottom, but always match your home’s existing holes for symmetry.
- Secure the surface: Put painter’s tape or masking tape over the drilling area. This helps prevent chipping and lets you draw clear markings.
- Mark before you drill: Hold the template up and trace all cutouts with a pencil. Double-check every mark. It’s a good idea to mark both sides of the door to guide your drill through cleanly and avoid tear-out.
A little extra caution here will save you from those classic, facepalm-worthy mistakes—like drilling a perfect hole in the *wrong* place or realizing too late that you needed a reinforcement block inside the door.
How To Drill Clean Holes In Fiberglass (Without Ruining Your Door)
This is the part that makes a lot of DIYers sweat, and honestly, I get it. Drilling through fiberglass can be nerve-wracking, but it’s totally doable if you go slow and follow a few key tricks.
- Start with a pilot hole: Use your smallest bit to drill through your center marks—straight through both sides. This acts as a guide for your hole saw and keeps things lined up.
- Use painter’s tape: Keep the tape on the surface, even while drilling. It helps protect the gelcoat from cracking.
- Drill halfway, then switch sides: Don’t force the hole saw straight through all at once. Drill about halfway from one side, then finish from the other. This gives you cleaner edges and stops “blowout” as the bit exits.
- Keep the drill steady and straight: Let the saw do the work. Pushing hard can cause slipping or tear the fiberglass. If you feel resistance or smell burning, stop and clear away dust.
- Check for reinforcements: If your door has a metal or wood reinforcement, you may need a different bit to get through. Pause if you hit metal, and swap to a bit rated for it.
You might be surprised by how nice the results look with a little patience. The trick here is not to rush—think of it like carving out a space for your handleset, rather than just “punching” a hole.
Common Problems When Installing Handlesets On Fiberglass Doors
You might be wondering: what are the most likely things to go wrong during installation? Honestly, a few issues pop up over and over, whether you’re using a Baldwin, Schlage, or Kwikset handleset.
- Misaligned holes: If your handle and deadbolt holes aren’t perfectly centered and level, the lock won’t install or operate smoothly. Double-check spacing and consider dry-fitting the template before any drilling.
- Chipped fiberglass: Skipping tape or going too fast often leads to cracks or chipped edges. These are not just cosmetic—they can also weaken the door around the hardware.
- Loose or wobbly lock: Sometimes, the foam core inside the door doesn’t support the screws well, causing the handleset to feel loose even when fully tightened. You can use specialized fiberglass door reinforcement kits or epoxy putty in the holes for a rock-solid fit. Check with your handleset brand for recommended fixes.
- Hardware doesn’t sit flush: If your drilled holes aren’t perfectly straight, or if you’ve chipped away too much material, the escutcheon plates or lock face may stick out awkwardly. This isn’t just an eyesore—it can let water in and affect lock function.
If you run into any of these, don’t panic. Most are fixable with careful adjustments—like slightly enlarging a hole, adding reinforcement, or using extra-long screws (check your handleset manual for size limits).
Even pros have to troubleshoot handleset installation on fiberglass doors, especially when there’s no pre-bore. The difference is, they know not to panic—and you shouldn’t, either!
Tips For Mounting The Handleset Mechanism And Latch
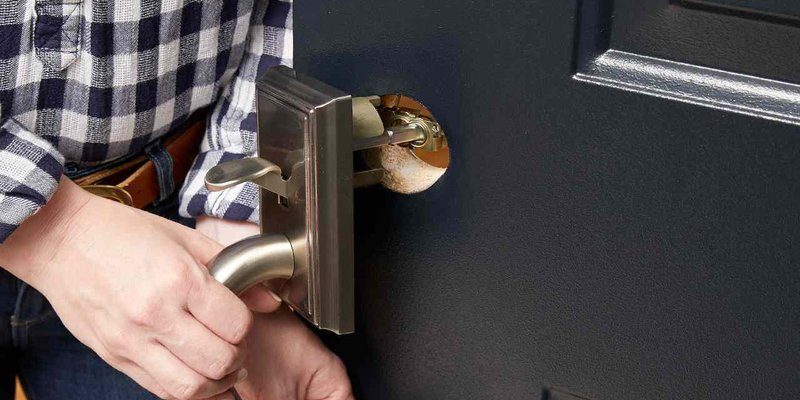
So you’ve survived the drilling. Now comes the fun (but sometimes fiddly) part—getting all the handleset parts lined up, mounted, and working smoothly. This is where a lot of folks hit a wall, especially with multi-piece sets from brands like Emtek or high-security Baldwin systems.
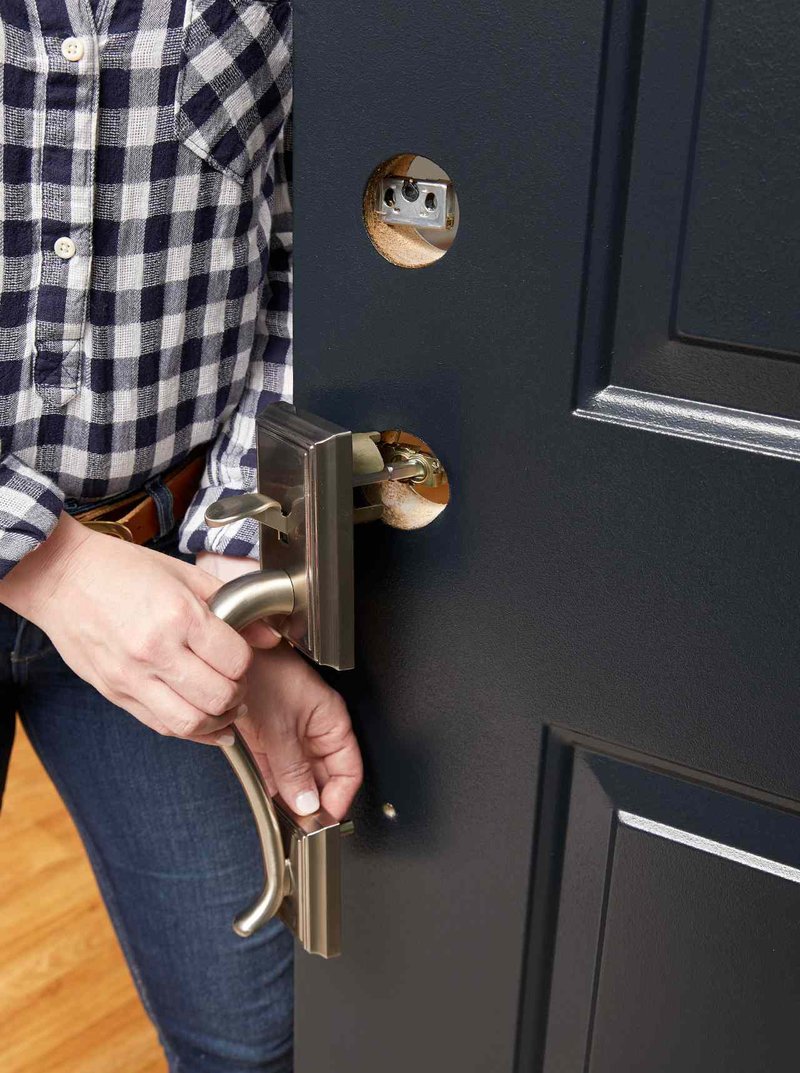
- Test fit every piece: Before you fully lock down any screws, “dry-fit” everything. Slide the latch into its hole, hold the exterior and interior handles in place, and check that the spindle turns and the bolt slides freely.
- Don’t overtighten yet: Leave screws just snug enough to hold the plates in place. If the lock sticks or binds, you’ll be glad you can wiggle things around a bit.
- Watch for shifting: Sometimes, tightening one side pulls the hardware out of alignment. Alternately tighten screws in small steps, checking operation often.
- Check your door edges: The latch plate should sit flush with the door edge. If not, you may need to file or sand a little more for a snug fit—just go slow and check as you go.
If you’re installing a smart lock or keypad handleset, this is also the stage to feed wires, batteries, or sync the code. Follow the manufacturer’s instructions to the letter—there’s nothing like buttoning everything up and realizing you forgot to pair the remote or insert the batteries.
How To Fix Common Handleset Issues After Installation
Even with perfect prep and careful drilling, sometimes you’ll hit a snag when you try using the handleset for the first time. Maybe the latch doesn’t retract, the deadbolt sticks, or the handle doesn’t spring back after turning. Here’s what to check:
- Latch or deadbolt not lining up: Close the door and observe if the bolt enters the strike plate smoothly. If it hits high, low, or to the side, adjust the strike or file the plate slightly until it moves freely.
- Loose handleset: This can happen if screws didn’t bite well into the fiberglass or foam. Remove the hardware and fill the screw holes with two-part epoxy or a door reinforcement insert. Let it cure, then re-mount the handleset tightly.
- Handle feels sticky or hard to turn: Remove the hardware and check for debris in the hole, or sharp fiberglass edges that might catch the spindle. Sand lightly and test again. A drop of silicone lubricant can also help.
- Electronic locks won’t sync or pair: Make sure the wiring isn’t pinched. Reset the lock and try the pairing code again, double-checking the battery is fresh and installed in the right direction.
Don’t be afraid to walk away for a few minutes if you get frustrated—sometimes a fresh look is all it takes to spot the fix.
Differences Between Brand-Specific and Universal Handlesets
Here’s something that trips up a lot of folks: not all handlesets are created equal, especially when you’re installing them on a fiberglass door with no pre-bore. Some brands are super forgiving, while others demand near-perfect precision.
- Brand-specific handlesets (like Baldwin, Kwikset, or Emtek) usually come with detailed templates and install kits. They may even offer dedicated reinforcement parts for fiberglass doors. If you stick to their instructions, you’ll get a snug, professional fit.
- Universal handlesets are meant to fit a range of backsets and hole sizes. This can be helpful for doors that aren’t standard, but it sometimes means you’ll have to do extra troubleshooting—like adapting strike plates, shimming the latch, or making sure the spindle length matches your door thickness.
If you’re stuck deciding, my advice is simple: go with a brand-specific handleset if it’s your first rodeo. You’ll have fewer headaches and more specific troubleshooting help if things go sideways.
When To Call For Backup (And What To Expect)
If you’ve made it this far and you’re still stuck, it might be time to bring in a pro. There’s zero shame in this—fiberglass doors can humble even seasoned DIYers, especially when you’re dealing with expensive hardware or electronic locks that need precise alignment.
Professional locksmiths or door installers bring special tools for drilling fiberglass, filling oversized holes, and reinforcing the hardware so it’s secure and weatherproof. They can also handle tricky electronic lock programming, code resets, and battery replacements if your handleset has a remote or smart feature.
Expect to pay a little more for a no pre-bore fiberglass install—mainly because of the extra time, care, and troubleshooting required. But if you value peace of mind (and want to avoid a costly mistake), it’s often worth it.
Closing Thoughts: Take Your Time and Trust The Process
Installing a handleset on a fiberglass door with no pre-bore is definitely a test of patience and precision. But it’s also a project that pays off every time you lock up and step outside, knowing you did it yourself. Just remember—measure twice, drill once, and don’t rush through any step. Troubleshooting handleset installation is totally normal and doesn’t mean you’ve failed. Every little hiccup is just another step toward a perfectly operating (and honestly, great-looking) entryway. If you plan ahead, go slow, and aren’t afraid to stop and reset when things feel off, your fiberglass door and new handleset will look and work like a dream.