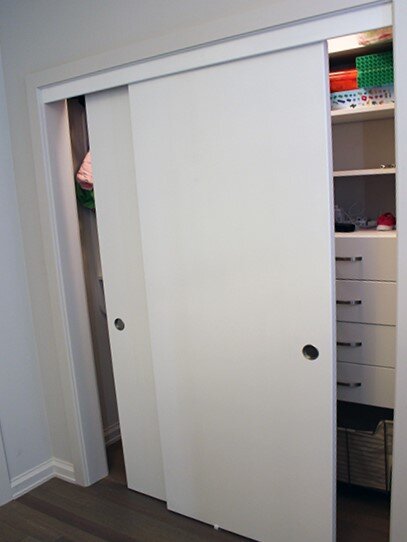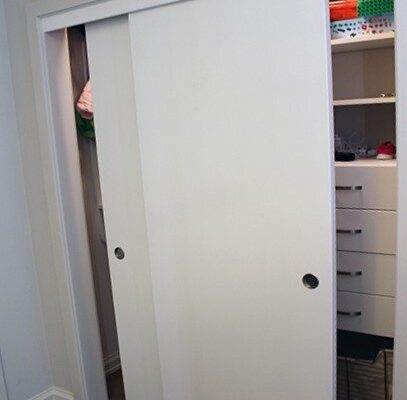
When you think about it, sliding doors operate like a well-choreographed dance. They should glide smoothly alongside their tracks, providing easy access to your clothes and belongings. But sometimes, misalignment can occur, and before you know it, you’re wrestling with a door that just won’t budge. Let’s dive into some straightforward troubleshooting steps that will help you reclaim your wardrobe space and keep everything in harmony.
Understanding the Problem
You might be wondering, what causes a wardrobe sliding door to cross tracks? The answer lies in the basic mechanics of how these doors work. Typically, sliding doors are designed with rollers that run along tracks. If either the rollers or the tracks become damaged, dirty, or misaligned, you may notice your door sticking, wobbling, or veering off course.
Here are a few common reasons why this happens:
- Misalignment: The rollers can get out of alignment, causing the door to slide at an angle.
- Wear and Tear: Over time, rollers can wear down, making them less effective.
- Obstructions: Dirt, dust, or even small objects can block the track, leading to issues.
Understanding these causes can help you narrow down the issue at hand.
Step 1: Inspect the Track
Before diving into any major repairs, take a moment to inspect the track of your sliding door. Here’s how to do that effectively:
1. Clear the Area: Start by removing any items near the sliding door. This will give you a clear view of the track.
2. Examine for Obstructions: Look closely for any dirt, dust, or foreign objects lodged in the track. Even a little buildup can cause significant problems.
3. Check for Damage: See if the track itself is bent or damaged. A warped track can easily cause the door to misalign.
If you find obstructions, clean the track with a soft brush or vacuum. For any damage, you may need a track replacement, depending on the severity.
Step 2: Adjust the Rollers
Now that you’ve checked the track, it’s time to focus on the rollers. This step can be a game-changer in solving your sliding door issues. Most sliding doors have adjustable rollers, which you can tweak for better alignment.
Here’s how to adjust the rollers:
1. Locate the Adjustment Screws: These are usually found at the bottom of the door. Depending on the design, you may need a screwdriver or an Allen wrench.
2. Make Small Adjustments: Turn the screws clockwise or counterclockwise, making slight adjustments. Start with half turns and test how the door slides after each adjustment.
3. Test the Door: After making adjustments, slide the door back and forth. Check to see if it’s gliding smoothly and if it stays on track.
Adjusting the rollers correctly can resolve many alignment issues.
Step 3: Replace Worn Rollers
If adjusting doesn’t improve the situation, you might be dealing with worn-out rollers. Over time, rollers can degrade, making them less effective and more prone to crossing tracks. Replacing them can be straightforward.
To replace the rollers, follow these steps:
1. Remove the Door: Carefully lift the door off the track. You’ll need to tilt it at an angle to free it from the top track.
2. Take Out the Old Rollers: Depending on your door, you might need to unscrew them. Keep an eye on how they’re positioned for the reinstallation.
3. Install New Rollers: Purchase new rollers from your local hardware store. Install them by following the reverse process of removal.
Remember to adjust the new rollers as described in the previous section for optimal performance.
Step 4: Clean and Lubricate the Track
Sometimes, the simplest solutions are the most effective. Regular cleaning and lubrication of your sliding door’s track can prevent future problems and keep everything moving smoothly.
Here’s a quick cleaning and lubrication routine:
1. Clean the Track: Use a vacuum or a damp cloth to remove any dirt, dust, or debris. It’s crucial to ensure the track is clear.
2. Dry Thoroughly: After cleaning, make sure the track is dry to prevent any sliding issues.
3. Lubricate the Track: Apply a silicone-based lubricant along the track. Avoid greasy lubricants, as they can attract more dirt and grime.
Doing this periodically can extend the life of your sliding door and prevent common issues.
Step 5: Check the Frame Alignment
If your sliding door continues to have problems even after adjusting rollers and cleaning, it’s possible that the entire frame is misaligned. Here’s how to check and address frame alignment:
1. Inspect the Frame: Look at the door frame and surrounding area. If it seems warped or bent, that could be the root of the issue.
2. Adjust the Frame: If you find misalignment, you can try to adjust the frame. This might involve loosening screws or brackets and repositioning it before tightening everything back up.
3. Consider Professional Help: If the frame is significantly out of alignment, it might be best to consult a professional. They can give you a more permanent solution.
Addressing frame alignment can be tricky, but it’s key to ensuring your wardrobe sliding door operates smoothly.
Troubleshooting a wardrobe sliding door that crosses tracks doesn’t have to be daunting. By following these steps—inspecting the track, adjusting or replacing rollers, cleaning, lubricating, and checking frame alignment—you can restore the seamless movement of your sliding door.
Remember, keeping your door in good shape requires a little regular maintenance. With these tricks up your sleeve, you’ll be able to keep your wardrobe door gliding smoothly, making it easy to access your favorite outfits without a hitch. So, roll up your sleeves and give your sliding door the care it needs—you might just enjoy the process!
