Here’s the thing: it’s easy to ignore threshold issues. Maybe you think, “I’ll just step a little higher” or “It’s not that bad.” But ignoring the problem can lead to sprained ankles, falls, or scuffed up shoes—especially for kids, elderly folks, or anyone who isn’t expecting an uneven step. Honestly, tackling a tricky threshold is one of the simplest ways to boost safety and comfort at home. Let’s walk through how to pinpoint the issue and figure out what to do next.
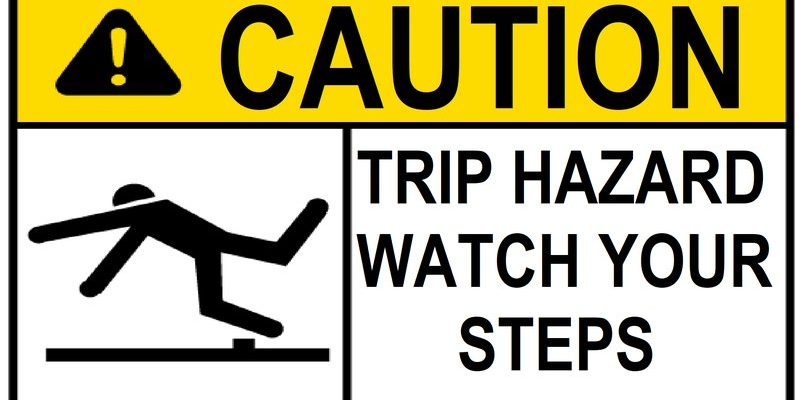
Common Reasons a Threshold Becomes a Trip Hazard
Thresholds are everywhere—at the front door, between rooms with different types of flooring, even in garages. The job of a threshold is to cover the gap where two floors meet, keep out drafts, and sometimes even help a door seal properly. But a few things can go wrong along the way, turning a helpful strip into a tripping point.
- Improper installation: If the threshold wasn’t fitted properly the first time, it might sit too high, too low, or at a weird angle.
- Settling or shifting floors: Over time, the floor on one side of the threshold may sink or shift, causing a “lip” to form where the surfaces no longer match up.
- Damaged or warped threshold: Wood and metal can both warp, bend, or break down, especially in damp or high-traffic areas, making the threshold uneven.
- Old adhesive or screws coming loose: As glue ages or screws work themselves out, the threshold may lift or wiggle with every step.
If your threshold seems to “stick out” more than it used to or you feel a little bump every time you walk over it, these are signs you’ve got a trip hazard on your hands. You might be tempted to code your way to a solution (if only life were as simple as programming), but in this case, hands-on troubleshooting is the way to go.
How to Inspect and Identify the Problem
Before grabbing any tools—or blaming the last person who installed your floors—it helps to give the threshold a good, slow look. Honestly, a little detective work can save you a lot of trial and error.
- Check for visible issues: Is the threshold sitting higher than the floors on either side? Look for gaps underneath or spots where it’s clearly not flush.
- Test for movement: Press down, wiggle, or walk across the threshold. Does it rock, squeak, or shift even a little bit?
- Look for signs of damage: Cracks, bends, or peeling sections are red flags. Sometimes, you’ll spot tiny screws or nails sticking up—ouch.
- Compare both sides: Sometimes one side of the floor will be higher than the other. This is common if different rooms have different flooring types or if the house has settled unevenly over time.
Here’s a quick tip: take a straight object like a ruler or even a credit card and lay it across the threshold. If there’s a big gap or the threshold wobbles, you’ve likely found the trouble spot. If you’re feeling stuck, snap a photo and ask someone else what they see—sometimes a fresh set of eyes helps code the problem into focus.
DIY Solutions for Minor Threshold Trip Hazards
So you’ve found the problem—now what? Thankfully, most trip hazards with thresholds don’t require ripping out your entire floor or calling a contractor. With some simple tools and a little patience, you can tackle a lot of these fixes yourself. Let me walk you through a few common options:
- Tighten or reset loose screws: Grab a screwdriver and see if you can snug up any loose screws. Sometimes, that’s all it takes to get the threshold sitting flat again.
- Replace worn adhesive: If the threshold is glued down and you see it lifting, clean out the old adhesive and apply a new layer. Make sure to give it time to dry before walking on it.
- Sand or shave down high spots: For wooden thresholds, a bit of sandpaper (or a hand planer, if you’re feeling ambitious) can smooth out raised edges. Go slow and check your progress often.
- Add a ramp or beveled edge: If the lip between floors is too high and can’t be leveled, consider installing a small ramp or a beveled threshold. These are widely available at hardware stores and are designed to create a gradual slope that’s easy to step over.
Honestly, the feeling of walking smoothly over a freshly fixed threshold? Underrated. Just make sure to test the fix before calling it done. If it still catches your foot or feels off, you might need a more involved solution.
When to Replace the Threshold Entirely
Sometimes, a threshold is just too far gone for minor fixes. Maybe it’s cracked, warped, or the problem’s been ignored for so long that patching it up doesn’t cut it anymore. Here’s how you know it’s time to swap the old threshold for a new one:
- Visible cracks, warping, or breakage: If the material is clearly damaged, trying to code a fix with glue or screws won’t last. Replacement is safer and looks better.
- Persistent imbalance: If you’ve tried sanding or adjusting, but the threshold still sits too high or low, you’ll likely need to start fresh with a new piece.
- Improper fit for new flooring: If you recently upgraded your floors, your old threshold may no longer fit right. It might be taller than the new floors, or leave a gap that looks unsightly—and unsafe.
To replace the threshold, you’ll need to remove the old one (carefully pry it up using a flat bar or screwdriver). Clean the area underneath, then measure and cut the new threshold to fit. Most new thresholds come with pre-drilled holes for screws or channels for adhesive. Make sure everything is level before securing it in place.
It’s a bit more work than a quick reset, but the peace of mind—especially in high-traffic areas—is usually worth it.
Getting Professional Help: When DIY Isn’t Enough
Let’s be real: not all threshold issues are a weekend project. If you’ve tried tightening, sanding, or even replacing the threshold and the trip hazard keeps coming back, there might be a deeper problem. Uneven subfloors, water damage, or shifting foundations can all be culprits.
- Signs of water damage: If the threshold and surrounding floor feel soft or show signs of swelling, you could be dealing with hidden moisture problems. In these cases, it’s best to call a pro to assess and repair the area.
- Major height differences between rooms: Sometimes, the structure of your home causes big differences in floor height. A professional can recommend—and install—specialty ramps or custom thresholds designed for tricky transitions.
- Subfloor or settling issues: If the floors themselves are out of level, fixing just the threshold won’t help. You’ll need an expert to assess and code a broader solution, which might include leveling compound or even subfloor repairs.
Honestly, spending a little for professional troubleshooting now can save you bigger headaches (and injuries) down the line. Plus, a good contractor can help you pick the right materials to match your home’s style and needs.
Choosing the Right Threshold for Your Needs
You might be wondering—are all thresholds basically the same? The short answer is no. Picking the right threshold can make a huge difference in safety, looks, and long-term performance. Here’s a quick rundown of your main options:
- Wooden thresholds: Classic, warm, and easy to customize. Great for interior doorways, but less durable in damp areas (like laundry rooms).
- Metal thresholds: Tough, low-profile, and often used for exterior doors or in commercial spaces. They’re more resistant to warping and can handle heavy foot traffic.
- Rubber or vinyl ramps: Flexible and grippy—ideal for wheelchairs, strollers, or homes with aging adults. They provide an easy, smooth transition but might wear out faster in high-traffic spaces.
- Custom or adjustable thresholds: For tricky spaces or major height differences, some products can be customized or adjusted after installation. These can be a bit pricier but are perfect when one side is much higher than the other.
If you’re pairing the threshold with a brand new floor, make sure everything lines up—for example, the height of new hardwood vs. existing tile. Universal thresholds are available, but sometimes it’s worth spending a little more for a precise fit, especially if your situation is unique.
Tips to Prevent Threshold Trip Hazards in the Future
Fixing a trip hazard is great, but making sure it doesn’t come back? Even better. Here’s how you can stay ahead of the problem and avoid more unwanted stumbles down the road:
- Check your thresholds regularly: Every few months, take a second to walk through doorways and feel for bumps, wobbles, or loose screws.
- Keep thresholds clean and dry: Dirt, water, and gunk can build up and cause warping or slippery spots, especially on wooden or metal thresholds.
- Be mindful during renovations: Any time you change flooring, double-check that the new floors and thresholds line up smoothly. This is an ideal time to swap out old, worn thresholds for new ones.
- Use high-quality materials and hardware: Honestly, a little extra spent on a solid threshold and rust-resistant screws means your fix will last much longer.
Even the best DIY fixes can wear down over time. Make threshold checks part of your home maintenance routine, just like changing batteries in your smoke alarm or resetting clocks for daylight savings.
Final Thoughts: Small Fix, Big Difference
A threshold that’s causing trip hazards can turn a comfortable home into an obstacle course. But with a little troubleshooting—and the right approach—you can make every step safer. Whether you’re tightening a single screw, replacing a warped strip, or calling in backup for a trickier fix, remember: small details matter. Smooth transitions make a big difference in how your space feels and functions. And honestly, it’s hard to beat the satisfaction of solving a problem that everyone literally walks over every single day.