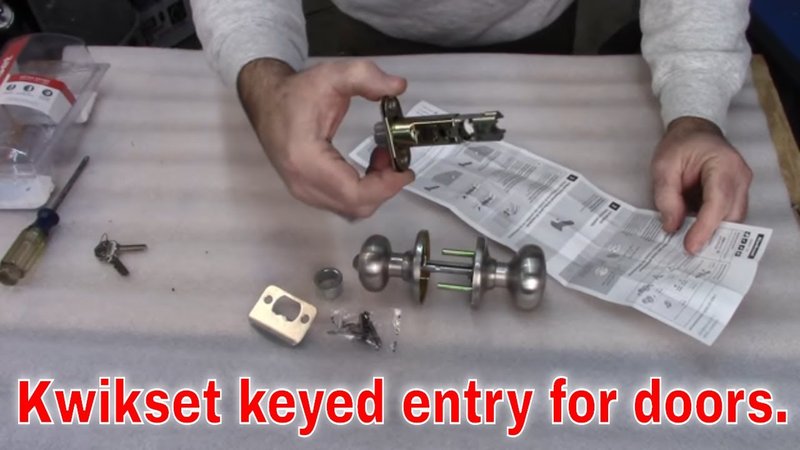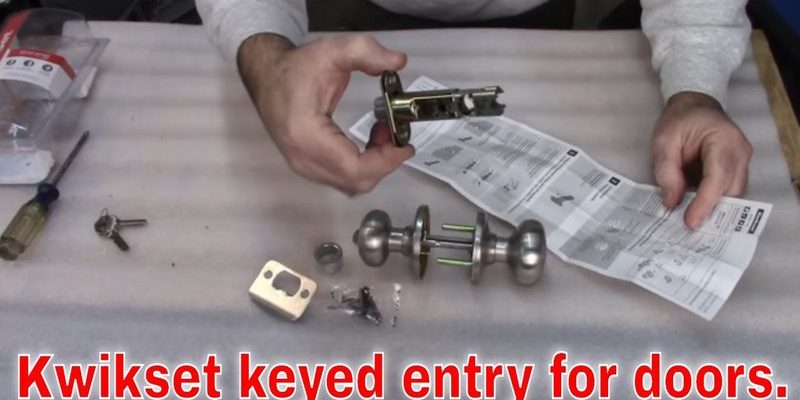
Here’s the thing: most people assume this is just a cosmetic problem, but a drooping handleset can signal a deeper issue. It might mean worn springs, loose screws, or a buildup of gunk that’s slowing everything down. If you’re staring at your sagging handle and wondering if a replacement is your only option, don’t worry yet. Let me walk you through what’s probably going wrong, how to troubleshoot step by step, and a few ways to fix it—even if you’ve never taken a door handle apart before.
Why Handlesets Lose Their Level Position
It’s easy to assume your handleset isn’t returning to level because it’s getting old, but that’s only part of the story. The mechanism inside most residential handlesets has a tiny spring or torsion device that “snaps” the lever back to horizontal every time you use it. Over time, this spring can stretch, weaken, or even break entirely—making the handle hang down instead of springing back.
Let me explain why this happens. Every time you press down on the lever, you’re asking the spring to do a little work. After thousands of uses, it starts to lose its strength. Add in the grime that naturally builds up inside the handle from regular use, and now the spring is fighting dirt as well as gravity. A misaligned spindle (the square rod that runs through your door and connects both sides of the handle) can also cause the lever to droop or stick.
Most major brands—like Schlage, Kwikset, Yale, and Emtek—use similar internal designs for their handlesets, so the common causes and fixes apply across the board. The good news? Most issues can be solved with simple troubleshooting and a few basic tools, as long as you’re patient and not afraid of a little DIY.
Checking For Loose Screws and Sagging Hardware
Before you get into the guts of your handleset, start simple: check for loose screws or sagging hardware. Loose mounting screws can make the entire handle feel wobbly, and sometimes, simply tightening them is enough to get the lever to return to level.
Here’s a quick way to check:
- Stand on the inside of your door so you can see both the lever and the screws.
- Gently wiggle the handle up and down. If it feels loose, chances are some screws need tightening.
- Use a screwdriver to snug up the screws on the interior plate and the lever itself. Don’t overtighten—just make sure they’re secure.
You might be surprised how often this solves the problem. On older handlesets, especially Kwikset or Schlage models, repeated use can slowly loosen things up over time. If the handle still droops after tightening, that’s your cue to move on to deeper troubleshooting.
Inspecting and Cleaning The Latch and Spring Mechanism
If the screws are tight but your handleset still won’t return to level, it’s probably time to peek inside. The spring mechanism is usually hidden behind the mounting plate or inside the lever itself. Don’t worry—it’s less intimidating than it sounds.
Here’s how to approach this:
- Remove the lever or handle by unscrewing the set screw (often found underneath the lever or knob).
- Carefully slide the handle off, revealing the spring assembly.
- Inspect the spring for any signs of damage, stretching, or breakage. If it looks warped or broken, that’s likely your culprit.
- Use a dry cloth or a bit of compressed air to clean out any dust, debris, or grime from the spring and housing.
Sometimes, just cleaning out the mechanism can make a huge difference. Dirt and sticky residue can slow down the movement of the spring, making it less snappy. If you spot a damaged spring, you might be able to order a replacement spring kit from the manufacturer, or you might need to replace the latch entirely. Schlage and Kwikset both offer spring repair kits for common models.
If you’ve never taken apart a handleset before, take photos at each step. It’s a small thing, but trust me, it makes reassembly a whole lot easier.
Understanding The Role Of The Spindle
You might be wondering what a spindle is, and why it matters. The spindle is the square rod that connects the outside and inside handles through the door. If it’s misaligned, bent, or worn out, your lever won’t move—or return—correctly.
Here’s the thing: sometimes, after years of use (or if the handle gets yanked hard), the spindle can shift or lose its “center.” That puts extra strain on the spring and latch, making everything work less smoothly. With some handlesets, the spindle is part of a removable cartridge; with others, it’s a separate rod that slides into both handles.
If the spindle looks crooked, rusty, or feels loose in the mounting holes, it might be time to realign or replace it. Luckily, most hardware stores carry universal spindles, or you can order a branded replacement from Schlage, Kwikset, Yale, or Emtek. Replacing the spindle is straightforward—just slide the old one out, pop the new one in, and reassemble your handleset.
When to Reset or Replace the Latch Assembly
Sometimes you’ll find everything inside looks correct, but the handle still won’t return to level. At this point, the issue might be with the latch assembly itself (the part that slides into the door frame and keeps the door closed). Here’s how to check:
- Remove the entire handleset from the door, including the latch assembly.
- Examine the latch for any signs of wear, rust, or a stuck mechanism.
- If the latch is sticky, spray a little dry lubricant (never oil) and work it back and forth.
- If the latch seems bent or the spring inside doesn’t move freely, it’s usually best to replace it.
You’ll find that brands like Schlage and Kwikset let you buy just the latch section without replacing the whole set. That’s good news for your wallet and the planet. If you’re not sure which replacement to get, take the old latch to the hardware store, or check the model number on the inside plate.
Comparing Universal and Brand-Specific Handleset Parts
Here’s something you should know: not all handleset parts are created equal. Universal spring kits, latches, and spindles are tempting because they’re cheap and easy to find. But sometimes, using a non-branded part in your Schlage, Kwikset, or Yale handleset can lead to sloppy fit, awkward movement, or even voided warranties.
If you’ve got a common residential model, universal parts will often work in a pinch—especially for basic spindles or set screws. But when it comes to the spring mechanism or latch, I recommend sticking with brand-specific parts whenever possible. They’re designed to fit with less fiddling, and you’re less likely to run into weird movement or misalignment.
Mixing universal and original handleset parts is kind of like putting on shoes that almost—but don’t quite—fit. You can get by, but you’ll notice the difference every time you use the door.
When Should You Call a Pro for Handleset Troubleshooting?
Let’s be honest: sometimes a handleset that doesn’t return to level is just a symptom of a much bigger problem. Maybe the entire door is sagging, the mortise is damaged, or you keep running into stuck parts that won’t budge no matter what.
Here are a few signs it’s worth calling a locksmith or handyman:
- You’ve tried all the above steps, and the lever still droops or sticks.
- The internal parts are clearly broken, rusted solid, or impossible to remove.
- Your handleset is part of a smart lock system, and you’re worried about damaging the code or the sync with your remote.
When in doubt, it’s always okay to get help. Locksmiths see handlesets like this all the time. Sometimes what looks like a lost cause is a 10-minute fix for someone with the right tools and a handful of replacement parts.
Preventing Future Sagging: Maintenance Tips for Handlesets
Now that you’ve wrestled your handleset back to level, let’s keep it that way. Simple maintenance can add years to your Schlage, Kwikset, or Emtek handleset—saving you future troubleshooting headaches.
I recommend:
- Tightening all visible screws every few months, especially on high-use doors.
- Cleaning dust and grime from around the lever and escutcheon plate at least twice a year.
- Applying a small amount of graphite or dry lubricant to the latch, but never using oil-based products—they attract more dirt.
- If your handleset uses a keyless remote, check the battery every 6–12 months and make sure the code or sync functions work smoothly after any repair.
Handlesets are designed to take a lot of abuse, but a few minutes of care can make all the difference. You’ll notice smoother movement, less sag, and fewer calls to a pro down the road.
Wrapping Up: A Level Handleset Says a Lot
A door handle that doesn’t return to level isn’t just a minor nuisance—it’s a little flag that something inside needs attention. The good news is, once you understand the basic parts at play (springs, spindles, latches, and screws), troubleshooting a handleset that won’t stay level isn’t nearly as scary as it sounds. Whether you’re rocking a classic Schlage, trusty Kwikset, or a Yale smart handle with remote and code sync features, the approach is the same: go step by step, keep it clean, and don’t be afraid to swap out tired parts.
Honestly, fixing this kind of problem is one of those home improvement victories that feels way bigger than it looks. You’ll notice the snap and level every time you close your door—and you might even catch yourself smiling at your handiwork. And remember: sometimes the simplest fixes, like tightening a screw or swapping a spring, make your entryway feel brand new again.
