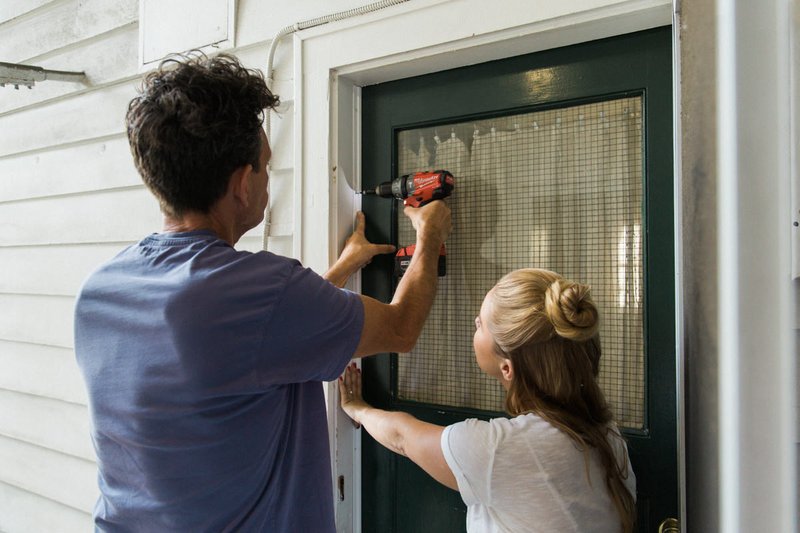
This problem crops up more often than you’d think, whether you’re dealing with a fancy Pella entryway, a classic wood slab, or a Home Depot special with universal stick-on strips. It’s not just “user error,” either. Latching issues can drive you up the wall, especially when all you wanted was to keep the drafts out. Let’s break down *why* new weatherstripping can make a door tough to latch, and how you can troubleshoot the issue (without feeling like you need a handyman’s license).
Why New Weatherstripping Makes Doors Hard to Latch
Right after installing new weatherstripping, it’s almost like your door grew overnight. Suddenly, closing it takes more muscle. That’s because weatherstripping—especially when brand new—is designed to be thick and springy so it can block out air, water, and noise. But that extra thickness sometimes means the door hits resistance before the latch can catch in the strike plate.
Here’s the thing: most weatherstripping (whether it’s foam, rubber, or felt) is meant to compress over time. On day one, though, it’s like trying to close your suitcase with a fluffy new sweater jammed in. If your door frame is slightly out of square—or if you’ve layered too many strips—there may not be enough “give” for the latch to engage smoothly.
Modern brands like M-D Building Products and Frost King often make weatherstripping that’s supposed to fit a range of gaps. But universal kits aren’t one-size-fits-all for every door. If the material is too thick or the adhesive adds extra bulk, you might find yourself in a wrestling match with your door every time you want to close it.
Signs the Weatherstripping Is the Problem (Not the Door)
Before you grab your screwdriver, it’s smart to double-check if the new weatherstripping is actually to blame. It’s easy to mistake a sticky latch for a more complicated hardware issue, but there are telltale clues.
- New resistance or “spongy” feeling: If the door used to latch fine and got stubborn right after installing weatherstripping, that’s your
- Visible compression marks: You might notice a deep groove in the weatherstripping where the latch hits the strike side. That means it’s taking the brunt of the pressure.
- Hard to close, but opens easily: Most latching problems from weatherstripping make the door tough to latch, but not to open. If opening is smooth, but closing requires force, it’s likely the new seal.
- Latch marks on the frame or weatherstripping: Pop the door open and look for scuff marks, scrapes, or dents where the latch or bolt meets resistance.
Sometimes, the issue *is* the latch itself—maybe it needs oil, or the strike plate is misaligned. But if your only recent change is the weatherstripping installation, odds are it’s the main culprit. Trust your instincts here. If it suddenly feels like you need two hands to close the door after swapping out the old seal, the connection is pretty clear.
Quick Fixes: What to Try Before Grabbing Tools
There’s no need to reach for the drill just yet. Honestly, a lot of “sticky door” issues get better with a little patience, because new weatherstripping often compresses and softens within a week or two of daily use. Sometimes, just opening and closing the door a couple dozen times is enough to break in the seal.
That said, if you’re tired of the struggle, there are a few gentle tricks that might help:
- Rub a candle or bar of soap along the spot where the door meets resistance. This simple trick acts like a dry lubricant, making the latch glide more easily into the strike plate.
- Try closing the door gently but firmly several times in a row. The repeated compression can help the new weatherstripping “settle in” faster—just don’t overdo it and damage the seal.
- Use your hand to press down the weatherstripping along the latch side. Sometimes, newly applied strips aren’t fully adhered, leaving extra “puff” in the way.
- Check for packing tape or backing material you might have missed peeling off. It happens more than you’d think!
If these quick fixes don’t do the trick after a couple of days, it’s time for a closer look.
Adjusting the Strike Plate for a Better Latch
Here’s where a screwdriver might come in handy—but don’t worry, this isn’t advanced carpentry. The strike plate is that metal rectangle on the jamb that the door latch clicks into when you close the door. A brand new weatherstripping strip can make it so the latch hits the plate *before* it can slide into the hole.
You can often solve this by adjusting the position of the strike plate:
- Loosen the screws holding the strike plate in place. Don’t remove them all the way—just enough that you can wiggle the plate up, down, or slightly toward the inside/outside of the frame.
- Close the door and watch where the latch wants to go. You might see that it barely misses the hole, or it’s scraping on the top or bottom of the plate.
- Shift the strike plate slightly to create a little more room for the latch.
- Tighten the screws back down and test the latch. You might need to repeat this a couple of times to find the best position.
If the door only needs a hair more clearance, you can also try filing the inside edge of the strike plate (where the latch hits) with a metal file to smooth out the entry. It’s a small change, but sometimes that’s all it takes to make the latch catch smoothly again.
What if the Door Still Won’t Latch? (Checking for Overly Thick Weatherstripping)
Sometimes, weatherstripping is just too thick for your door frame—especially if your door already fit tightly before installing it. In these cases, you might feel like no amount of adjusting will help. Here’s what you can do:
- Double-check the type of weatherstripping you installed. Peel-and-stick foam is often thicker than vinyl or rubber compression strips. Some universal kits are “heavy duty” by default, which can be overkill for a standard door.
- Trim the weatherstripping with scissors or a utility knife where the latch meets the frame. Just shave off a small section—maybe an inch or two—right at the pressure point. It’s a quick, targeted fix that’ll let the latch catch naturally, while keeping the rest of your seal airtight.
- Swap for a slimmer product if trimming doesn’t work. Measure the gap between your door and jamb, then look for a weatherstripping brand that matches (like 3M’s slim-profile strips or M-D’s “low profile” options).
If you’re not sure what type you need, bring a small piece of the old weatherstripping to your local hardware store. Staff can usually point you toward a replacement that won’t get in your way.
Common Mistakes to Avoid When Installing Weatherstripping
It’s easy to rush through weatherstripping installation, especially if you’re eager to feel the difference in your heating bill. But a few beginner mistakes can make latching problems worse:
- Overlapping strips or doubling up in corners. It seems like more seal is better, but overlapping material just makes the problem worse—and gives latches even less room to move.
- Not pressing down firmly enough during installation, leaving lumps or bubbles in the strip. This can create “pinch points” where the latch can’t get past the extra thickness.
- Forgetting to test the door during the install. After sticking a section of weatherstripping, always close the door and check the latch before moving on. Small adjustments early on can save huge headaches later.
- Using the wrong type for your door. For example, foam tape might work for an interior closet, but exterior doors usually need firmer rubber or vinyl options for a tight, long-lasting seal.
Pro tip: Always take your time and work in sections. Every door and frame is slightly unique, and a little patience now saves a lot of troubleshooting later.
Door Hardware Issues That Can Sneak Up on You
If you’ve ruled out the weatherstripping, but the door still won’t latch, look at the hardware. Sometimes, a sticky latch or loose handle gets worse with the added pressure of new weatherstripping. Here’s what to check:
- Worn or dry latch mechanism. Give it a squirt of graphite or silicone spray (avoid oil-based lubricants on modern hardware), then work the handle a few times to spread it around.
- Loose strike plate screws. If the strike plate wiggles every time the latch hits it, you’ll never get a consistent latch. Tighten all hardware snugly—but don’t overtighten and strip the wood.
- Misaligned door or sagging hinges. Sometimes, new weatherstripping “reveals” an old problem, like a sagging top hinge. If the latch seems to miss the strike plate entirely, try tightening the hinge screws or adding a shim behind the bottom hinge to lift the door back into place.
You don’t need to be a pro to spot these issues—just a sharp eye and a willingness to experiment.
When to Call in a Professional (Or Try a Universal Door Fix)
Let’s be honest—sometimes, even after all your adjusting, trimming, and creative troubleshooting, the door just won’t cooperate. This can be especially true for older homes, where door frames have settled out of square, or when dealing with ornate or specialty doors (like double French doors or steel entryways).
If nothing else works:
- Consider a universal adjustable strike plate. These can fit a range of door styles and allow for more wiggle room than a fixed plate. Brands like Defender Security make versions that can be shifted up, down, and even in or out for the perfect fit.
- Call a handyman or door specialist if you suspect the frame itself is warped, or if you’re worried about voiding a warranty. They have the tools and know-how to reset hinges, plane the door, or correct out-of-square jambs safely.
- Look at the warranty on your weatherstripping or door hardware. Sometimes, a brand will cover faulty weatherstripping or offer troubleshooting support if you call their customer service line.
Don’t stress—doors are meant to protect and insulate, not infuriate. Sometimes, a set of professional eyes is all it takes to solve a stubborn problem.
Wrapping Up: Making Your Door and Weatherstripping Work Together
Getting a door to latch smoothly after installing new weatherstripping seems simple, but it’s a common pain point for homeowners and renters alike. The trick is to find the right *balance*: a seal that blocks drafts without blocking your way in or out. Whether you’re tweaking the strike plate, picking the right thickness, or just letting the material settle in, a bit of patience and some simple troubleshooting steps can get things back on track.
Remember, every door and home is a little different—so don’t be afraid to experiment and make small adjustments. And if you hit a wall (or a jammed latch), there’s no shame in calling a pro or trying a universal hardware fix. In the end, your door should close as comfortably as a familiar book—no wrestling, no drama, just a nice, solid click.
