Let me explain: Whether you’ve got a Schlage, Kwikset, or another big-name door, the seal at the edges works quietly to keep things comfortable inside. But over time, that strip of rubber or foam can start to look less “fresh off the shelf” and more like an old garden hose left out in the sun. Discoloration isn’t just cosmetic—it often means the seal is breaking down, which can lead to drafts, leaks, or even an annoying whistling noise when it’s windy. So, let’s talk honestly about why this happens, what it means, and how you can fix or prevent it.
What Causes Sunlight Discoloration on Door Seals?
Sunlight, especially direct sunlight through glass doors or sidelights, is the top culprit behind door seal discoloration. Ultraviolet (UV) rays break down the outer layer of most rubber, vinyl, or foam seals. This leads to fading, yellowing, and sometimes even flaking, depending on the material.
If you live somewhere with lots of sunny days or your door faces south or west, you’ll see this much sooner. I’ve seen brand-new seals on high-quality Andersen or Pella doors turn from crisp white to ugly yellow in just a couple of years. It’s the same reason patio furniture looks faded after a summer in the backyard—UV light doesn’t play favorites.
Here’s the thing: Not all seals are made the same. Brands may tout “UV-resistant” materials, but even the best options will eventually show wear if they’re exposed long enough. Sometimes, cleaning products you use on the door can speed things up, especially if they leave residue that reacts with sunlight and heat.
Is Discoloration Just Cosmetic, or Does It Mean Damage?
Discoloration isn’t always about looks. Yes, it’s frustrating to have a gray or yellowed strip framing your otherwise perfect door. But, more importantly, fading and discoloration can signal that the seal’s material is breaking down at a structural level.
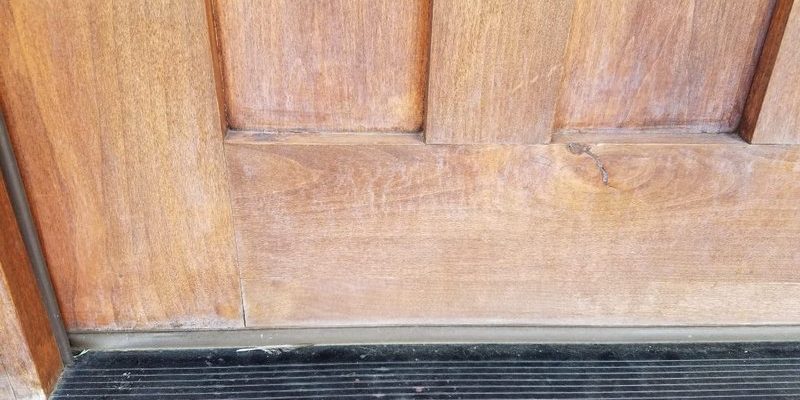
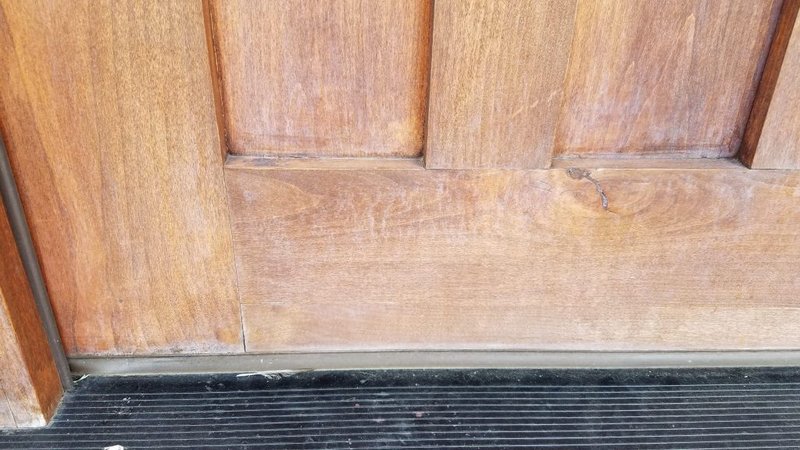
Let me give you a quick example. If you press on your discolored seal and it stays squished, feels sticky, or flakes apart, that’s a sign the UV rays have started to destroy the flexible compounds inside. Once that happens, you lose the tight fit that keeps out drafts, water, and bugs.
Of course, sometimes a seal just looks bad but still works fine. If it’s only a mild color change—say, a little bit of yellowing but everything’s still flexible and springy—you might get away with cleaning it up and keeping it a while longer. But honestly, if your door seal is crunchy, sticky, or crumbly, it’s time to think about replacement.
How to Clean a Discolored Door Seal Safely
Before you grab the nearest cleaner, it’s important to know that harsh chemicals can make things worse. Many household cleaners (especially bleach, ammonia, or solvents) strip away even more of the seal’s protective coating, leaving it brittle and more prone to cracking.
Here’s a simple, safe cleaning process:
- Mix a few drops of mild dish soap with warm water in a bowl.
- Dip a soft cloth or sponge in the soapy water and gently wipe the seal. Don’t scrub hard—a gentle touch is better.
- Rinse the cloth in clean water and wipe away any soapy residue.
- Pat the seal dry with a clean towel.
If you’re still seeing stubborn stains, a small amount of baking soda on a damp cloth can help lift minor discoloration. Just don’t overdo it. Abrasive scrubbing can wear away the surface, making the seal more likely to crack.
Pro tip: Never use petroleum-based products or alcohol wipes on your seals—they can eat away at rubber and vinyl, causing leaks and drafts down the line.
Can You Restore or Recondition a Sun-Discolored Door Seal?
You might be wondering if there’s some miracle product that’ll bring your seal back to its former glory. Honestly, results are hit-or-miss. There are vinyl and rubber “restore” sprays on the market, which can temporarily darken faded seals and make them look fresher. But these don’t reverse deep UV damage, and their effects usually fade after a few weeks.
If the seal is only lightly discolored and still feels flexible, you can try a protectant made for car weatherstripping. Look for a water-based, silicone-free formula—these are much gentler than the shiny “tire dressing” sprays. Wipe the seal clean, dry it thoroughly, then apply a thin layer of protectant and let it soak in.
But, let me be clear: If your door seal is cracking, sticky, or falling apart, reconditioning products won’t save it. You’ll spend more time cleaning up the mess than actually fixing the problem.
When Should You Replace a Discolored Door Seal?
There’s a point where even the best cleaning and conditioning tricks won’t help. If you’re seeing obvious cracks, gaps, or the seal is pulling away from the door frame, it’s time to replace it.
Here’s a quick checklist that usually means it’s time for a new seal:
- The seal is hard and brittle instead of soft and springy.
- You see chunks missing, deep cracks, or obvious tears.
- The seal no longer sticks snugly against the door when closed.
- There’s a draft, water leak, or you can see light peeking in around the edges.
Replacement isn’t as tough as it sounds. Most door seals are attached with adhesive, small screws, or simply press-fit into a groove. You’ll want to select a replacement designed for your door’s brand—like Therma-Tru, Masonite, or the big-box store’s generic “universal” strips. Universal seals can work fine for basic doors, but for fancier brands or special shapes, matching the original is usually best.
How to Replace a Sun-Damaged Door Seal
If you decide to swap out the old, sun-damaged seal, here are some steps to make the process smooth:
- Start by gently pulling off the old seal. For glued types, you might need a putty knife to lift it without scratching the frame.
- Clean the groove or surface with a damp cloth to remove dust, bits of old seal, or adhesive residue. Dry thoroughly.
- Measure the old seal or the length of the frame to cut the new seal to size. Always err on the slightly longer side—you can trim it later.
- Fit the new seal in place. For press-in types, snap or slide it into the groove. For adhesive types, peel the backing and press firmly, making sure it’s even all around.
- Close the door and check the fit. The seal should compress slightly, but not make the door hard to close.
If you’re using a specific brand’s part (like a Schlage or Pella-compatible seal), it may come with its own instructions. Follow those for the best results. And if you run into trouble with odd shapes or old frames, don’t be afraid to ask for help at your hardware store—they’ve probably seen it all.
How to Prevent Sunlight Discoloration on New Door Seals
The most effective way to stop sunlight from destroying your new door seal is, quite simply, to limit sun exposure. Of course, that’s often easier said than done. Here are a few tricks that can really help:
- Add a curtain, shade, or window film to any glass door or sidelight that pours direct sunlight onto the seal. Even a sheer curtain can make a difference over time.
- Choose a seal with a proven UV-resistant rating. Some brands (like Schlage, Kwikset, and Andersen) offer seals rated for sun or “all weather” use. Ask for these at the hardware store.
- Apply a gentle rubber or vinyl protectant every 6 months. Use a water-based product meant for automotive weatherstripping—never greasy cleaners.
- Keep the area clean from dirt and debris, as grime can trap heat and speed up UV damage.
If your door faces intense sun all year, even the best seal will eventually fade, but these steps can buy you extra time and keep things looking sharp.
Comparing Universal vs. Brand-Specific Door Seals
You might be tempted by the cheaper, universal seals on the shelf—and they do work in many cases. But here’s the thing: Not every door is built the same. Some, like those from Masonite or Pella, use odd-shaped grooves or special corner cuts that universal products just can’t match.
Universal seals are great when you need a quick, affordable fix and your door is a standard size. They’re usually easy to cut and install, and most come with basic instructions. But if you want the absolute best performance and a clean look—especially if you have a newer, high-end door—it’s worth spending a few extra bucks on a brand-specific replacement.
In my experience, pairing the right seal with your exact door guarantees a tighter fit, better weather protection, and usually a better match in color and texture. And if you ever need to troubleshoot a problem—like adjusting, syncing, or resetting an entry system—having all original parts makes the process much easier.
The Bottom Line: A Little Prevention Goes a Long Way
Nobody goes out of their way to admire a door seal, but when yours starts looking sunburnt or battered, you’ll notice. Sunlight has a sneaky way of breaking down even the highest quality materials, whether it’s a universal weatherstrip or a name-brand part. The good news? With some basic cleaning, smart choices, and a little maintenance, you can slow down the damage and keep your door looking (and working) its best.
If your seal is already faded or falling apart, don’t sweat it—replacing a door seal that’s discolored from sunlight is a straightforward DIY task for most folks. Think of it as a quick tune-up for your home’s comfort. And if you treat your new seal with care—and maybe a little extra shade—you’ll keep drafts and sunlight out for years to come.