A door hinge with a short pin can lead to all sorts of annoying issues. You might hear squeaking sounds or notice the door sagging on one side. Here’s the thing: fixing a hinge pin is usually a straightforward process, and with the right steps, you can say goodbye to that pesky problem. In this guide, we’re diving deep into troubleshooting a door hinge pin that’s too short. Whether you have a rusty old hinge or a brand-new one, I’ll help you understand the ins and outs of making it right.
Identifying the Problem with Your Door Hinge Pin
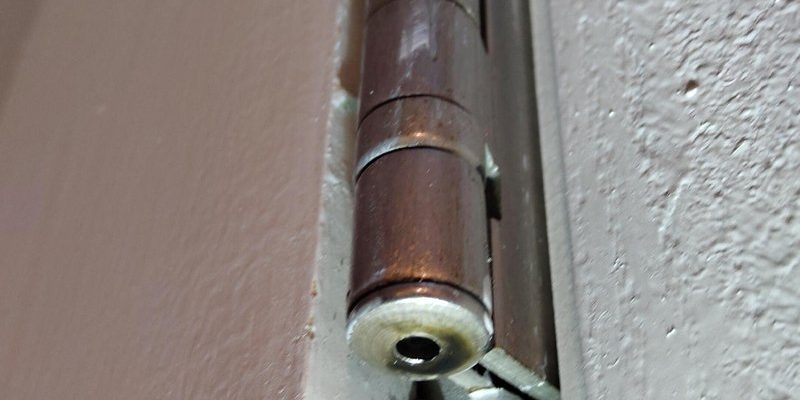
Before we jump into fixing things, let’s first identify the symptoms of a door hinge pin that’s too short. If your door is sagging, it might be time to give those hinges a good look. A short pin can lead to poor alignment, causing your door to rub against the frame or not close properly.
You might also notice squeaking or grinding noises. If you listen closely, these sounds can be a telltale sign that the hinge isn’t seated correctly or that the pin isn’t secure. Additionally, if the door feels loose when you pull or push it, that’s another indicator that your hinge pin needs attention.
To check if the hinge pin is indeed too short, you can remove the pin entirely. Once you take it out, compare its length to a standard hinge pin (usually about 3 inches). If it falls short, then you’ve got a problem that needs fixing.
Gathering the Right Tools and Materials
Before diving into the repair, it’s essential to have the right tools at your fingertips. You don’t want to start a project only to realize you’re missing something crucial halfway through. Here’s what you’ll need:
- Replacement hinge pins (the proper length)
- Hammer or mallet
- Flat-head screwdriver
- Pliers
- Lubricant (like WD-40)
Take a moment to gather these tools. It might feel like a lot at first, but trust me, having everything ready makes the job way easier. If you’re unsure about which hinge pins to buy, don’t hesitate to bring a sample to your local hardware store. They can guide you to the right match.
Removing the Old Hinge Pin
Now, let’s talk about how to remove that stubborn old hinge pin. First, make sure your door is supported—no one wants a door that suddenly falls off! Prop it open or ask someone to hold it while you work.
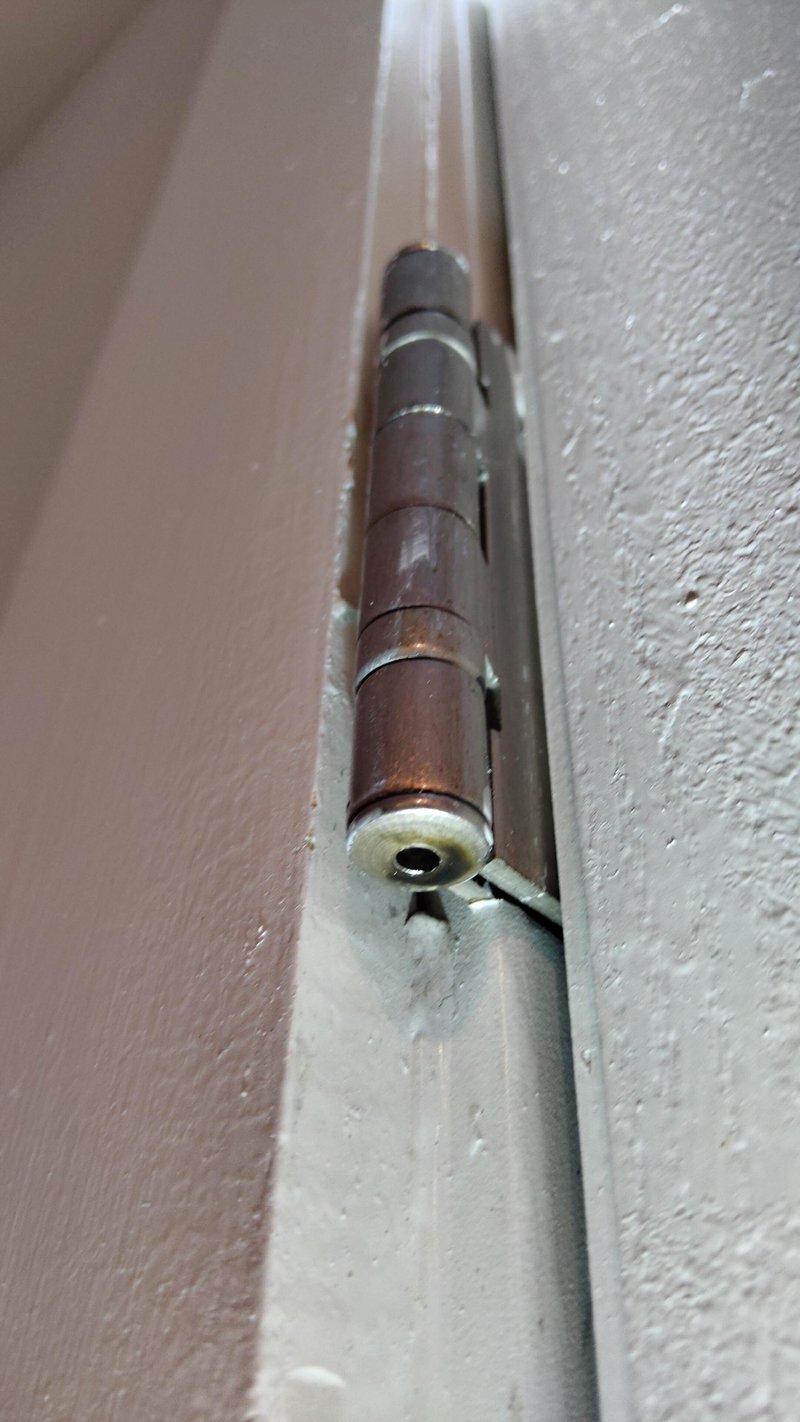
Once it’s secure, locate the pin head. You’ll often find it at the top of the hinge, and you’ll need to tap it out. Use your flat-head screwdriver to pry it slightly, then take your hammer and gently tap the screwdriver, making sure to apply even pressure. Keep working until the pin starts to slide out.
If the pin is particularly stuck, you can use pliers to grip it more firmly, making it easier to pull out. Once you’ve removed it, take a moment to inspect the hinge itself. Look for any damage or rust that might also need attention.
Installing the New Hinge Pin
With the old pin out, it’s time to install the new, longer hinge pin. Start by aligning the hinge plates. You want to ensure everything lines up perfectly so your door hangs straight. Once aligned, simply slide the new pin into place, gently tapping it with the hammer if needed.
Take care not to force it in too hard, as this could damage the hinge. You want it snug, but it should still move freely. After the pin is in, double-check its height and ensure it isn’t sticking out awkwardly.
Now, close the door a few times to test the movement. It should swing smoothly without any squeaks. If it still feels off, you might need to adjust the alignment of the hinge itself.
Lubricating the Hinge for Smooth Operation
Once you have the new hinge pin securely in place, the next step is lubricating the hinge. This is like giving your door a spa day—it helps everything move smoothly and prevents squeaks. Plus, lubrication can extend the lifespan of your hinges.
To do this, simply spray a bit of lubricant like WD-40 directly onto the hinge. Make sure to get into any crevices. Then, open and close the door several times to work the lubricant into the pin and hinge. You’ll quickly notice how much quieter and smoother the door operates.
Remember, it’s a good idea to lubricate your hinges regularly, not just when they start to cause issues. A little prevention goes a long way!
Preventing Future Hinge Pin Issues
Now that you’ve successfully replaced your short door hinge pin, let’s talk about how to prevent this issue from happening again. A few tips can keep your door functioning well for years to come.
First, regularly check your hinges for any signs of wear or rust. If you see any rust developing, clean it off right away. Investing in some protective spray can also help keep them in good shape.
Additionally, make it a habit to lubricate your hinges every few months. This can save you from unexpected repairs later on. And, if you find that your door is heavy or you frequently use it, consider upgrading to heavier-duty hinges that can handle the weight better.
When to Call in the Professionals
Sometimes, despite our best efforts, a door hinge just doesn’t cooperate. If you find that replacing the hinge pin doesn’t resolve the issue or if the symptoms worsen, it might be time to bring in a professional.
An experienced handyman can assess the situation more thoroughly, checking for underlying problems like a misaligned door frame or damaged hinge. They can also help you decide if a completely new hinge or door hardware is necessary.
Remember, it’s okay to call for help! We all have our limits, and sometimes a little expert advice goes a long way.
In closing, troubleshooting a door hinge pin that’s too short doesn’t have to be a daunting task. With the right tools and a bit of patience, you can get your door back into working order. Remember to keep an eye on your hinges in the future, and don’t hesitate to reach out for help if needed. Your doors will thank you!