In this guide, I’m going to walk you through the steps to tackle a corroded door hinge pin. We’ll dive into how corrosion happens, identify the signs, and explore effective solutions. You might be wondering if you need to call in a professional or if this is a DIY fix. Spoiler alert: with a little bit of effort and the right tools, you can handle it yourself without breaking a sweat. Let’s get started!
Understanding Corrosion and Its Causes
Corrosion is like the slow creep of nature taking back what it once gave. In the case of door hinges, exposure to moisture, humidity, and even salty air can lead to rust formation. This process weakens metal components and makes them stick. You might not notice it immediately, but over time, that rust can build up and create a stubborn bond between the hinge pin and the barrel.
Think of it as a friendship gone sour. The more time the hinge spends outdoors or in damp areas, the more likely it is to develop rust. This could be particularly true for doors that have been around for years. If your door is older, the likelihood of encountering this issue increases. So, before diving into troubleshooting, it’s good to know what you’re dealing with.
Identifying Signs of a Corroded Hinge Pin
You might be wondering how to tell if your door hinge pin is corroded. Here are some common signs to look for:
- Visible Rust: Look closely at the hinge and pin. If you see orange or brown spots, that’s rust.
- Squeaking or Grinding Noises: If your door is noisy when opening or closing, it’s a sign that something is wrong.
- Resistance When Moving the Door: Difficulty opening or closing the door usually means the hinge is stuck.
When you notice these signs, it’s time to take action. Ignoring it might lead to further damage, making the fix more complicated down the road.
Gathering Necessary Tools for the Job
Before you start troubleshooting, you’ll need to gather a few tools. Here’s a handy list to make sure you have everything at your fingertips:
- Pry Bar or Flathead Screwdriver: Great for gently lifting the hinge pin.
- Hammer: This can help tap stubborn pins loose.
- Rust Remover or Penetrating Oil: These products help dissolve rust and lubricate the hinge.
- Wire Brush: Helpful for cleaning the barrel and pin after removal.
- Rags: For cleaning and drying off any excess oil or rust particles.
Having these tools ready can save you time and frustration. Honestly, there’s nothing worse than starting a project only to realize you’re missing something essential.
Removing the Corroded Hinge Pin
Now that you’ve got your tools, let’s get to the fun part—removing that hinge pin! Here’s a step-by-step guide:
1. Open the Door Fully: Start by opening the door to its widest position. This gives you better access to the hinge.
2. Apply Penetrating Oil: Spray the rust remover or penetrating oil generously on the pin and let it sit for about 10-15 minutes. This will help break down the corrosion.
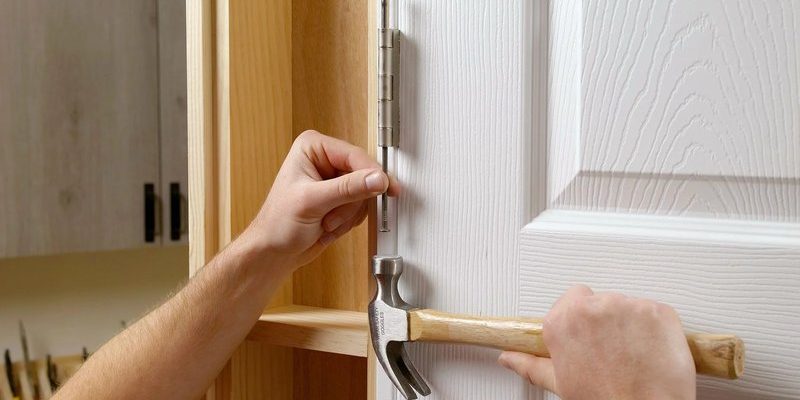
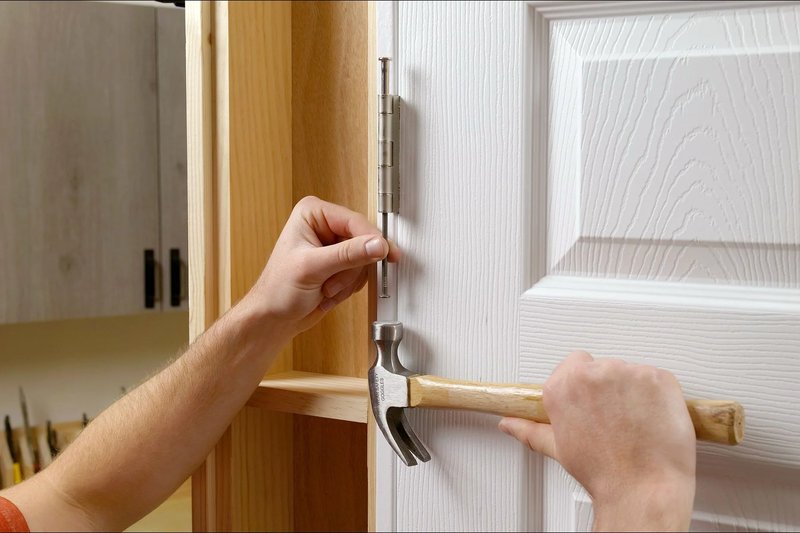
3. Lift the Hinge Pin: Using your flathead screwdriver or pry bar, gently tap or lift the hinge pin from the bottom. If it resists, a few taps with the hammer might do the trick, but be careful not to damage the hinge.
4. Remove the Pin Completely: Once it starts moving, pull it out all the way. It may take some effort, but don’t worry; it’s just stubborn.
Cleaning and Restoring the Hinge
With the hinge pin removed, it’s time to clean everything up. This step is crucial for preventing future corrosion. Here’s how to do it:
1. Inspect the Hinge: Take a good look at the hinge itself. If there’s a lot of rust, consider replacing it. If it’s just surface rust, continue cleaning.
2. Use the Wire Brush: Scrub the barrel and pin with the wire brush to remove any lingering rust. You want these surfaces to be as clean as possible.
3. Wipe Down: Use a rag to wipe down both the hinge and pin. Make sure to get rid of any dust or debris.
4. Reapply Penetrating Oil: A light coating of oil on both the barrel and pin will help keep rust at bay. This step is key for maintaining smooth operation.
Reassembling the Hinge
Once everything is clean and ready, it’s time to put things back together. Here’s how:
1. Insert the Hinge Pin: Start by placing the pin back into the hinge, aligning it with the barrel.
2. Tap it In Gently: Use your hammer to tap the pin back down until it’s secure. Just a few light taps will usually do the trick.
3. Test the Door Movement: Open and close the door a few times to ensure it swings smoothly. If you hear squeaking again, you might need to apply more oil.
4. Final Check: Take a moment to check that everything looks aligned and secure. This little inspection can save you from future headaches.
Preventing Future Corrosion
Now that you’ve tackled the corroded hinge pin, it’s wise to think about prevention. Here are some easy tips to keep your door working smoothly:
- Regular Maintenance: Check your hinges every few months. A little oil goes a long way.
- Keep It Dry: If possible, try to keep the area around your door dry. Use a dehumidifier when needed.
- Consider Upgrading: If your hinges are old and prone to rust, consider investing in stainless steel options.
Taking these steps can save you time and frustration in the long run.
In conclusion, troubleshooting a corroded door hinge pin is manageable with the right approach and tools. Understanding how corrosion happens, identifying signs, and following the steps for removal and maintenance can keep your door in tip-top shape. When you take the time to care for these small details, it can make a big difference in the long run. So, armed with this knowledge, you’re ready to keep that door swinging smoothly!