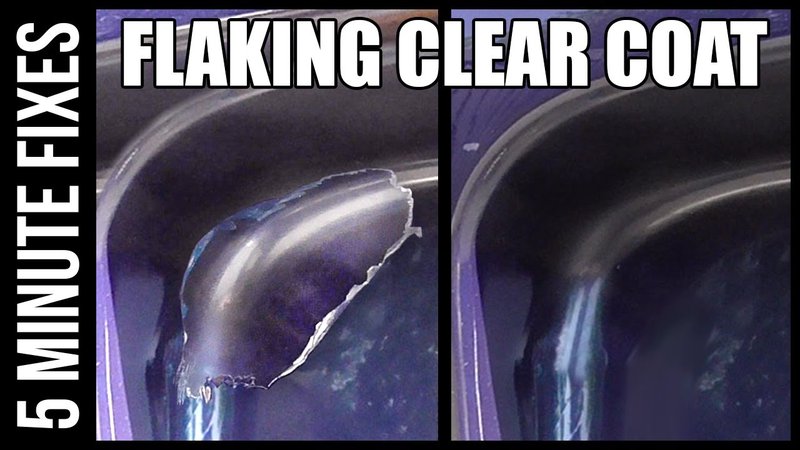
Lacquered brass knobs, popular for their beauty and durability, can sometimes suffer from issues like peeling. This happens when the protective layer of lacquer starts to break down, usually due to age, wear, or exposure to moisture. The good news is you can troubleshoot this problem effectively. Whether you have knobs from a well-known brand or a vintage find, you’ve got options to bring back their luster.
Understanding Lacquered Brass and Its Clear Coat
Before diving into troubleshooting, it’s important to understand what lacquered brass is. Brass is an alloy mainly made of copper and zinc, giving it that beautiful golden hue. The lacquer is a clear, protective coating that keeps the brass from tarnishing and maintains its shine. Over time, however, the lacquer can degrade, leading to peeling or flaking.
You might be wondering why the lacquer starts to peel in the first place. Well, several factors contribute to this issue:
- Humidity: Excess moisture can weaken the lacquer.
- Heat exposure: Areas near stoves or heaters often have temperature fluctuations that can affect the coating.
- Aging: Like us, these coatings can wear out over time.
Recognizing these causes will help you prevent future problems and maintain those shiny knobs.
Identifying the Problem
It’s essential to pinpoint the extent of the damage before taking action. Peeling can range from small flakes to large patches that expose the bare brass beneath. Here’s how you can assess the situation:
1. Visual Inspection: Look closely at your knobs. Are there small areas where the lacquer is starting to lift? Document these areas.
2. Feel the Surface: Run your fingers over the knobs. A smooth surface means the lacquer is mostly intact, while rough patches indicate peeling.
3. Check for Rust: If you see any rust spots, you’ve got a bigger problem. The brass underneath may be getting damaged, leading to discoloration.
Once you’ve identified the extent of the peeling, you can move on to possible solutions.
Tools and Materials You’ll Need
To tackle this issue effectively, gather a few essential tools and materials. Here’s your shopping list:
- Soft cloths: For cleaning and polishing.
- Lacquer thinner or rubbing alcohol: To remove peeling lacquer.
- Clear lacquer spray: For recoating the knobs.
- Sandpaper: Fine grit for smoothing the surface. Be gentle!
- Protective gloves: Safety first!
Having the right supplies will make the troubleshooting process much more manageable.
Removing Peeling Lacquer
Now comes the fun part—fixing those knobs! Start by removing the peeling lacquer. Here’s a step-by-step process:
1. Clean the Knobs: Use a soft cloth to wipe down the knobs. This step removes dirt, grease, and any grime that may hinder the process.
2. Apply Lacquer Thinner: With a cloth moistened with lacquer thinner or rubbing alcohol, gently rub the areas where the lacquer is peeling. Be careful not to apply too much pressure; you want to avoid damaging the brass underneath.
3. Sand the Surface: Once the loose lacquer is removed, lightly sand the area with fine-grit sandpaper. This step smooths any rough spots and prepares the surface for recoating.
After completing these steps, your knobs should look much cleaner and ready for a fresh finish.
Reapplying Clear Coat
After you’ve removed the peeling lacquer, it’s time to reapply a new coat. Here’s how to do this effectively:
1. Choose Your Clear Lacquer: Head to your local hardware store to find a clear lacquer spray. Make sure it’s suitable for brass and has good reviews.
2. Apply in Thin Layers: Hold the spray can about 6-12 inches away from the knob and apply a light, even coat. It’s better to do multiple thin layers rather than one thick one.
3. Let It Dry: Follow the manufacturer’s instructions for drying time. Usually, it’s best to allow each coat to dry thoroughly before adding another.
By following these steps, you’ll give your brass knobs a shiny new look while protecting them from future damage.
Preventing Future Peeling
After you’ve successfully restored your knobs, a little prevention goes a long way. Here are some tips to help keep the lacquer intact:
- Keep It Dry: Dry off any moisture from the knobs after cleaning or when it rains.
- Avoid Harsh Cleaners: Use gentle, brass-friendly cleaners to maintain the lacquer.
- Regular Maintenance: Wipe the knobs down regularly to remove dust and prevent buildup.
By taking these simple steps, you’ll not only prolong the life of the lacquer but also keep your knobs looking their best.
When to Seek Professional Help
Sometimes, the peeling may be beyond a DIY fix, especially if the brass underneath is damaged. Here are situations where it’s wise to consult a professional:
– Severe Damage: If there are significant rust spots or corrosion, consider getting an expert’s opinion.
– Replacing Knobs: If the knobs are antique or particularly valuable, a restoration expert can handle them better than most DIYers.
– Time Constraints: If you simply don’t have the time or patience to fix them yourself, a professional service can save you the hassle.
Taking care of your brass knobs might seem like a small detail, but it can significantly improve the overall look of your home.
In conclusion, troubleshooting a clear coat peeling on lacquered brass knobs isn’t just doable; it can be quite satisfying. With a little patience and the right approach, you can restore those knobs to their former glory. So gather your tools, roll up your sleeves, and say goodbye to that pesky peeling for good!
