
Imagine you have an old door that you love, but the hinges have seen better days. They’re rusty, creaky, and just don’t do the job anymore. Upgrading to ball bearing hinges is like swapping out a flat tire for a shiny new one. The difference is night and day! The best part? You don’t have to be a DIY expert to tackle this project. Let me walk you through the process step by step.
What Are Ball Bearing Hinges?
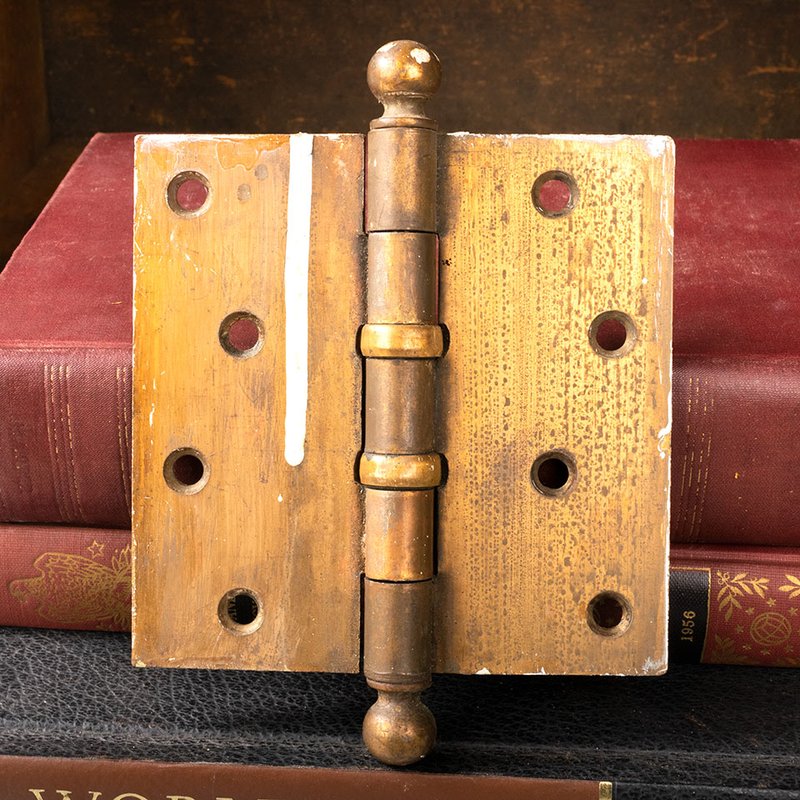
Ball bearing hinges are a modern solution to an age-old problem. Unlike traditional hinges, which rely solely on friction to operate, ball bearing hinges use small, round bearings to reduce friction. This design allows the door to swing open and closed smoothly, with less effort and noise. It’s like upgrading from a bicycle to a high-speed motorcycle—suddenly, everything flows better.
These hinges come with a few advantages. For starters, they’re more durable. That means less wear and tear over time. If you’re thinking about how often you open and close your door, this is a crucial factor. Additionally, ball bearing hinges come in various styles and finishes, so you can easily match them to your home’s aesthetic.
If you’ve got a heavy door or one that sees a lot of traffic, ball bearing hinges can help prevent sagging too. You might be wondering how they stack up against other hinge options like standard butt hinges. Well, while standard hinges can do the job, they fail to provide the same smooth motion that ball bearings offer. So, if you’re looking for longevity and ease of use, going with ball bearing hinges is a smart move.
Why Retrofit Your Old Door?
Retrofitting an old door is essentially about upgrading its functionality without replacing the entire door. Maybe your door is solid wood and has a timeless appeal, but the hinges are outdated. Retrofitting lets you keep the charm of an old door while providing the benefits of modern technology.
Replacing old hinges with ball bearing ones can improve the door’s performance right away. You’ll notice a significant reduction in noise—that creaking sound that seems to echo every time you come or go? Gone. Plus, if you’ve ever had to slam a door shut to get it to close, you’ll appreciate the smooth motion that ball bearing hinges provide.
Retrofitting is also cost-effective. Instead of purchasing a new door, which can be pricey, you’re giving your current door a refresh at a fraction of the cost. It’s like getting a new pair of shoes instead of a whole new outfit—your old favorite still works, just with a little upgrade.
How to Choose the Right Ball Bearing Hinges
Choosing the right ball bearing hinges involves a few considerations. First, think about the weight of your door. Heavier doors require heavy-duty hinges, typically with more bearings for added support. Look for hinges rated for the weight you’ll be using—most packaging will specify this.
Next, consider the finish and style. You want the hinges to complement your door and the overall look of your home. Whether you’re going for a polished brass, satin nickel, or another finish, there’s a ball bearing hinge out there to match.
Finally, you’ll want to check the size. Standard door hinges are typically 3.5 inches or 4 inches, but it’s best to measure your old hinges before purchasing new ones. Make sure the new hinges fit into the same screw holes to avoid extra drilling or modifications.
Tools and Materials Needed
Before diving into the retrofitting process, gather your tools and materials. Here’s a quick list of what you’ll need:
- Ball bearing hinges
- Screwdriver or drill
- Measuring tape
- Pencil
- Level
- Wood filler (optional, for old screw holes)
Having everything ready will save you time and avoid unnecessary trips to the hardware store. Plus, you’ll feel more organized and prepared as you start making changes to your door.
Step-by-Step Guide to Retrofitting Your Door
Now that you have everything you need, let’s break down the retrofitting process into manageable steps. Honestly, it’s a lot simpler than it sounds!
Step 1: Remove the Old Hinges
Start by opening your door and using a screwdriver to remove the screws from the old hinges. You should do this carefully, so you don’t damage the door or the frame. Once the screws are out, gently lift the door off the frame. You might need a friend to help, especially if it’s a heavy door.
Step 2: Prep the Hinge Areas
Check the hinge areas for any damage. If the screw holes are stripped or cracked, you might want to fill them with wood filler and let it dry. This step ensures that the new hinges will sit securely.
Step 3: Install the New Hinges
Now, position your new ball bearing hinges onto the door. Use your pencil to mark where the screws will go. Keeping your hinges level is vital—you don’t want a crooked door! Then, use your drill to attach the hinges with screws, tightening them firmly but not overly tight to avoid stripping.
Step 4: Hang the Door
Once the hinges are attached to the door, it’s time to hang the door back on the frame. Align the hinge side with the frame and gently lift it into place. Secure the other end of the hinges to the door frame with screws, and take a step back to admire your work!
Common Issues and Troubleshooting
Sometimes, even with the best intentions, things can go awry. Here are a few common issues you might encounter during installation and how to troubleshoot them.
* Door Misalignment: If your door doesn’t close properly, it might be misaligned. Double-check that the hinges are level and that you’ve tightened all screws evenly.
* Squeaking Sounds: If your new hinges are still squeaking, don’t panic! A little bit of lubricating oil can often fix this. Just a few drops should do the trick.
* Hinge Binding: If the door binds or sticks when opening or closing, it might be too tight against the frame. You may need to adjust the hinges or possibly remove a bit of material from the edge of the door.
Remember, these little hiccups are part of the learning process. Don’t get discouraged; even seasoned DIYers encounter issues from time to time.
The Benefits of Upgrading to Ball Bearing Hinges
After retrofitting your door, you’ll likely experience several benefits from the upgrade. Here are some of the major perks:
* Smooth Operation: You’ll notice a significant improvement in how easily your door opens and closes.
* Reduced Noise: No more creaking or squeaking sounds—just a quiet, smooth motion.
* Enhanced Durability: Ball bearing hinges are built to last, reducing the need for future replacements.
Ultimately, retrofitting your old door with modern ball bearing hinges is a simple yet effective way to enhance your home’s functionality.
In conclusion, taking on this project can be incredibly rewarding. You’re not just fixing a door; you’re upgrading your home’s aesthetic and ensuring that it operates smoothly for years to come. Plus, you’ll get that satisfying feeling of having completed a DIY project. So, gather your tools and get started—you’ve got this!