In this guide, we’ll walk through the process of retrofitting your door with self-closing spring hinges. We’ll break it down step by step, so you can handle it like a pro, even if you’re new to DIY projects. We’ll cover everything from what these hinges do, how to pick the right ones, and, of course, how to install them. Ready? Let’s dive in.
What Are Self-Closing Spring Hinges?
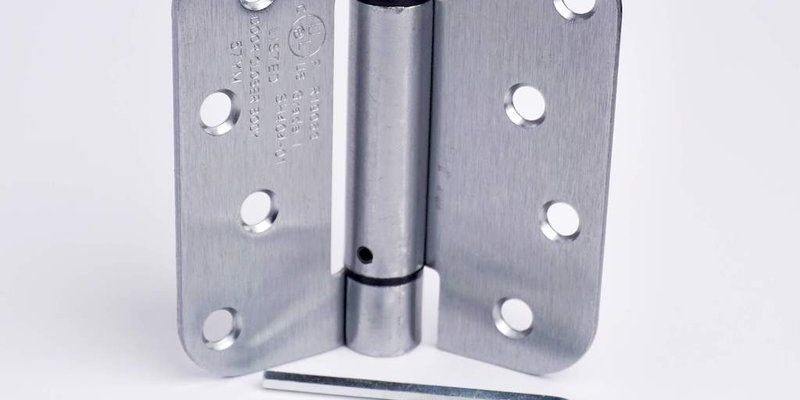
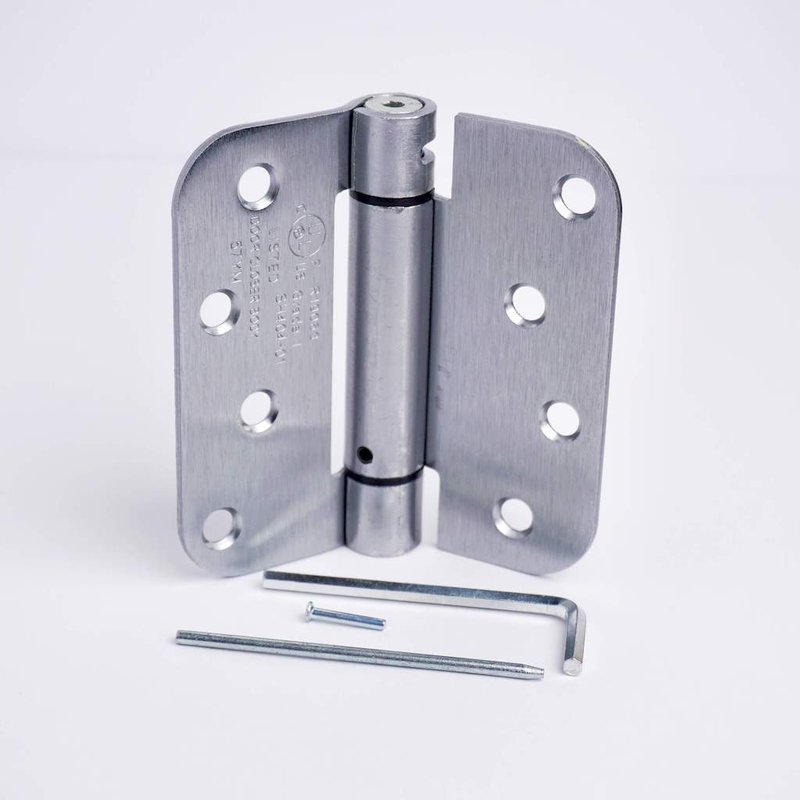
Self-closing spring hinges are special hinges that automatically close a door after it’s been opened. Imagine them like a gentle nudge that ensures the door swings back into place. They contain a spring mechanism that pulls the door shut, so you don’t have to.
You might be wondering how they work. When you open the door, it stretches the spring. Once you release it, that stored energy in the spring makes the door close on its own. This feature is fantastic in many situations—like keeping children safe by ensuring a door doesn’t stay ajar or helping control room temperature by minimizing drafts.
These hinges come in various styles and sizes. Some are made for lighter doors, while others can handle heavier ones. Brands like National Hardware and Everbilt offer a range of options, from decorative designs to more utilitarian styles, so you can find something that fits your home.
Why Retrofitting Your Door Matters
Retrofitting a standard door with self-closing spring hinges might feel like a small upgrade, but it can make a big difference. First off, it’s about convenience. No more walking back to close the door after you’ve just stepped out. It saves time and keeps your hands free—perfect for those with armloads of groceries or other items.
Next, let’s talk about safety. Keeping doors closed can prevent pets from wandering outside and reduce the chance of young children escaping without supervision. It’s a subtle but effective way to enhance security at home.
You might also notice an improvement in energy efficiency. If you frequently open and close doors, it can result in temperature fluctuations. Self-closing hinges help maintain your home’s climate, reducing the need for heating or cooling, which can save you money on bills.
Choosing the Right Self-Closing Spring Hinges
When it comes to choosing self-closing spring hinges, there are a few factors to consider. First, determine the weight and size of your door. A heavier door needs sturdier hinges for proper function. Most manufacturers provide specifications on the weight each hinge can support.
Next, think about the finish. You’ll want hinges that match your door and existing hardware. You can find options in various materials, like brass or stainless steel, which not only increase durability but also ensure the hinges look good.
Also, consider the spring tension. Some hinges allow you to adjust the closing speed and force, which can be helpful if you have kids or pets. If the door closes too quickly, it might slam shut, which could be dangerous. Adjustable tension gives you control over how forcefully the door closes.
Tools You’ll Need for Retrofitting
Before diving into the installation process, let’s gather the necessary tools. Having everything ready makes the job smoother and more enjoyable. Here’s a straightforward list of what you’ll need:
- Screwdriver: A screwdriver is vital for removing old hinges and installing new ones. Depending on your hinge screws, you might need a Phillips or flathead screwdriver.
- Drill: A power drill can make quick work of new holes if needed. It’s faster than a manual screwdriver and reduces the strain on your wrist.
- Level: This will help ensure your door hangs straight. A crooked door can lead to problems with how the hinges function.
- Measuring tape: Accurate measurements will ensure you install the hinges correctly. This bit is crucial for alignment.
Having these tools ready will save you from running back and forth mid-project. Believe me, it makes the entire process less frustrating!
How to Install Self-Closing Spring Hinges
Now that you’ve gathered your tools and selected the right hinges, let’s get into the nitty-gritty of installation. Here’s a simple step-by-step guide:
1. Remove the Old Hinges: Start by unscrewing the existing hinges from your door and the doorframe. It’s easier if you have someone hold the door for support while you do this.
2. Choose the Right Position: Position the self-closing hinges in the same spot where the old hinges were. If you’re replacing all hinges, ensure they’re evenly spaced for balance.
3. Mark Drill Holes: Use your measuring tape and level to make sure your new hinges are aligned properly. Mark the spots for the screws with a pencil.
4. Drill Holes: Drill holes where you marked. If your new hinges have a different screw size than the old ones, you might need to cover the old holes with wood filler and let it dry before drilling new ones.
5. Attach the Hinges: Line up your self-closing spring hinges with the holes and tighten them down securely.
6. Test the Door: Open the door and let it go. Watch how it closes. If it doesn’t shut completely, you might need to adjust the tension on the hinge.
That’s it! You’ve retrofitted your door with self-closing spring hinges. It might seem daunting, but with a little patience and care, you’re capable of handling this task easily.
Troubleshooting Common Issues
Once your hinges are installed, you might run into a few hiccups. Here’s how to tackle some common issues:
– Door Is Slamming: If your door shuts too quickly, adjust the tension on the hinges. Most self-closing hinges have a mechanism that lets you control how fast or slow the door closes.
– Not Closing Fully: If the door doesn’t close all the way, check the alignment. Ensure that the hinges are level and that the door isn’t rubbing against the frame.
– Squeaking Noises: A little lubrication can go a long way. Use a light machine oil or silicone spray on the hinges to silence any squeaks.
These tips should help you get the most out of your new self-closing spring hinges. Problems pop up sometimes, but with a little know-how, you can keep your door functioning smoothly.
Retrofitting a standard door with self-closing spring hinges is a simple yet effective way to enhance your home’s functionality. It combines convenience with improved safety and energy efficiency—all while adding a touch of craftsmanship. So, whether you’re keeping kids indoors or just preventing drafts, these hinges can make a world of difference.
Now that you know what to do, it’s time to roll up your sleeves and get to work. With a few tools and a bit of patience, you’ll have a door that closes itself in no time. Enjoy your newly retrofitted door, and don’t forget to share your success with friends—who knows, you might inspire them to tackle their own DIY projects!