Retrofitting is like giving your sliding door a mini-makeover. It’s a simple upgrade that can enhance your door’s functionality and aesthetics, transforming your space without a full renovation. And if you’re wondering how to start, don’t worry! I’m here to guide you through the process step-by-step, ensuring you feel confident every step of the way.
Understanding Recessed Pull Handles
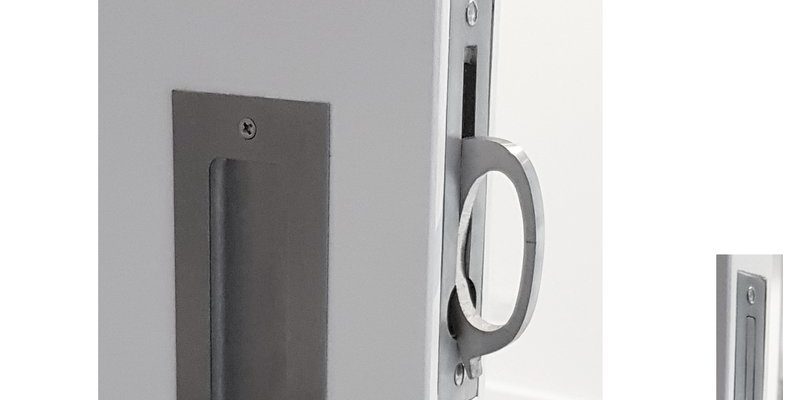
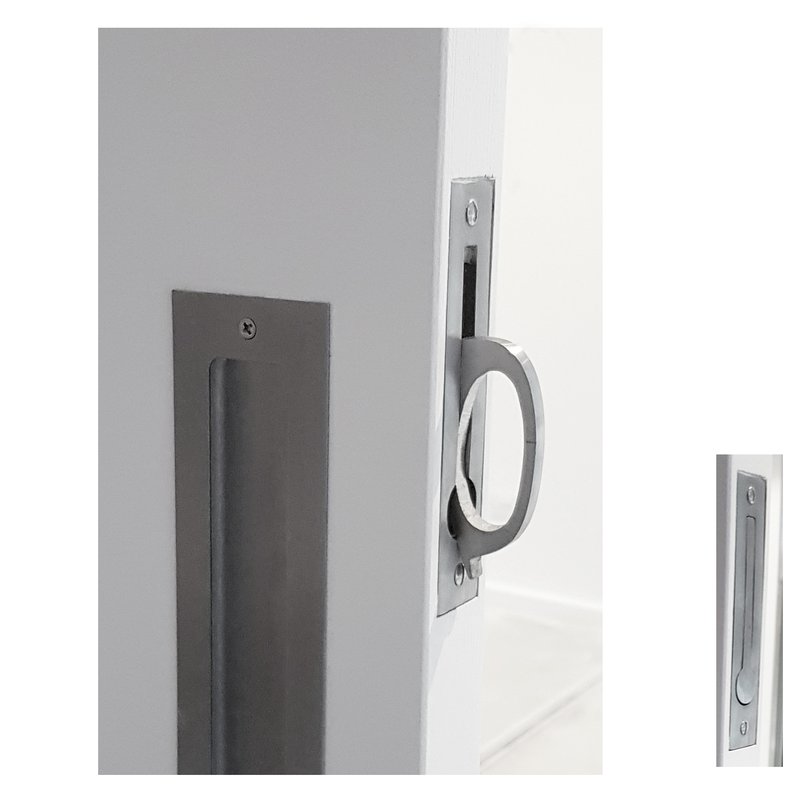
Before diving into the retrofitting process, it’s important to understand what a recessed pull handle is. Essentially, these handles are set into the surface of the door, allowing for a clean, unobtrusive look. Unlike traditional handles that stick out, recessed handles create a streamlined finish that complements modern decor.
There are many types of recessed pull handles, from simple designs to more intricate styles. Choosing the right one depends on your personal taste and the overall aesthetic of your home. For instance, a minimalist design might work best in a contemporary setting, while a more decorative handle might suit a home with classic charm.
Also, consider materials when selecting your handle. Options range from stainless steel and brass to plastic and wood. Each material has its own aesthetic and durability, so think about what will work best with your sliding door and your lifestyle.
Tools and Materials You’ll Need
Starting any DIY project requires some tools, so let’s gather what you’ll need. Here’s a handy list to get you prepared for retrofitting your sliding door:
- Recessed pull handle: Pick one that matches your style.
- Measuring tape: To ensure precise sizing.
- Drill: For creating the necessary holes.
- Screwdriver: To secure the handle in place.
- Wood chisel: To carve out space for the handle, if needed.
- Level: To make sure everything is aligned perfectly.
- Safety goggles: Protect your eyes while working.
You might be wondering why some of these tools are necessary. The measuring tape ensures your handle fits snugly, while the drill creates the holes needed for installation. And don’t skip the safety goggles—better safe than sorry!
Measuring for Your New Handle
Accurate measurements are the cornerstone of a successful retrofit. To begin, measure the width and height of the area where you plan to install the recessed pull handle. A good practice is to take multiple measurements to ensure accuracy. This is particularly important because you want the handle to be centered and aligned perfectly with the door.
Think about how high you want to place the handle. Typically, handles are installed around 36 to 42 inches from the floor. However, this can vary based on your height and the type of door. If you have kids or pets, you might want to consider a lower placement for easy access.
Once you have your measurements, check the specifications of your chosen handle. Make sure it fits within the dimensions you’ve recorded. Trust me, taking the time for these steps now will save you a lot of hassle later!
Preparing the Door for Installation
With measurements in hand, it’s time to prep the door. Start by marking where you’ll install the recessed pull handle. Use a pencil to outline the area, ensuring it aligns perfectly with your measurements. This step is crucial for a neat finish.
Next, if the handle requires a deeper recess, use a wood chisel to carefully carve out the marked area. Take your time with this—rushing can lead to mistakes or uneven edges. If you’re using a drill, make sure you drill out the holes as specified by the handle’s installation guide.
After your door is prepped and the recess is created, give it a quick clean to remove any sawdust or debris. This will help the adhesive or screws adhere better and ensure a smooth installation.
Installing the Recessed Pull Handle
Now we’re getting into the fun part: installation! Position the recessed pull handle over the prepared area and secure it according to the manufacturer’s instructions. Usually, this involves using the provided screws to attach the handle to the door.
As you’re doing this, it’s helpful to use a level to ensure the handle is straight. Nothing is more frustrating than a crooked handle! Tighten the screws until the handle is secure but be careful not to over-tighten, as this can damage the door.
Once everything’s in place, give the handle a gentle tug to test its stability. If it feels secure, congratulations! You’ve successfully retrofitted your sliding door.
Common Challenges and Troubleshooting Tips
Even with the best plans, challenges can pop up during installation. One common issue is misalignment. If the handle looks slightly off, don’t hesitate to loosen the screws and adjust it. It’s easier to fix it now than to leave it crooked.
You might also face problems with the depth of the recess. If the handle sits too deep or not deep enough, you may need to adjust the area you’ve carved out. Remember, this is all part of the DIY process—patience is key!
If you’re dealing with a sliding door that sticks or doesn’t glide smoothly, check the track to ensure it’s clean and free of debris. Sometimes, a simple cleaning can resolve those annoying sticking issues.
Enjoying Your Upgraded Sliding Door
Once your new recessed pull handle is installed and everything looks good, take a moment to appreciate your work! An upgraded sliding door not only enhances your home’s aesthetics but also improves functionality. You might find yourself showing off the new handle to friends and family—who wouldn’t want to brag about a little DIY success?
Plus, a well-installed recessed pull handle can increase your home’s value, making your investment worthwhile. It’s these small upgrades that often have a big impact.
Remember, DIY projects can be a learning experience. If something doesn’t go as planned, keep a positive mindset. Every step, even the missteps, is an opportunity to learn and grow your skills.
In conclusion, retrofitting a sliding door with a recessed pull handle is a rewarding DIY project that combines style and practicality. With the right tools and a bit of patience, you’ll find that making your space more functional can be quite satisfying. So, roll up your sleeves and get started—you’ve got this!