Retrofitting a door isn’t just a DIY project; it can be a rewarding experience that enhances your pet’s life—and yours too! By integrating a dog or cat door, you’re providing your pet with independence, which can lead to less anxiety and fewer accidents indoors. Plus, you don’t have to be a professional handyman to tackle this. With the right tools and a little patience, you can do it yourself. Let me explain how to get started.
Understanding Pet Door Types
Before you dive in, it’s crucial to know the different types of pet doors available. There are basically two main categories: flap doors and electronic doors. Each has its pros and cons, so choose based on your pet’s needs and your lifestyle.
Flap Doors: These are the most common and usually the simplest to install. A flap door has a flexible flap that swings open when your pet pushes against it. Some models come with a locking mechanism to provide extra security when you’re away. Just picture your dog wiggling their way through the flap—it’s a simple solution!
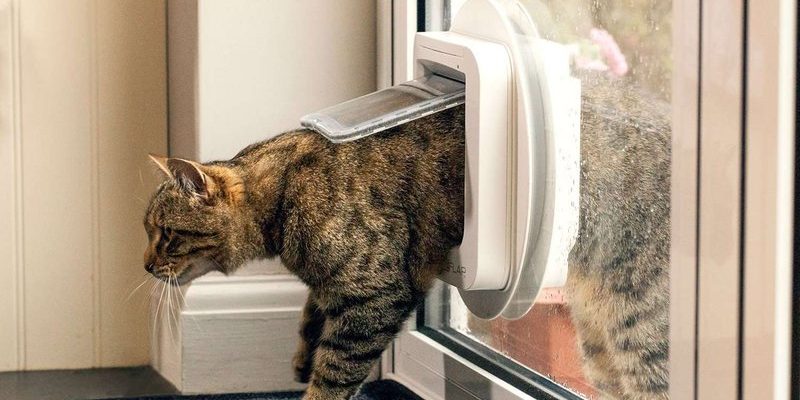
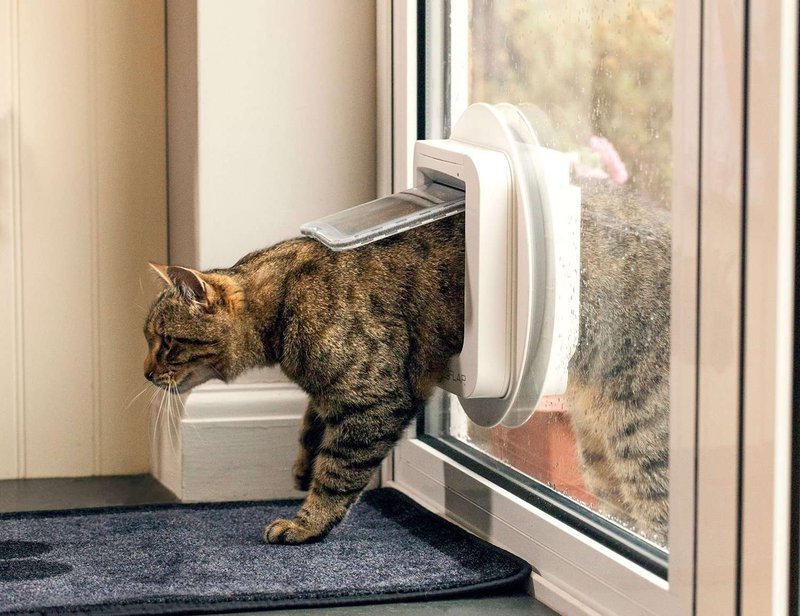
Electronic Doors: These high-tech options are equipped with sensors and usually work with a collar tag that your pet wears. When they approach the door, it automatically unlocks, allowing them to enter or exit without lifting a paw. If you want better control, this might be the way to go, especially if you often get strays visiting your yard.
Gathering Your Tools and Materials
Now that you’ve settled on a type of door, it’s time to gather the tools and materials you’ll need for the installation. Here’s a handy checklist to get you started:
- Pet door kit (includes the door itself and any necessary hardware)
- Screwdriver (both flathead and Phillips)
- Drill and drill bits
- Measuring tape
- Level (to ensure your door is perfectly straight)
- Marker or pencil (for marking your measurements)
Having the right tools will make the process smoother and reduce the chances of mistakes. Trust me; nothing’s worse than halfway through a project, only to realize you’re missing something essential. Take your time to double-check your supplies before starting.
Measuring Your Door for the Pet Door
Accurate measurements are key to a successful retrofit. If you mess this part up, your door won’t fit properly, and that’s just a headache waiting to happen. So, let’s get it right.
First, measure the height and width of your pet. Ideally, the bottom of the pet door should be slightly above your pet’s chest. This way, they can easily get through. For example, if your dog is 15 inches tall, you might want the door to be around 20 inches from the ground.
Next, use a measuring tape to find the door’s dimensions. Take note of how much space you’ll need to cut out. If your door is made of wood, it will be a little easier to retrofit compared to metal or glass doors. But here’s the thing: the process is doable with any material if you have the right tools.
Cutting the Opening for the Pet Door
Once you’ve measured everything, it’s time for the cutting. Don’t worry; you’re not going to destroy your door! Just follow these steps carefully.
1. Mark the area where you’ll cut with your pencil, based on the pet door size.
2. Use a level to ensure your marks are straight. A wonky cut can lead to issues down the line.
3. Drill pilot holes at each corner of the marked area to make it easier to cut.
4. With your drill, carefully cut along your marked lines. Take your time to ensure a clean cut.
It might feel a bit intimidating, but remember to breathe. You’re simply creating a new entry point for your beloved pet!
Installing the Pet Door
With the opening cut out, it’s now time to install the pet door itself. This is where everything starts to come together, and your furry friend’s independence becomes a reality!
1. Position the Door: Place the pet door into the opening you just created. Make sure it fits snugly without too much wiggle room.
2. Secure the Door: Follow the manufacturer’s instructions to attach the door with screws. Make sure it’s centered and straight—this helps keep everything functional.
3. Test the Flap (if applicable): If you’re using a flap door, ensure the flap opens and closes smoothly. This is a good time to adjust if it feels too tight.
Just like that, you’re almost there! But there might be a few finishing touches required to ensure everything is safe and secure.
Finishing Touches and Troubleshooting
Once installed, check to see if everything is working as intended. Pay attention to how well the door seals when closed. Here are some final adjustments you might need to consider:
– Weatherproofing: If you live in an area with harsh weather, make sure your pet door is insulated or weather-stripped to prevent drafts.
– Locking Mechanism: If your door features a lock, get familiar with how it works. This is your barrier against potential intruders!
– Troubleshooting: If the flap isn’t closing, check that it’s not stuck or obstructed. Often, a simple adjustment will solve the problem.
After these adjustments, take a moment to show your pet where the new door is. You might need to guide them through a couple of times. Eventually, they’ll catch on, and you’ll have a happy pet enjoying their newfound freedom.
Benefits of Retrofitting a Door for Your Pet
Thinking about whether this is worth your time? Here are some benefits you might not have considered:
– Independence for Your Pet: Pets can come and go as they please, which helps reduce anxiety when left alone.
– Less Work for You: No more rushing to the door every time your pet needs to go out. This frees up your time for other activities.
– Security: Modern pet doors come with locking features, so you don’t have to worry about unwanted guests.
Honestly, retrofitting a door for a pet door is a solid investment for you and your furry friend. It makes life easier, keeps your home secure, and enhances your pet’s quality of life.
In summary, retrofitting your door for a dog or cat door might seem daunting, but following these steps can make it a straightforward DIY project. With a little planning and careful execution, you’ll have a pet door that meets your needs and gives your pet the freedom they’ve been barking or meowing for. Happy retrofitting!