Brass is a beautiful material, but it’s also quite delicate. Over time, it can lose its luster due to exposure to moisture, dust, and even the oils from our hands. You might be scratching your head, wondering how to tackle this task. No worries—I’m here to guide you through the process step-by-step. Grab some supplies, and let’s get those hinges gleaming again!
Understanding Brass Door Hinges and Their Finish
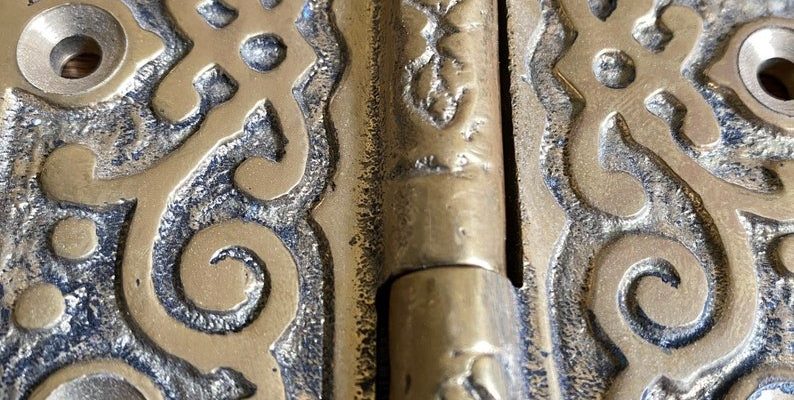
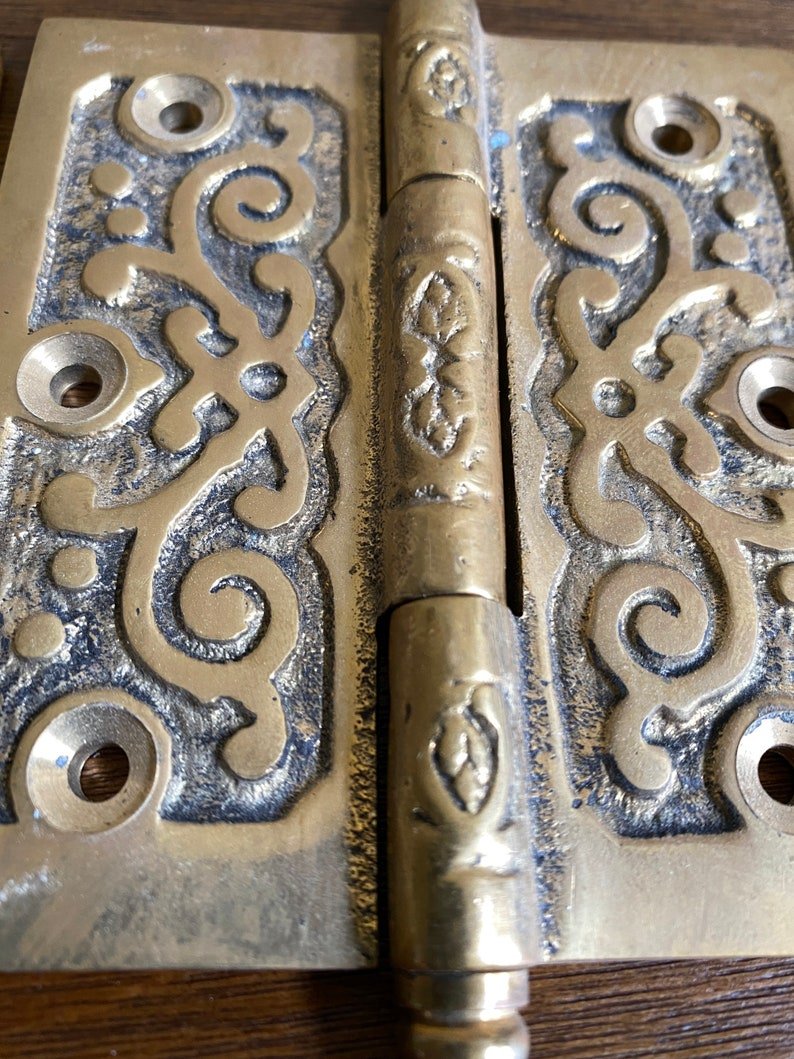
To start off, it’s essential to know what makes brass door hinges special. Solid brass hinges are favored for their durability and classic appeal. They’re often chosen for their ability to resist corrosion and their elegant look. However, the finish can fade or tarnish over time, primarily due to elements like humidity and air pollutants.
When you see that dull, greenish layer forming on your hinges, that’s tarnish. It’s not harmful, but it can be an eyesore. Importantly, you can restore the finish without needing to replace the entire hinge. In fact, keeping your hinges looking fresh not only enhances your door’s appearance but also prolongs the life of the hardware.
Gathering Your Supplies
Before diving into the restoration process, let’s gather what you’ll need. Here’s a simple list to help you get started:
- White vinegar or lemon juice (for natural cleaning)
- Soft cloths (microfiber works great)
- Baking soda (for a bit of abrasion)
- Brass polish (for a polished finish)
- Protective gloves (to keep your hands clean)
With these items, you’ll have everything you need at your fingertips. It’s like having your own arsenal of cleaning tools ready to tackle the task. Make sure to find a comfortable workspace with good lighting so you can see what you’re doing clearly.
Removing the Hinges
You might be wondering, “Do I really need to take the hinges off?” While it’s possible to clean them while attached, removing them will make the job easier and yield better results. Here’s how to do it:
1. Open the door fully to access the hinges.
2. Use a screwdriver to remove the screws holding the hinge to the door and the door frame. Keep the screws in a small container so they don’t get lost.
3. Carefully lift off the hinge, and place it on a soft cloth to avoid scratching it.
Taking the hinges off may seem like a hassle, but think of it this way: you’re giving them the attention they deserve. Plus, it’s an excellent opportunity to check for any wear or damage to the door or frame.
Cleaning the Hinges
Now that you’ve got the hinges off, it’s time to clean them up. This is where you can really see the transformation happening!
Start by making a paste with baking soda and a bit of water. This gentle abrasive can help scrub away that tarnish without scratching the brass. Apply the paste using a soft cloth, focusing on the areas with the most tarnish.
If you prefer a more natural approach, you can use white vinegar or lemon juice—both are fantastic at breaking down tarnish. Dip a cloth into either solution and rub it on the hinge. The acid helps lift the tarnish, revealing that beautiful brass underneath.
Polishing for a Shiny Finish
After cleaning, you might notice that the hinges still look a bit dull. That’s where polishing comes into play. Using brass polish (or even the baking soda paste), apply a small amount to a cloth and rub it over the hinge in circular motions.
Here’s the thing: don’t rush this step. Take your time to ensure you cover every inch. After a few minutes, you should start to see that lovely shine returning. For those stubborn spots, don’t hesitate to give them some extra attention.
Sealing the Finish
Once your hinges are clean and shiny, it’s beneficial to seal the finish. This step helps protect your hard work and preserves that gleam. You can use a spray or a wipe-on sealant designed for brass. Just follow the product instructions for the best results.
A good seal will keep moisture and dust at bay, slowing down the tarnishing process. It’s like putting a protective wax on your car after a wash—keeping it looking great for longer.
Reinstalling the Hinges
Now comes the satisfying part: putting those freshly restored hinges back where they belong. Position the hinge on the door and align it with the screw holes. Here’s a tip: gently tap the hinge with a rubber mallet if necessary, to ensure it sits flush.
Using your screwdriver, reinsert the screws. Start with the top screw and work your way down. This way, it keeps everything aligned and minimizes the risk of the hinge misaligning as you tighten.
Maintaining Your Restored Hinges
Now that your brass hinges look fantastic, it’s crucial to keep up with maintenance to avoid significant buildup in the future. Regularly wiping them with a damp cloth can prevent dust from settling. If you notice tarnishing starting again, a quick pass with a vinegar-soaked cloth can do wonders.
You might find that checking your hinges every few months helps. Just like with other home maintenance, a little preventative care goes a long way.
In conclusion, restoring the finish on solid brass door hinges is a straightforward process that can make a big difference in your home’s appearance. By taking the time to clean and polish your hinges, you bring back their shine and keep your doors looking fresh. So go ahead, treat those hinges to a little TLC—you’ll be amazed at the transformation!