Replacing the top guide might sound intimidating, but trust me, it’s a straightforward process. Think of it as tuning up your bike; you might have to get your hands a little dirty, but it’s all part of the ride. If you’re dealing with a popular brand like Andersen or Masonite, this guide is tailored for you. We’ll step through everything you need to know, from tools to use to tips for successful installation.
Understanding the Role of the Top Guide
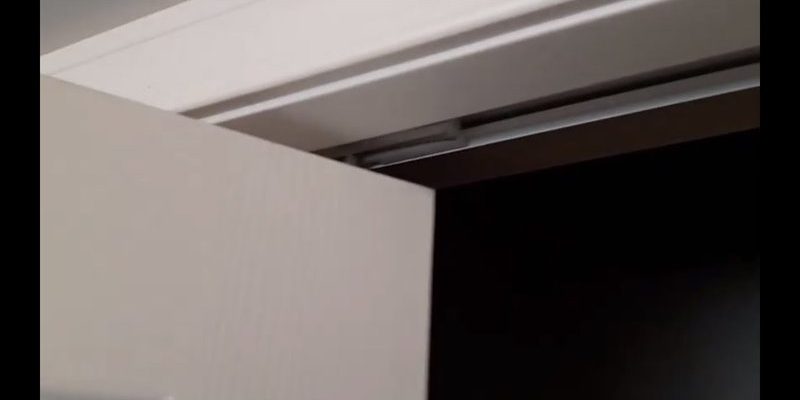
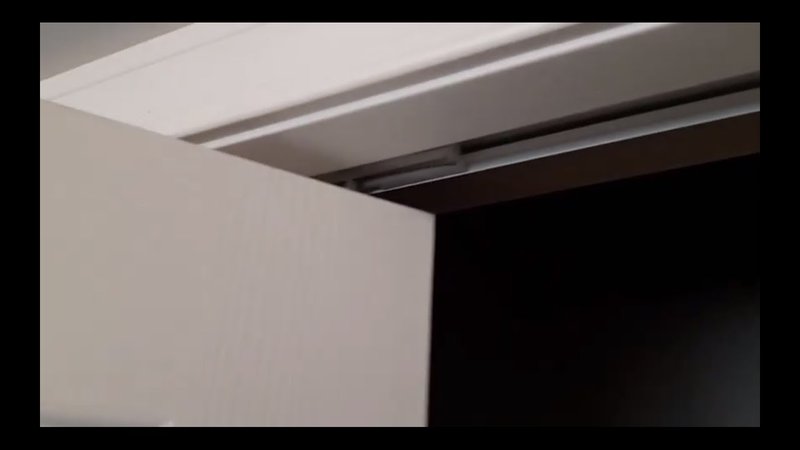
Before diving in, let’s clarify what a top guide actually does. Imagine it like a coach guiding a team; it keeps your bi-fold door on track and helps it function smoothly. As the name suggests, the top guide is positioned at the top of the door frame and helps align the door panels when you open and close them.
If the top guide is worn out or damaged, it can lead to all sorts of frustrating problems. You might find that one of the panels doesn’t stay put, or it grinds against the frame. This can be particularly annoying if you have pets or kids who frequently use the door. Replacing it is an essential maintenance task that shouldn’t be overlooked.
You might be wondering about the signs that indicate it’s really time to replace the top guide. Common issues include visible damage, difficulty in sliding the door, or uneven gaps between the panels. If you notice any of these, it’s time to take action.
Gathering the Right Tools for the Job
Having the right tools is half the battle in any DIY project. For replacing the top guide on a bi-fold door, you’ll typically need:
- Screwdriver – A Phillips head is commonly required.
- Replacement top guide – Make sure it matches your door brand.
- Measuring tape – Useful to ensure a proper fit.
- Level – To check that everything is aligned correctly.
- Lubricant – Optional, but helpful for smoother operation.
Once you’ve collected your tools, you’re ready to tackle the task. It’s a good idea to wear gloves to protect your hands, especially if you’re working with older hardware that may have sharp edges.
Removing the Existing Top Guide
Now that you’re equipped, it’s time to remove the existing top guide. Start by carefully sliding the door panels to the side, exposing the top track. You’ll usually find screws securing the top guide in place. Using your screwdriver, remove these screws one by one.
Be gentle during this process. If the guide is stuck, you might need to wiggle it a bit. Once the screws are out, carefully pull the top guide away from the door frame. If you notice any debris or damage in the track, this is a good time to clean it out.
Check for any wear on the rollers as well. While you have everything exposed, ensure that each component is in good shape. If not, it might be wise to replace the rollers too.
Installing the New Top Guide
With the old guide out, it’s time for the new one to shine. Start by aligning the new top guide with the existing holes where the screws used to be. If you’re using a guide from a brand like Andersen, it should fit snugly into place.
Again, you’ll want to use your screwdriver to secure the screws. Be careful not to overtighten, as this could strip the screws or warp the guide. Once it’s securely in place, you can slide the door panels back into position.
Before you do that, take a moment to check that everything is level. If needed, adjust the guide slightly to ensure perfect alignment. This step is crucial for ensuring the door opens and closes without a hitch.
Testing the Bi-Fold Door
After installation, it’s time to put your work to the test. Slowly open and close the bi-fold door a few times. Pay attention to how smoothly it operates. If it glides effortlessly, you’re in good shape. If it still feels stiff or gets stuck, you may need to recheck the alignment of the top guide or take another look at the roller tracks.
If everything works well, consider applying a bit of lubricant to the track and rollers. This will help ensure smooth operation in the long run.
Troubleshooting Common Issues
Sometimes, even the best installation can run into problems. Here are a few common issues and what to do about them:
– Door gets stuck: This may indicate misalignment. Double-check the positioning of the top guide and ensure it’s level.
– Panels don’t sit flush: This can happen if the guide is incorrectly installed. Make sure you followed the installation steps closely.
– Noisy operation: A squeaky door can be annoying. Inspect the rollers again and apply a small amount of lubricant to reduce noise.
These troubleshooting steps can save you time and effort down the line. Remember, maintaining your bi-fold door can prolong its lifespan and improve functionality.
Why It Matters to Replace the Top Guide
So, why go through the effort of replacing the top guide? Honestly, it’s all about preserving the functionality of your bi-fold door. A door is more than just an entryway; it’s part of your home’s flow. When everything works smoothly, it enhances the overall experience in your space.
Neglecting maintenance can lead to more significant issues down the line, including costly repairs or replacements. By taking the time to replace the top guide, you’re investing in the longevity of your door and the comfort of your home.
In conclusion, replacing the top guide on your bi-fold door is a manageable task that can bring significant benefits. Armed with the right tools and knowledge, you can tackle this DIY project like a pro. Not only will your door operate smoothly again, but you’ll also feel a sense of accomplishment for having fixed it yourself. Now go ahead and enjoy the spacious freedom a well-functioning bi-fold door brings!