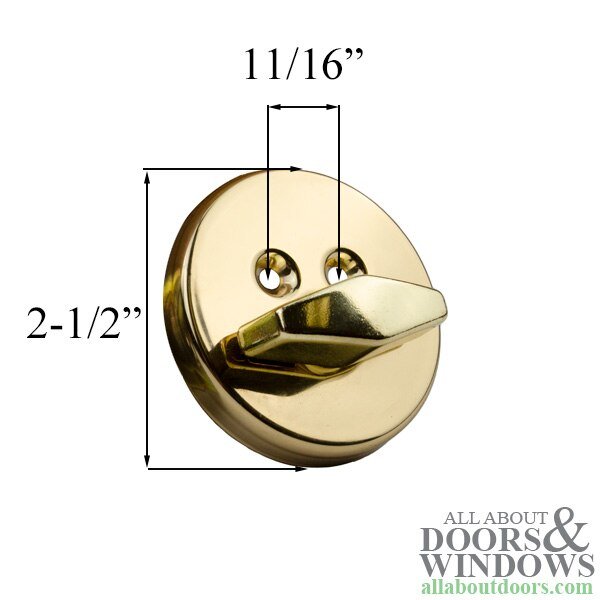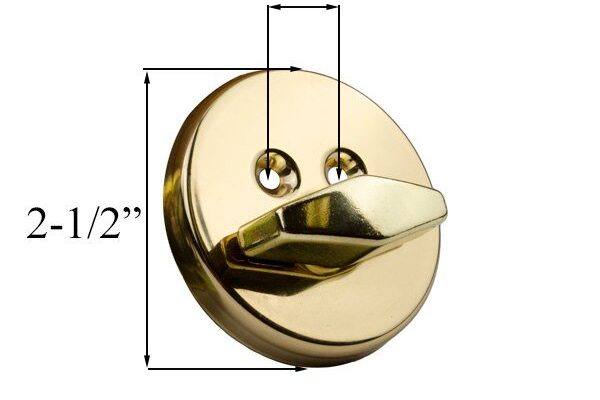
Honestly, replacing a thumbturn on a single-cylinder deadbolt isn’t rocket science. But it does take a little patience and the right steps—much like changing the battery in your car’s remote or figuring out how to reset a smart lock. Most people can do it themselves in under 30 minutes, even if they’ve never touched a lock before. Let me walk you through how this works and why it makes such a difference in everyday security.
What Is A Single-Cylinder Deadbolt And Why Does The Thumbturn Matter?
Before you start unscrewing anything, it’s good to know exactly what you’re dealing with. A single-cylinder deadbolt is the most common deadbolt you’ll see on residential doors. On the outside, you unlock it with a key. On the inside, there’s a thumbturn—sometimes shaped like a little lever, sometimes more like a paddle or knob.
Here’s the thing: the thumbturn isn’t just a convenience. It’s your main way to lock up quickly at night, or to unlock the door fast in an emergency. If it’s stuck, wobbly, or falls off, you’ve got a real problem. Replacing this part restores the sync between you and your lock, just like pairing up a new remote when the old one doesn’t work anymore.
It’s also the part that gets the most wear and tear. Kids fiddle with it, keys bang against it, and years of use can loosen the tiny set screw holding it to the spindle. Sometimes, the thumbturn mechanism itself breaks, or it stops responding properly when you twist it. When that happens, it’s time for a swap.
How To Tell If You Need To Replace The Thumbturn
You might be wondering: How do I know it’s the thumbturn and not something else? Well, there are a few classic symptoms that make it clear:
- The thumbturn spins but doesn’t lock or unlock the bolt (like a remote out of sync).
- It feels loose or jiggles when you touch it.
- You can pull it off with barely any effort.
- There’s visible damage or the knob is missing entirely.
In some cases, the whole lock may need troubleshooting—maybe the mechanism inside is jammed or the battery (if it’s a smart lock) is low. But if everything works fine with your key from the outside, and the problem is just limited to the inside knob, the culprit is almost always the thumbturn or its set screw.
Honestly, I’ve seen people think they need a locksmith just for this tiny fix. But replacing the thumbturn is usually a straightforward, DIY-friendly job—no need to pull the whole lock or mess with door codes or batteries unless you want to upgrade.
Tools And Materials You’ll Need For The Job
Let’s get practical. Here are the basic tools and items you’ll want before you start replacing the thumbturn on your single-cylinder deadbolt:
- Replacement thumbturn: It’s best to bring your old one to the hardware store for a match, especially if you have a brand like Schlage or Kwikset.
- Small flathead screwdriver or Phillips screwdriver, depending on the set screw type.
- Allen wrench or hex key (sometimes needed for certain brands).
- Needle-nose pliers (optional, for stubborn parts).
- Patience and good lighting.
Most thumbturns attach to a spindle with a single set screw. Brands vary, so check what kind of screw you’re dealing with. Some newer locks, especially those with electronic features or smart functions, might also hide the screw behind a decorative cap or trim piece. Take your time and don’t force anything – if something feels stuck, double-check for hidden screws or clips.
If you’re replacing a universal or off-brand thumbturn, double-check the size and threading. Even a tiny mismatch can make the new thumbturn slip or refuse to sync with the lock mechanism.
Step-By-Step Instructions To Replace The Thumbturn
Here’s where we get to the real hands-on part. I’ll break it down clearly, so even if you’ve never swapped a lock part before, you’ll be fine.
- Remove the old thumbturn:
Start by locating the tiny set screw (usually at the base or side of the thumbturn). Loosen and remove it using your screwdriver or Allen key. Gently pull the thumbturn off the spindle. Sometimes it’s snug—don’t pry too hard or you could bend the spindle. - Clean and inspect the spindle:
Take a quick look. If the spindle is bent, stripped, or rusty, you’ll want to address that before adding a new thumbturn. A little lubricant can help if it’s stiff. Wipe away debris so the new part sits flush. - Align the new thumbturn:
Slide your replacement thumbturn onto the spindle. Make sure the holes line up, so the set screw will thread in easily and hold tight. If it wiggles, pull it off and check for any issues. - Secure with the set screw:
Insert the screw and tighten it gently but firmly. Don’t overtighten or you might strip the threads, which can make the thumbturn slip (kind of like a remote with a loose battery connection). - Test the mechanism:
Twist the thumbturn a few times. The bolt should move smoothly in and out. If not, remove the thumbturn and check your alignment. If everything’s working, you’re done!
Honestly, the trickiest part is lining up the screw. If it won’t catch, don’t force it—just back up, realign, and try again.
Common Problems And How To Fix Them
Sometimes things don’t quite go as planned. Here’s what you might run into when replacing the thumbturn on a single-cylinder deadbolt:
- Set screw is stripped or stuck:
Use a bit of penetrating oil and let it sit for a few minutes, then try again with a fresh screwdriver or bit. If it still won’t budge, needle-nose pliers can grip the screw head, but don’t damage the spindle. - New thumbturn doesn’t fit:
Double-check you’ve got the right model for your lock. Schlage and Kwikset thumbturns, for example, aren’t always interchangeable. A universal part can work, but only if the shaft size matches. - Bolt doesn’t move after install:
The most common reason is misalignment. Remove the thumbturn, rotate the spindle slightly, and try again. If nothing works, the problem may be deeper inside the lock (which might require a full mechanism reset, or even a replacement).
Pro tip: If your thumbturn keeps coming loose, a dab of thread locker or a small rubber washer can help hold it in place. Just don’t overdo it—locks need to move freely.
When To Consider Replacing The Whole Deadbolt
Most of the time, swapping a thumbturn is an easy fix. But there are situations when it’s better to upgrade or replace the whole deadbolt:
- Internal parts are worn out:
If the spindle or bolt mechanism is clearly stripped, rusty, or jammed, you’re just putting a bandage over a bigger problem. In that case, it’s usually smarter (and safer) to install a new deadbolt entirely. - Security concerns:
Really old locks or non-brand models might be easier to pick or break. Modern deadbolts—whether Schlage, Kwikset, or Defiant—offer better security, so this might be a good time to upgrade. - Wanting smart features:
Some people take this as a sign to go digital. Smart deadbolts add remote access, codes, and pairing with your phone—handy for rentals or if you lose keys a lot. Of course, these come with batteries and their own troubleshooting, but many find the convenience worth it.
If you decide to swap the whole deadbolt, most come with simple instructions and all the parts you need. Budget about 30–60 minutes for first-timers, or call a locksmith if you hit a wall.
Comparing Thumbturn Replacements: Universal vs. Brand-Specific
Here’s a question I get a lot: “Can I use a universal thumbturn, or do I need a specific brand?” Honestly, it depends on your lock and your patience level.
- Brand-specific thumbturns (like Schlage or Kwikset)
These are made to fit perfectly. The screw holes, spindle size, and finish will match your existing deadbolt. If you want a sure thing with little troubleshooting, go this route. - Universal thumbturns
These work on a wide range of locks but may require a bit of tweaking. You’ll need to double-check that the spindle size and screw placement line up. Sometimes a universal part just won’t sit right or will feel loose, so be prepared for a little trial and error.
If you’re in a pinch—maybe it’s late at night and your hardware store only has universals—give it a shot. But if you want the best fit and finish, track down the brand that matches your lock. Most big box stores carry the major brands, or you can find replacements online by searching your lock’s model number.
Extra Tips For A Smooth Replacement Process
Let me wrap up with a few tips you might not find on that faded help sheet in the hardware aisle:
- Take a photo before you take things apart. It’s easy to forget exactly how the old thumbturn was positioned when you’re staring at a pile of tiny screws.
- Keep all the pieces together. A zip-top bag or small tray is perfect for the little screws and the old thumbturn, especially if you need to compare at the store.
- Don’t overtighten anything. Locks are designed to move; a stripped screw means you’ll be troubleshooting again soon.
- Test the key from the outside after you’re done. It sounds basic, but you want to make sure everything still syncs up—even if you never touched the outer side of the lock.
If the thumbturn feels stiff or gritty after replacement, a tiny drop of silicone lubricant can help. Avoid anything too greasy, since it can attract dust over time.
Wrapping Up: Security, Simplicity, And Peace Of Mind
Replacing the thumbturn on a single-cylinder deadbolt is one of those small fixes that makes a huge difference. Not only does it restore the simple ease of locking your door, but it also gives you a quick win over a broken part that can mess with your day. Whether you stick with your original brand (like Schlage or Kwikset) or try a universal fit, the steps are easy to follow and hard to mess up.
Here’s the thing: taking a few minutes to replace a worn or missing thumbturn brings your home’s security back in sync, just like swapping a fresh battery in your remote or resetting a stubborn device. Most people find they get a little burst of DIY confidence, too. So, next time your thumbturn feels shaky, don’t stress—grab a screwdriver and tackle it yourself. Your lock (and your sense of security) will thank you.
