The good news? Swapping out a deadbolt’s backset latch is easier than it sounds. You don’t need special tools or lock-picking skills—just a screwdriver and a little patience. Whether you’re working with a Kwikset, Schlage, or even a generic deadbolt, the basic process is about the same. Let me walk you through what’s actually going on inside that door and show you how to fix it for good.
What Is a Backset Latch and Why Does It Fail?
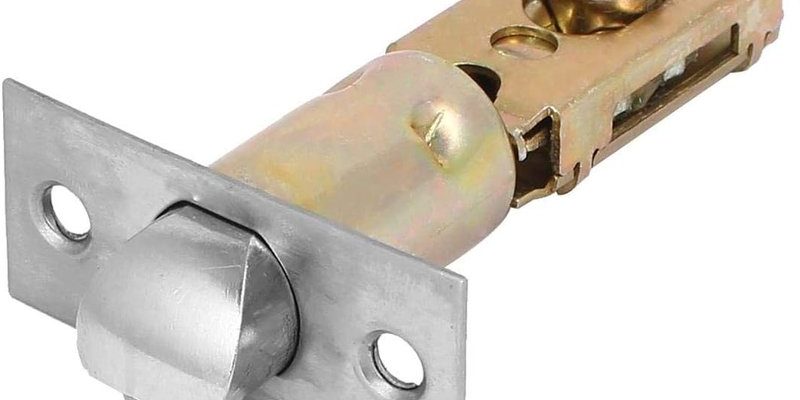
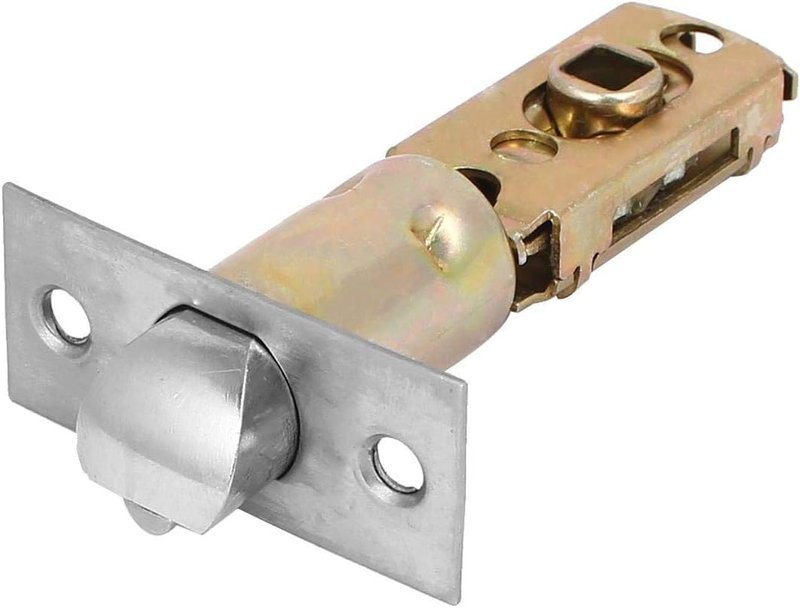
You might be wondering, “What the heck is a backset latch?” Here’s the thing: the backset latch is the part of your deadbolt lock that slides in and out of the door edge to keep it secure. When you turn your key or twist the knob, you’re really just moving this latch. Most homes have a deadbolt that uses either a 2-3/8″ or 2-3/4″ backset, which is just the distance from the edge of the door to the hole where the lock sits.
Latches wear out over time. Sometimes, they get sticky because of dirt or rust. Sometimes, the inner mechanism just breaks, especially if you force the lock. Honestly, they’re the unsung heroes of your door—and they’re usually the first part to bite the dust after years of use. If you find yourself jiggling the key, pressing harder, or the deadbolt feels floppy, chances are you need to replace this little workhorse.
Here’s something to keep in mind: not all latches are identical. Some are adjustable to fit different backset distances; others are fixed. You’ll want to check this before buying a replacement. It’s also not uncommon to deal with universal kits that work with several major brands (Schlage, Kwikset, Defiant, etc.), but always double-check the packaging.
How To Tell If Your Deadbolt Latch Needs Replacing
Let me explain how you know your backset latch is the problem and not, say, the whole lock or the key. The most obvious sign is when you try to lock or unlock the door, but the bolt won’t slide in or out. Sometimes it feels loose or gets stuck halfway. Other times, you might be able to turn the deadbolt, but nothing moves inside the door.
Look out for these symptoms:
- The deadbolt turns freely but doesn’t lock or unlock.
- You feel resistance or hear grinding as you try to move the bolt.
- The latch gets “stuck,” making it hard to retract or extend.
- You see visible wear, broken pieces, or metal shavings near the latch area.
You might be tempted to just spray lubricant and hope for the best—and, to be fair, sometimes that helps for a while. But if the problem keeps coming back, or the deadbolt begins “spinning” with no effect, that’s a dead giveaway the latch is to blame. At that point, replacement is the smartest fix. It’s cheaper and faster than replacing the whole deadbolt—and you don’t need to mess with new keys or codes.
What Tools And Parts Do You Need?
Before you start, gather your supplies. There’s nothing worse than pulling your lock apart and realizing you’re missing a crucial piece. For almost all residential deadbolts (Schlage, Kwikset, Yale, etc.), here’s what you’ll need:
- Replacement backset latch (matched to your brand and backset size—either 2-3/8″ or 2-3/4″)
- Phillips screwdriver (most deadbolts use Phillips head screws)
- Small flathead screwdriver (optional, for prying if needed)
- Measuring tape (to check your backset distance, if you’re not sure)
- Pen and paper (helpful for noting the order of parts as you remove them)
Here’s a quick tip: If you’re not sure which replacement latch to buy, remove your old one first and bring it to the hardware store. Universal latches work for most brands, but some smart locks or older models might need a specific type. Also, pay close attention to the orientation (which way faces up) when you take the old latch out. Snapping a photo with your phone can save you a lot of frustration during reassembly.
Step-by-Step: How To Replace The Backset Latch On A Deadbolt
This process is straightforward, but take your time. If you rush, you might drop a screw or accidentally flip the latch the wrong way.
- 1. Remove the deadbolt’s interior and exterior assemblies.
Open the door and look for the two screws holding the interior side of the deadbolt in place (the side with the thumb turn). Unscrew them and gently pull both the inside and outside lock pieces away from the door. Set these aside. - 2. Take out the old backset latch.
On the edge of the door, there will be two more screws holding the latch in place. Remove those. The latch should slide right out—sometimes you’ll need to wiggle it a little if it’s stuck. - 3. Compare and set your new latch.
Check that your new latch matches the length and orientation of the old one. If it’s an adjustable latch, set it to match your old one’s backset (usually by twisting or sliding a sleeve). - 4. Insert and secure the new latch.
Slide the new latch into the hole in the door edge, making sure the bevel faces the same way as before. Secure it with the two screws you removed earlier. - 5. Reassemble the deadbolt.
Slide the interior and exterior assemblies back onto the door, lining up the spindle and screw holes. Once everything’s flush, tighten the screws back into place. - 6. Test your repair.
Close the door and try locking and unlocking the deadbolt a few times. Make sure everything moves smoothly and clicks into place.
If something feels off—maybe the thumb turn feels tight, or the bolt doesn’t extend all the way—don’t force it. Take the lock apart and check that the latch is sitting straight and the bolts are lined up.
Tips For Dealing With Stubborn Or Unique Deadbolts
Sometimes you run into deadbolts that don’t want to cooperate. Maybe it’s an older Schlage with stuck screws, or a smart lock like August that has extra wiring. Here are some troubleshooting tips to keep in your back pocket:
- If the latch won’t come out, spray a little lubricant into the latch opening and wiggle it gently. Use a flathead screwdriver to help pry if needed—just don’t force it to avoid damaging the door.
- If you have a smart lock, note how any batteries or wiring connect. Take photos as you go, so you can sync and reset everything later without hassle.
- If the new latch doesn’t fit, double-check the backset measurement and the shape of the latch face. Some doors have rounded or square corners, and universal kits usually come with both faceplates.
If you ever feel totally stuck, many hardware stores will help you troubleshoot or even match a replacement latch—just bring your old one along.
Sometimes, especially with off-brand or antique deadbolts, you might have to special order a latch. But for almost all modern residential locks, the universal approach works.
Is Replacing The Latch Better Than Swapping The Whole Deadbolt?
You might be tempted to just replace the whole deadbolt—especially if it’s old, rusted, or mismatched. Here’s why replacing just the backset latch usually makes more sense:
- Cost: A replacement latch is way cheaper than a whole new deadbolt set—usually $10–$20 vs $30–$60 or more.
- Time: You avoid re-keying or syncing new keys, codes, or remotes (for smart locks).
- Security: If your old lock still works and feels secure, there’s no reason to toss it just because of a $10 part.
However, if your lock is heavily corroded, keeps jamming, or you want to upgrade to a smart lock with remote sync or code entry, it might be time for a full replacement. For renters, always check with your landlord before replacing the lock itself—swapping just the latch usually doesn’t mess with the keys or the lock code.
How To Prevent Latch Problems In The Future
Once you’ve fixed your deadbolt, a little care can help your new backset latch last for years. Here are a few easy ways to keep things working smoothly:
- Lubricate the latch: Every year or so, use a graphite lock lubricant (avoid oil-based sprays) to keep the mechanism moving freely.
- Test the lock regularly: Open and close your deadbolt occasionally, even on doors you don’t use much. If you feel any resistance, deal with it early.
- Don’t force a stuck bolt: If the deadbolt doesn’t want to move, stop and check for problems instead of cranking harder. That’s the fastest way to break a latch.
- Keep your door properly aligned: If your door sags, the bolt can rub or jam. Tighten hinge screws or adjust the strike plate as needed.
A little attention every so often can save you time and money down the road—and avoid having to repeat this whole process when you least expect it.
Wrapping Up: Keep Your Deadbolt Dependable
Swapping out the backset latch on your deadbolt isn’t rocket science, but it’s one of those small home fixes that makes a big impact on daily security. Honestly, it’s a satisfying project—one you can tackle in under an hour with just a screwdriver and some patience. Knowing how this simple part works also makes you less likely to panic when your deadbolt acts up.
If you’ve run into a stubborn latch, remember: most of the time, the solution is straightforward and doesn’t require a locksmith. With a little know-how, you can keep your Schlage, Kwikset, or pretty much any brand deadbolt locking tightly for years. And if you ever feel stuck, don’t hesitate to bring the old latch to your local hardware store—they’ve seen it all, and they’re always happy to help. Here’s to fewer lockouts and more peace of mind at home.