Imagine your home is like a warm blanket, wrapping you in comfort. When the astragal starts to wear out or get damaged, it’s like a little hole in that blanket. Suddenly, cold air sneaks in, making your space less inviting. Fortunately, replacing the astragal is a straightforward task that can make a big difference in how your home feels. In this guide, we’ll cover the whole process, step by step.
What Is an Astragal and Why Does It Matter?
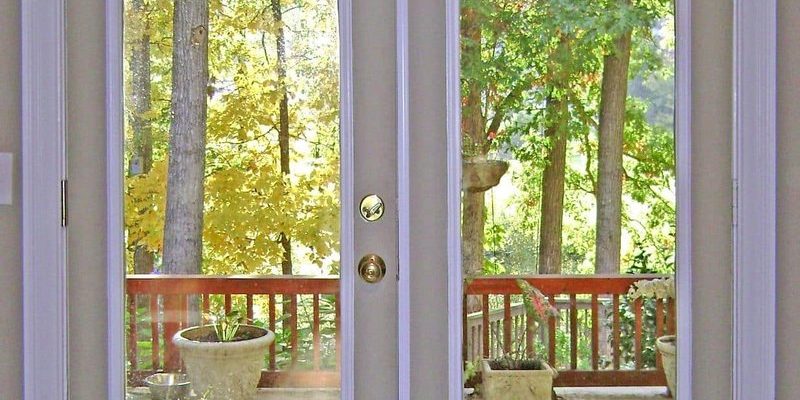
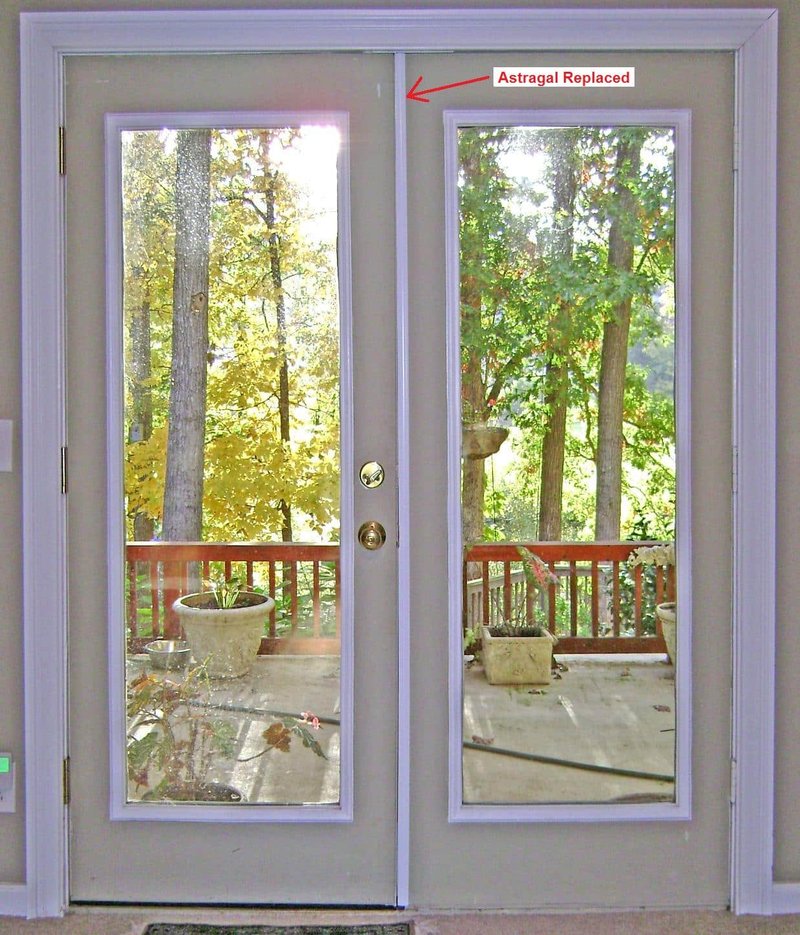
The astragal is a strip or molding attached to the edge of one of the French doors. It overlaps the other door when the doors are closed. This design helps block drafts, noise, and even unwanted pests. Think of it like a shield that keeps the outside out. When the astragal is in good shape, it does its job perfectly, keeping your home warm in winter and cool in summer.
However, over time, environmental factors can take a toll on your astragal. Exposure to sunlight, changing temperatures, and regular wear and tear can cause it to crack or warp. When this happens, the door no longer seals tightly, and you might find yourself battling chilly drafts, skyrocketing energy bills, or even water infiltration. Neglecting this issue can lead to more significant problems down the road, like mold or damage to your flooring.
So, you might be wondering, how do you know when it’s time to replace the astragal? Look for gaps between the doors when they’re closed, drafts you can feel, or visible damage to the astragal itself. If you notice any of these signs, it’s time to roll up your sleeves and tackle this home improvement project.
Tools You’ll Need for the Job
Before diving into the replacement process, gather the necessary tools. Having everything on hand will save you time and frustration. Here’s what you’ll need:
- Measuring tape — for accurate dimensions.
- Utility knife — to cut the new astragal to size.
- Screwdriver — to remove the old astragal.
- Adhesive or screws — to secure the new astragal in place.
- Sandpaper — to smooth any rough edges.
Once you have your tools ready, you’re one step closer to enjoying a draft-free home. Now, let’s break down the replacement process.
Step-by-Step: Replacing the Astragal
Now that you have your tools, it’s time to get to work! Here’s a simple step-by-step guide to replacing the astragal on your French doors:
1. Remove the Old Astragal
Start by inspecting how the old astragal is attached. It might be held in place with screws or adhesive. If it’s screwed in, use your screwdriver to carefully unscrew it. For adhesive, you may need to gently pry it off with your utility knife. Be cautious to avoid damaging the door frame as you work.
2. Measure and Cut the New Astragal
With the old astragal removed, it’s time to measure your new piece. Use your measuring tape to find the exact length you need. Once you have the right measurements, use your utility knife to cut the new astragal to size. Double-check your work to ensure a snug fit.
3. Install the New Astragal
Position the new astragal onto the edge of the door. Depending on the design, you might want to apply adhesive or screw it in place. If you’re using adhesive, apply it evenly and press the astragal firmly into place. If you’re using screws, drill them in securely but avoid over-tightening, as this can cause damage.
4. Test for Drafts
Once you’ve installed the new astragal, it’s essential to test it. Close both doors and check for any drafts. You can use a small candle or incense stick to see if the flame flickers. If all is well, you’re done! If you still feel drafts, consider making minor adjustments to ensure a proper seal.
Choosing the Right Astragal
When it comes to picking the right astragal, there are a few factors to consider. Astragals come in various materials, including wood, metal, and vinyl. Each has its pros and cons:
- Wood: Offers a classic look but may require more maintenance.
- Metal: Durable and weather-resistant but can be pricier.
- Vinyl: Affordable and low-maintenance, but may not blend as seamlessly with wooden doors.
Think about your home’s overall style and the climate in your area when making your choice. A good astragal will not only keep drafts out but also enhance the look of your French doors.
Maintaining Your Astragal
Once you’ve replaced your astragal, keeping it in good shape is essential. Here are a few tips to ensure it lasts:
- Regular Inspections: Check for wear and tear every few months.
- Cleaning: Wipe it down with a damp cloth to remove dust and debris.
- Adjustments: Ensure the doors close tightly, and make adjustments if needed.
By staying proactive with maintenance, you’ll keep your astragal—and your home—protected from drafts and damage.
Benefits of a Properly Installed Astragal
Now that you’ve put in the effort to replace your astragal, you might be wondering what you can expect in return. Here are some significant benefits of having a well-installed astragal:
- Energy Efficiency: A tight seal means lower heating and cooling costs.
- Comfort: Say goodbye to chilly drafts and hello to a cozy atmosphere.
- Increased Longevity: Your doors will last longer without damage from moisture or pests.
Investing time in this project pays off by making your home more comfortable and energy-efficient.
In conclusion, replacing the astragal on your French doors is a simple yet effective way to prevent drafts and enhance your home’s comfort. By following these steps and staying proactive with maintenance, you’ll enjoy a cozy environment all year round. It’s a small project that delivers big results—so grab those tools and get started!