Think of the rollers like the wheels on a skateboard. They help things roll smoothly, but over time, they can wear down. In this guide, I’ll walk you through the steps to replace the rollers on your sliding closet doors, no matter the brand. You can easily tackle this DIY project with just a few tools and a little patience.
Understanding Your Sliding Closet Door System
Before diving into the replacement process, it’s helpful to understand how sliding closet doors work. Most sliding doors operate on a track system where the rollers sit. These rollers are fitted at the top or bottom of the door, allowing it to glide along the track. If the doors feel heavy or catch on the track, the rollers might be worn out.
There are various styles of sliding doors—some might have a nylon roller, while others could feature metal ones. Each type has its unique installation steps, but the basic principle remains the same. Knowing the type of door you have can help you purchase the right replacement rollers.
Here’s a brief outline of what you’ll need:
- Replacement rollers
- Screwdriver (usually a Phillips or flathead)
- Measuring tape
- Utility knife (if trimming is required)
- Cleaning supplies (to clear out the track)
Gathering Your Tools and Supplies
Before you get started, gather all your tools and supplies in one spot. Having everything on hand will save you from unnecessary trips back and forth. Here’s a quick rundown of what you should get:
1. Replacement Rollers: You can find these at your local hardware store or online. Make sure you get the right size for your specific door model.
2. Screwdriver: Most sliding closet doors will require a screwdriver to remove the existing rollers. Depending on the type of screws used, you might need a Phillips or flathead screwdriver.
3. Measuring Tape: This is useful for measuring the old rollers to ensure the new ones will fit well.
4. Cleaning Supplies: A clean track makes it easier for the doors to glide smoothly. Grab a dust cloth and a mild cleaner to wipe down the track before installing new rollers.
Having all these items ready will make the process much easier.
Removing the Sliding Closet Door
Once you’re geared up, it’s time to remove the sliding closet door. Here’s how to do it step by step:
1. Lift the Door: Most sliding doors can be lifted off their tracks. Start by tilting the bottom of the door towards you and then lifting it upwards.
2. Guide the Door Out: Once you’ve lifted it, maneuver the door away from the track gently. Be careful, as you don’t want to scratch or damage your flooring.
3. Inspect the Rollers: With the door off, take a closer look at the rollers. If they’re cracked, worn, or otherwise damaged, it’s definitely time for a replacement.
If you encounter any resistance when removing the door, check to make sure there aren’t any screws or clips holding it in place.
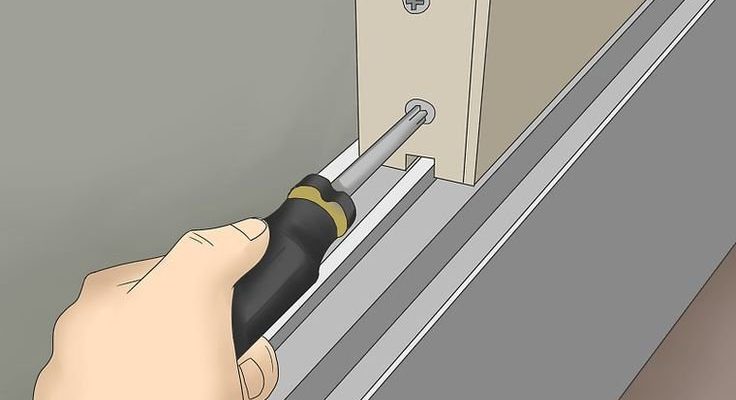
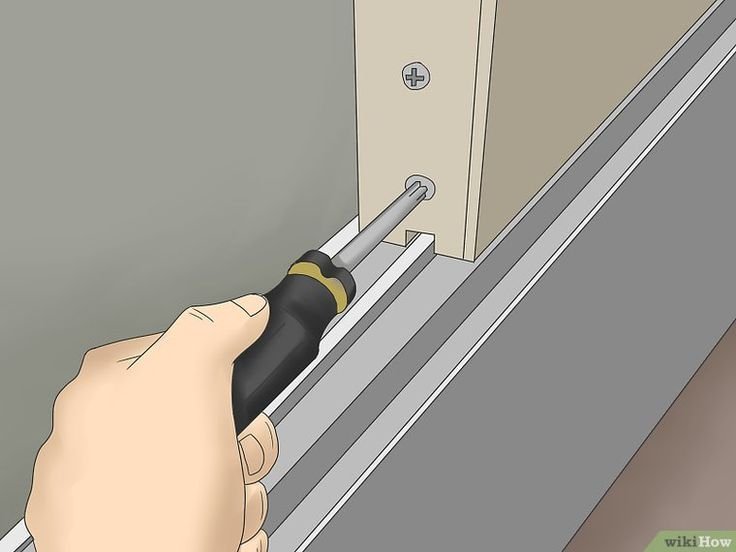
Replacing the Rollers
Now that the door is out, let’s get to the fun part—replacing those pesky rollers. Follow these steps:
1. Remove Old Rollers: Use the screwdriver to unscrew the old rollers. They might be held in with one or two screws, so keep those safe as you’ll need them for the new rollers.
2. Install New Rollers: After removing the old ones, align the new rollers in the same position. Secure them in place with the screws you saved earlier.
3. Check for Smooth Operation: Before putting the door back, test the rollers by sliding them back and forth in your hand. They should roll smoothly. If they don’t, double-check to ensure they’re installed correctly.
This part can feel a little like putting together a puzzle, but take your time, and you’ll be successful.
Reinstalling the Sliding Closet Door
With your new rollers in place, it’s time to put the door back. Here’s how to do it:
1. Align the Door with the Track: Start by positioning the top of the door towards the upper track, angling it slightly.
2. Slide the Bottom into Place: Once the top is secured, guide the bottom of the door into the bottom track.
3. Test the Operation: Gently push the door back and forth to ensure it glides smoothly across the track. If it’s still tight or not functioning right, check the roller installation again.
Reinstalling can sometimes be a bit tricky, so be patient as you adjust and align the door properly.
Maintenance Tips for Sliding Closet Doors
Now that your closet doors are sliding like new, let’s keep them that way. Here are a few tips for ongoing maintenance:
– Clean the Track Regularly: Dust and debris can accumulate, making it harder for the rollers to move. Regularly wipe down the tracks with a damp cloth.
– Lubricate the Rollers: A silicone-based lubricant can help keep the rollers functioning smoothly. Apply a small amount to the rollers every few months.
– Inspect for Wear: Take a moment to check the rollers and track for any signs of wear every now and then. This way, you can catch problems early before they become bigger issues.
You might not need to replace the rollers often, but taking a few minutes to maintain them can extend their life significantly.
Replacing the rollers on sliding closet doors might seem daunting at first, but once you break it down into steps, it becomes a manageable and satisfying project. With just a few tools, some new rollers, and a little bit of effort, you can transform that stubborn door into a smooth-gliding feature of your home.
Remember to take your time, and don’t hesitate to ask for help if you need it. DIY projects like this can be a great way to enhance your living space while gaining valuable skills along the way. Happy fixing!