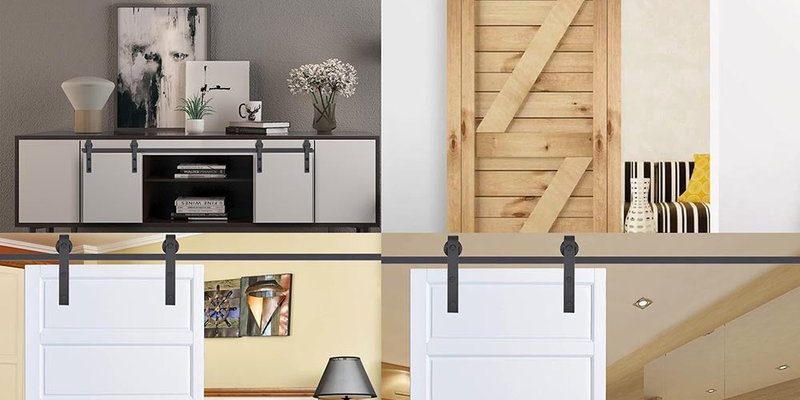
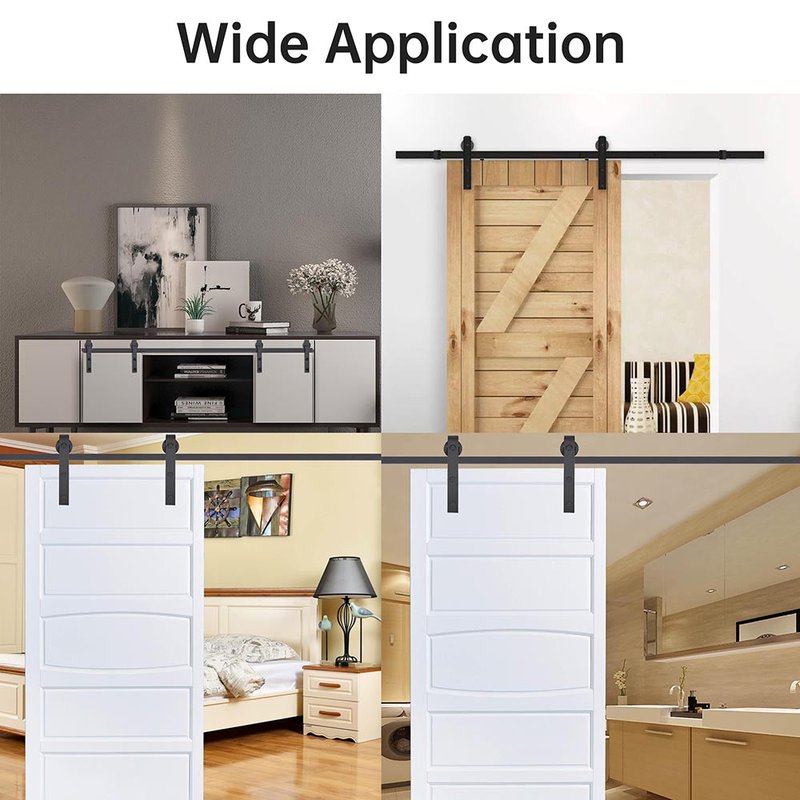
Many homes feature different types of sliding barn door hangers, and each brand has its quirks. Whether you have a simple wooden door or a more elegant metal one, understanding how to replace the rollers is essential. Let’s go through the process step-by-step, so you can get that door gliding smoothly again.
Understanding Sliding Barn Door Rollers
Before diving into the replacement process, it’s essential to understand the function of sliding barn door rollers. These small but mighty components are what allow the door to move along the track. Over time, rollers can wear out due to regular use, causing your door to catch, stick, or become misaligned.
The two most common types of rollers are wheel rollers and strap rollers. Wheel rollers resemble small wheels that fit into a track, while strap rollers often come with a decorative design and allow the door to slide more smoothly. Depending on your door’s style and the hanger you have, the replacement process can vary slightly, but the core idea remains the same.
You might be wondering why the rollers wear out so quickly. Think about it: every time you slide that door, the rollers are moving along a track, facing friction and pressure. This constant motion leads to wear and tear, especially in homes with kids or pets. Recognizing the signs of worn rollers early on can save you a lot of hassle.
Gathering Your Tools and Materials
Before you jump in, let’s gather everything you need to replace those rollers. Here’s a handy list to simplify your shopping and preparation:
- New rollers (matched to your existing setup)
- Screwdriver (usually a Phillips or flathead)
- Wrench
- Level (to ensure proper alignment)
- Measuring tape
- Safety goggles (to protect your eyes)
Honestly, having the right tools makes the job a million times easier! You don’t want to get halfway through and realize you’re missing something crucial.
Also, it’s worth considering the type of rollers you’re purchasing. Many brands, like Johnson Hardware or Rustic Hardware, offer quality options that last. Ensure you pick rollers that match your current hanger system; otherwise, you’ll find yourself back at square one.
Removing the Old Rollers
Now that you’ve got your tools ready, let’s get to work. First, you’ll need to take the door off the track. If you haven’t done this before, here’s a simple way around it:
1. Lift the Door: Gently lift the door upward to disengage it from the track. It might help to have someone assist you so the door doesn’t tip.
2. Support the Door: Once lifted, place a block or cushion under the door to keep it steady while you work.
3. Unscrew the Rollers: Look for the screws that hold the rollers in place. Using your screwdriver, carefully remove these screws. Keep them nearby; you might want to reuse them.
It’s a good idea to put your screws in a safe spot, like a small container, to avoid losing them.
Once you’ve removed the old rollers, take a moment to inspect the track itself. Sometimes, dirt or debris can cause issues, even if the rollers are new. Wipe down the track with a clean cloth to ensure smooth operation.
Installing the New Rollers
With the old rollers off, it’s time to install those shiny new ones. Here’s how you can do that effectively:
1. Align the Rollers: Position the new rollers in the same orientation as the old ones.
2. Screw Them In: Using your screwdriver, secure the new rollers tightly. It’s crucial that they’re fastened well to avoid any wobbling when the door slides.
3. Double-check: Before placing the door back on the track, pull out your level. Make sure the rollers are aligned correctly and that the door will hang straight.
This step is vital! An uneven door can cause further problems down the line. If the door appears tilted, adjust the screws until it’s level.
Reattaching the Door
Once the rollers are in place and everything looks good, it’s time to put the door back on the track. Here’s a quick guide to make sure you do it right:
1. Lift Again: Carefully lift the door back into position, ensuring the rollers fit snugly into the track.
2. Test the Movement: Before securing the door completely, slide it back and forth to check for smoothness. If it catches, you may need to make minor adjustments.
3. Secure the Door: If everything’s moving well, finish securing any screws or brackets necessary to hold the door in position.
This part can be a bit tricky, so take your time. Slide it gently to avoid any mishaps during installation.
Troubleshooting Common Issues
Sometimes, even after installing new rollers, you might encounter problems. Here are a few common issues and how to troubleshoot them:
– Door Sticking: If your door still sticks, check if the rollers are properly aligned or if dirt is obstructing the track.
– Uneven Sliding: This could be due to uneven roller installation. Adjust the screws slightly to level the door.
– Noise: If the door makes unusual sounds, it may be the track or the rollers themselves needing lubrication. A little silicone spray can go a long way!
Remember, it’s all part of the learning process. Finding solutions to these minor issues is what makes you more confident in DIY tasks.
Final Thoughts on Roller Replacement
Replacing rollers on a sliding barn door hanger might seem like a chore, but it’s a manageable DIY project that can save you time and money. By understanding the parts, gathering the right tools, and following the steps, you’ll have that door sliding smoothly in no time.
You’ve taken a step into home improvement that not only enhances functionality but also keeps that rustic charm intact. Plus, there’s something satisfying about doing it yourself, right? So, roll up those sleeves, and let’s get sliding!