Replacing interior door knobs can seem daunting. You might be wondering if there’s a simple solution or if you’ll have to wrestle with custom fittings. Don’t worry! We’ll guide you through the process step-by-step, making it as smooth as possible. Let’s dive into how you can tackle this project without losing your mind (or your tools).
Understanding Non-Standard Door Knob Sizes
Before you dive headfirst into replacing your door knobs, it’s essential to understand what non-standard sizes really mean. Unlike newer homes that often follow standardized measurements, older homes can have unique fittings. You might find a door that requires a knob with a larger or smaller diameter, or maybe it has a set screw that modern knobs don’t accommodate.
So what are some common non-standard sizes? Typically, older doors might have 2-3/4″ backsets, while newer homes often use a 2-3/8″ backset. This difference can lead to challenges when trying to find a new knob that fits properly. If your knob doesn’t align with the latch and strike plate, you’ll be facing some more than just aesthetics.
Another thing to consider is the style of the door knob itself. Some older models are made from materials or designs that aren’t commonly found today. If your knob has a rustic charm, you may want to preserve that look while upgrading its function.
Tools You’ll Need for Replacing Door Knobs
Let’s get you set up with the right tools. Having everything ready before starting can make the process much easier. Here’s a handy list of tools you’ll want to gather:
- Screwdriver: A Phillips head screwdriver is a must for most door knobs.
- Tape Measure: This will help you measure the backset and ensure a good fit.
- Drill: If you need to create new holes or adjust sizes, a drill can be very useful.
- Chisel: If your latch needs adjusting, a chisel will help provide extra space.
- Level: To ensure the new knob is straight and aligned perfectly.
Having these tools ready makes you feel empowered, like a superhero with the right gear. And you’ll be able to tackle the project head-on, like any seasoned handyman (or handywoman).
Measuring Your Door Knob Size
Now, let’s get to the nitty-gritty — measuring your door knob size. This step is crucial. If you skip it, you might end up with a knob that looks great but doesn’t fit. Here’s how to do it:
1. Remove the old knob: Use your screwdriver to unscrew the existing knob from both sides of the door.
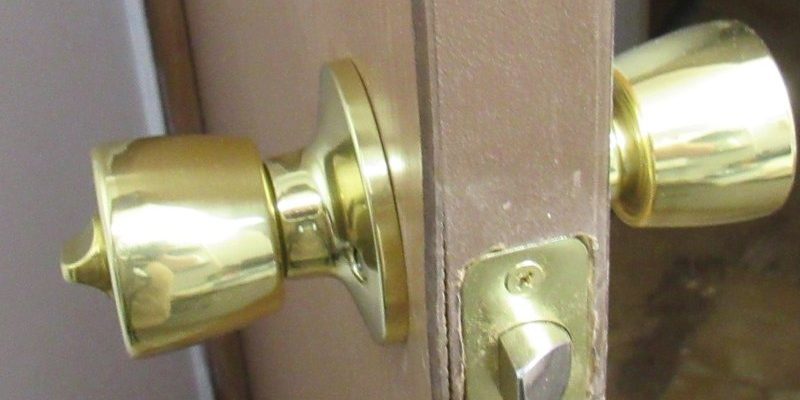
2. Measure the backset: This is the distance from the edge of the door to the center of the knob hole. Place a tape measure at the edge of the door and stretch it to the middle of the hole.
3. Check the hole diameter: Measure the diameter of the hole where the knob fits. Typical sizes include 1-1/2″, 2″, or 2-1/8″.
4. Note the thickness of the door: Older homes often have thicker doors. Make sure to measure the door’s thickness to ensure your new knob has the right mounting system.
With these measurements in hand, you’re ready to shop for the perfect replacement knob.
Choosing the Right Replacement Door Knob
Finding the right replacement door knob can feel overwhelming with so many options out there. But here’s the thing: you don’t have to get lost in the sea of styles. Start by considering the measurements you took. Look for a knob that matches those dimensions.
Style Matters: You might love that antique brass finish or be drawn to a sleek modern design. Remember, the style should complement your home’s character. You can even look for specialty stores that focus on vintage or retro options.
Function Over Form: While appearance is important, make sure the knob functions well. Look for durable materials and consider whether you want a locking mechanism. Some older homes may benefit from the simplicity of a non-locking knob, while others may need the security of a keyed lock.
Installing the New Door Knob
Once you’ve got your new door knob, it’s time to install it. Here’s a quick guide to get you through the process smoothly.
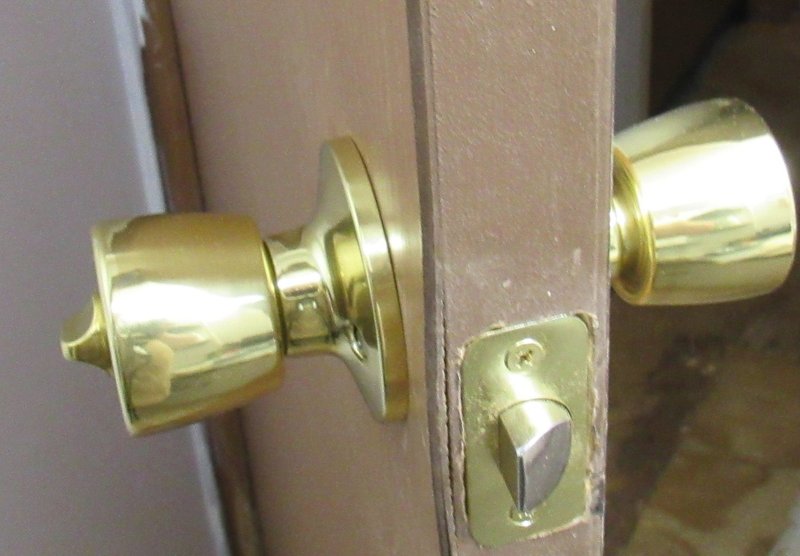
1. Position the latch: Insert the latch into the hole on the edge of the door, making sure it aligns with the strike plate.
2. Attach the knobs: Place one half of the knob through the door from one side and align the other half on the opposite side. Secure them with the screws provided.
3. Test the knob: Turn the knob to make sure it functions properly. It should open and close smoothly without sticking.
4. Adjust if necessary: If things aren’t fitting well, you may need to adjust the latch or the strike plate. Use your chisel or drill as needed.
Taking it step by step will help you feel more confident. Just think of it as building a puzzle—once the pieces fit together, you’ll have a beautiful new knob!
Common Issues and Troubleshooting
As with any home improvement project, you might run into some hiccups. Here are a few common issues and how to resolve them:
– Knob not fitting: If your new knob doesn’t fit, double-check your measurements. It can be easy to misread a tape measure.
– Alignment problems: If the knob doesn’t align with the latch or strike plate, you may need to reposition either component. Don’t hesitate to use your drill or chisel to create a better fit.
– Knob feels loose: If your knob feels wobbly, make sure all screws are tightened securely. Loose screws can cause more damage over time.
A little troubleshooting can save you a lot of frustration. Remember, every problem has a solution—just like every door has a knob!
Final Thoughts on Replacing Door Knobs
Replacing interior door knobs in older homes doesn’t have to be a headache. With the right tools, measurements, and a dash of patience, you can enhance your home’s charm while upgrading its functionality. Just imagine how satisfying it will be to turn that shiny new knob and know that you did it yourself.
So, next time you walk past a door that could use a fresh new look, remember these tips. Embrace the quirks of your older home, and enjoy the process of making it a little bit more your own. Whether it’s a simple upgrade or a full renovation, each step adds to the story of your home. Happy DIYing!