The best part? You don’t need to be a master craftsman or have a toolbox full of fancy gadgets. All you need is a new passage door knob and a few basic tools. Whether you’ve got a stubborn knob that just won’t turn or you’re looking to upgrade your home’s aesthetics, this DIY guide will walk you through the process step-by-step.
What Is a Passage Door Knob?
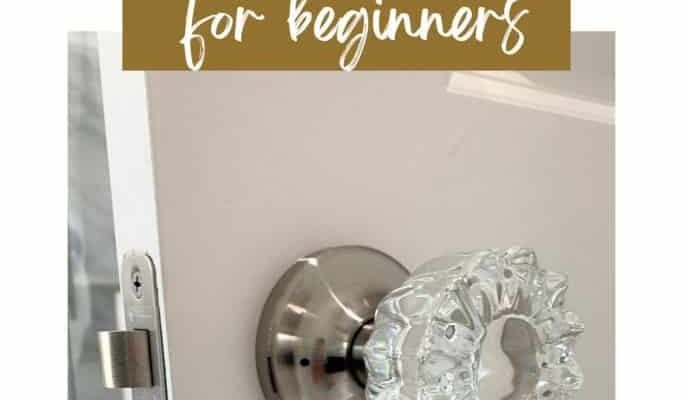
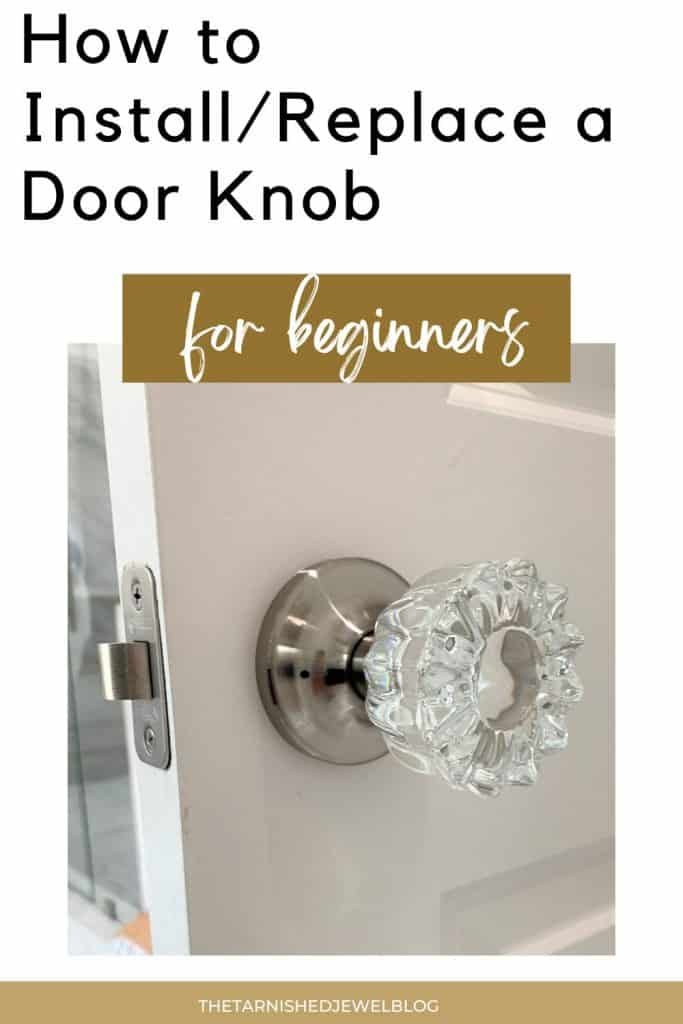
Before diving into the replacement process, let’s clarify what a passage door knob is. Unlike a keyed entry knob, a passage knob is designed for interior doors that don’t need a lock. Think bedrooms or hallways. When you turn a passage knob, it allows free access in and out of a room without the fuss of a key.
Most passage knobs come with a simple mechanism that lets you pull or push the door open. They’re perfect for those areas where you want to maintain privacy but don’t need security, like a guest room or a kids’ playroom. If you’re thinking about changing a door knob, understanding its function will help you pick the right replacement.
Tools You’ll Need for the Job
Here’s the thing: before you start, gather all your tools to make the process smoother. You won’t want to be hunting for a screwdriver halfway through. Here’s a quick list of what you’ll need:
- Screwdriver: Either a flathead or Phillips, depending on your knob’s screws.
- New passage door knob: Make sure it fits your door thickness.
- Tape measure: Sometimes it helps to measure your door if you’re unsure.
- Pencil: For marking any measurements, if necessary.
Having these tools on hand will make your job easier and keep your focus on the task at hand.
Step 1: Remove the Old Door Knob
Now we’re getting to the fun part—removing the old door knob! Start by locating the screws holding your existing knob in place. They’re usually found on the interior side of the knob.
Once you find the screws, use your screwdriver to unscrew them. Be careful not to drop any screws; a little container can come in handy. After unscrewing, gently pull the knobs apart. If they’re stuck, a little wiggle should loosen them up.
If your door knob has a latch, you might need to remove it from the door. This can usually be done by unscrewing a couple more screws. Remember, take your time. It’s not a race!
Step 2: Prepare the Door for the New Knob
With the old knob off, now’s a good time to check the condition of the door hole. Make sure there’s no debris or old hardware left behind. If your door knob used to have a latch, ensure the latch hole is clean and free from any obstructions.
Check that the hole for the new knob is the right size. If it’s too small, you might need to widen it slightly. Don’t panic! This is a normal part of the process. Just take your time, and if you’re unsure, a quick search can show you how to do it safely.
Step 3: Install the New Passage Door Knob
Now comes the exciting part—installing your shiny new passage door knob! Grab your new knob and look for all the pieces in the packaging. You’ll usually find two main knobs, screws, and a latch mechanism.
Start with the latch. Insert it into the door hole, ensuring that the flat side faces the direction of the door swing. Once it’s in place, secure it with screws. After that, take the exterior knob and slide it through the latch.
Attach the interior knob, aligning it with the exterior one. Then, screw both knobs in tightly. Make sure everything feels secure but don’t overtighten, as that could damage the door.
Step 4: Test the New Door Knob
Okay, you’re almost done! Now it’s time to give your new door knob a test run. Turn the knob and check if the door opens smoothly. If it feels stiff or won’t turn, you might need to adjust the screws or the latch.
Also, ensure that the knob doesn’t wobble when you turn it. A little wobble might indicate it needs tighter screws. If everything feels good and the door opens and closes as it should, congratulations! You’ve successfully replaced your passage door knob.
Common Issues and Troubleshooting
Sometimes, despite your best efforts, things might not go as planned. You might encounter a few common issues after installing your new door knob. For instance:
– The knob feels loose: This often means the screws aren’t tightened enough. Go back and double-check.
– The knob is difficult to turn: This could be due to the latch not being aligned correctly. Try adjusting it slightly.
– The door doesn’t latch properly: Make sure the latch is engaged in the strike plate properly.
If you run into any other problems, don’t hesitate to look up specific solutions online or consult the manufacturer’s instructions.
Finishing Touches and Maintenance
After you’ve installed your door knob and everything is functioning well, take a moment to clean up your workspace. Put away your tools and dispose of any old hardware responsibly.
To keep your new door knob looking great, consider giving it a light wipe with a damp cloth every now and then. If it’s a metal finish, you might want to use a polish designed for that material to keep it shiny.
Also, occasionally check the knob and latch for any signs of wear or loosening screws. A little maintenance goes a long way in ensuring your door knob lasts.
Replacing a standard passage door knob is a great way to improve both the function and look of your doors. With just a few tools and some patience, you can tackle this DIY project with confidence. So, grab your new knob, roll up your sleeves, and enjoy the satisfaction of a job well done!