Whether you’re dealing with a door that won’t close properly or an older piece of furniture that needs a hinge update, knowing how to replace a non-removable pin hinge is essential. It’s a bit like a DIY adventure; with the right tools and techniques, you can bring new life to your doors or cabinets. Just like fixing a squeaky wheel can make a bike ride smoother, a properly functioning hinge can improve the usability and longevity of your furniture or doors.
Understanding Non-Removable Pin Hinges
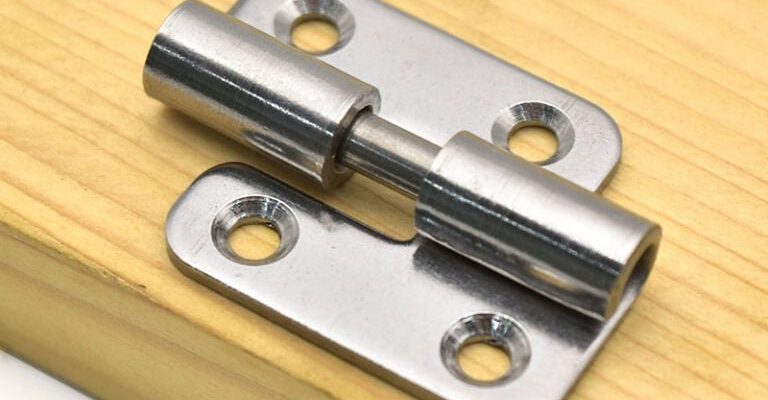
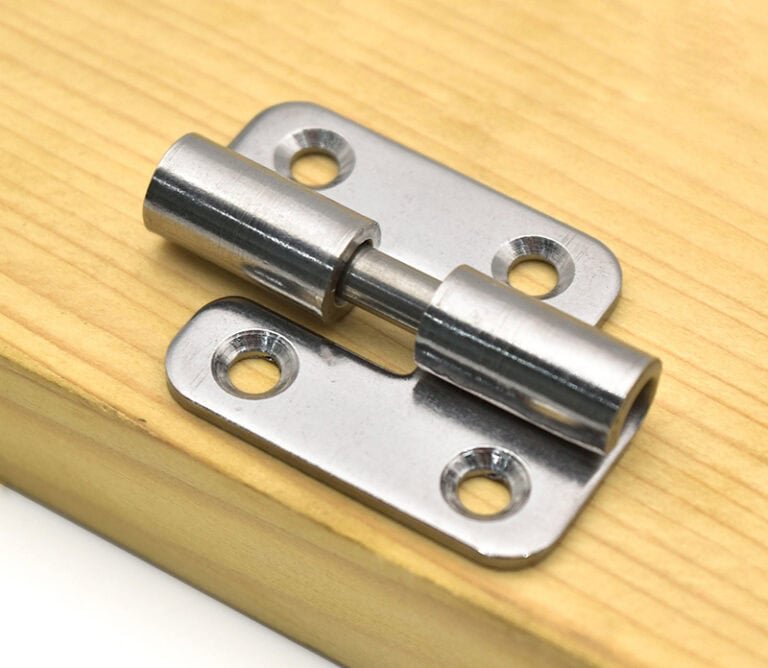
Before diving into the replacement process, it’s important to understand what a non-removable pin hinge actually is. Essentially, this type of hinge has a pin that’s fixed in place, making it challenging to remove without specific techniques. Imagine a hinge as a door’s backbone; if it’s broken or not functioning properly, the door can’t do its job effectively.
These hinges are commonly found in doors and cabinets, often installed for security reasons. Because they’re non-removable, they provide a level of safety. However, this also means that when wear and tear occurs, replacing them may take a little more effort. You might be wondering why you need to replace a hinge at all—worn-out hinges can cause doors to sag or not close properly, which can be a hassle.
When you’re ready to take on the task of replacing a non-removable pin hinge, having a clear plan will help. You’ll need the right tools, a little patience, and an understanding of the process to get it done smoothly.
Gathering the Right Tools
To replace a non-removable pin hinge successfully, you’ll need some essential tools. Think of this step like preparing for a mini expedition: you wouldn’t head out without the right gear! Here’s a handy list of what you’ll want to have:
- Screwdriver: A flathead or Phillips screwdriver, depending on the screws used.
- Pry bar or flat tool: This will help you gently pry the hinge apart.
- Replacement hinges: Make sure these are compatible with your door or cabinet.
- Drill: If new holes need to be made for the replacement hinge.
- Measuring tape: For precision when placing your new hinge.
Once you have these tools, you’re ready to embark on your hinge-replacement adventure. Honestly, having the right tools makes the process smoother, just like having a GPS helps you navigate on a road trip.
Assessing the Current Hinge Condition
Before jumping straight into replacing the hinge, it’s vital to assess its condition first. This is akin to looking at a map before you start driving. You need to know where you’re starting from! Take a close look at the hinge and the door it’s attached to.
If the hinge is simply rusty or squeaky, you might be able to clean it up rather than replace it outright. Sometimes, a little oil can do wonders. But if the hinge is damaged or broken, you’ll need to replace it. Some typical signs of wear include:
- Rust or corrosion on the hinge.
- Cracks or breaks in the hinge itself.
- Difficulty moving the door or it hangs unevenly.
Identifying these issues early can save you time and effort down the line. If the hinge looks beyond repair, it’s definitely time to consider a replacement!
Removing the Non-Removable Pin Hinge
Now we get to the tricky part: removing the hinge. Since it’s a non-removable pin hinge, this won’t be as simple as unscrewing it. Here’s where your pry bar or flat tool comes into play. Here’s a step-by-step breakdown of the process:
1. Secure the Door: Before starting, you might want to prop the door open or have someone hold it in place. This prevents any accidental damage during removal.
2. Examine the Pin: Look closely at the hinge to see if there’s any visible pin. Sometimes it’s covered or hidden, making it hard to notice.
3. Push or Pry: Depending on the hinge model, you may need to gently tap up the pin using your flat tool, or pry the hinge open to access the pin. Be careful not to damage the door or surrounding area.
4. Remove the Hinges: Once the pin is loosened, you should be able to remove the hinge from the door frame and door. Take a moment to clean up any debris or dust around the area as you go.
Removing the hinge might feel a bit like unlocking a safe—timing and finesse are key. If you find it difficult, consider seeking help from a friend or even a professional to avoid any damage.
Installing the New Hinge
With the old hinge out of the way, it’s time to install the new one. This step can be much more straightforward, but there are still a few important points to keep in mind. Here’s how you can do it:
1. Align the Hinge: Position the new hinge in the same spot where the old one was. Make sure it’s straight and level; use your measuring tape if necessary.
2. Secure the Hinge in Place: Start by inserting screws into the hinge. Don’t tighten them all the way just yet; it’s good practice to leave them a bit loose until everything is aligned properly.
3. Check the Door Movement: Before you fully tighten the screws, swing the door open and closed a few times. This will help you see if the hinge is aligned correctly.
4. Tighten the Screws: Once you’re satisfied with the alignment and movement, tighten the screws completely.
Installing the new hinge can feel like putting the final piece in that puzzle. When everything fits just right, it’s incredibly satisfying!
Testing the Functionality
After replacing the hinge, testing its functionality is crucial. This is like taking a newly repaired bike for a spin—you want to know everything works smoothly! Begin by swinging the door open and closed several times to check for any sticking points or sounds.
If you hear squeaking, consider applying a small amount of lubricant to the hinge. This can help prevent future wear and tear. You might also want to check how well the door closes. Does it align perfectly with the frame? If not, you may need to make minor adjustments to the hinge.
In this step, small tweaks can make a big difference. It’s all about ensuring that the door operates smoothly and efficiently.
Common Mistakes to Avoid
Even with the best intentions, mistakes can happen. Here are a few common pitfalls to avoid as you go through the process of replacing a non-removable pin hinge:
1. Rushing the Process: Take your time! Hurrying can lead to misalignments or damage.
2. Forgetting to Check Alignment: Always test the door movement before fully tightening screws. It’s easy to overlook but crucial for function.
3. Not Cleaning the Area: Dust and debris can affect hinge performance. Make sure to clean the area before installing the new hinge.
4. Ignoring Compatibility: Ensure the new hinge matches the old one in size and function. Using an incompatible hinge can lead to future issues.
By avoiding these common mistakes, you can make the replacement process smooth and successful!
Final Thoughts
Replacing a non-removable pin hinge may seem challenging, but with the right tools and techniques, it can be a fulfilling DIY project. Just remember to approach the task with patience, and don’t hesitate to seek help if you need it.
Understanding the hinge’s role in your door or cabinet’s function can make you appreciate the small things in home repairs. Next time you encounter a stubborn hinge, you’ll be well-equipped to tackle the challenge. Happy DIY-ing!