Replacing that floor guide isn’t as daunting as it sounds. Picture yourself as the architect of your own space, ready to restore functionality with a little know-how. Whether you’re dealing with a simple replacement or a more intricate installation, you’ll find that with the right tools and guidance, you can easily tackle this job. Let’s dive in and break down the steps you’ll need to take, along with some tips and tricks to ensure your barn door operates smoothly once again.
Understanding the Role of a Floor Guide
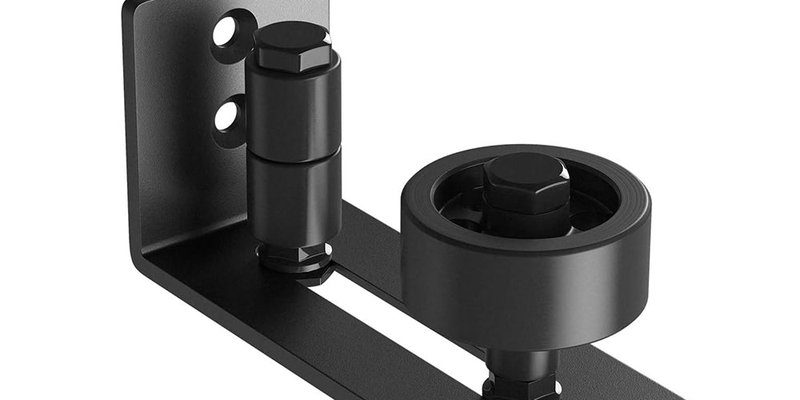
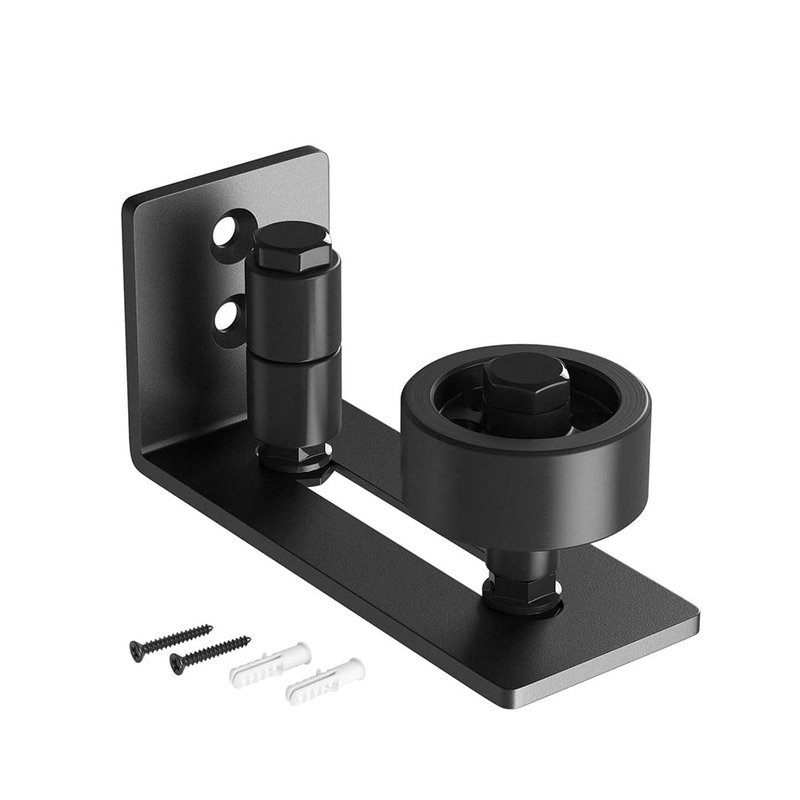
First off, let’s explore what a floor guide actually does. A floor guide is a small yet crucial component that helps align your sliding barn door. It keeps the door from swaying back and forth, ensuring it slides seamlessly along its track. This guide is usually mounted on the floor, right under where the door swings, providing much-needed stability.
Now, you might be wondering, “What happens if the floor guide is damaged?” When a floor guide is broken or missing, your door can become wobbly and difficult to open or close. Not only can this lead to inconvenience, but it might also result in additional wear on your door system. Imagine trying to steer a car without a steering wheel—it just doesn’t work well, right?
So, if your sliding barn door isn’t operating as smoothly as it used to, the first step is to check the floor guide. If it’s damaged, replacing it is essential.
Gathering the Right Tools and Materials
Before you dive into the replacement process, you’ll need to gather your tools and materials. Here’s a quick checklist to make sure you have everything on hand:
- New floor guide: Make sure to choose the right type for your door.
- Screwdriver: A basic Phillips head should do the trick.
- Measuring tape: To ensure proper placement.
- Drill: If you’re going to be making new holes.
- Level: To ensure everything is lined up properly.
Honestly, having the right tools makes all the difference. You don’t want to start this project and then discover you’re missing something essential! If you’re unsure about which floor guide to buy, consult your barn door’s manual or visit your local hardware store for help.
Removing the Damaged Floor Guide
Now that you have your tools ready, it’s time to remove the damaged floor guide. Here’s how to do it step-by-step:
1. Locate the Existing Floor Guide: Find where the current guide is installed. It’s usually near the base of the doorframe.
2. Unscrew the Old Guide: Using your screwdriver, carefully remove the screws holding the old floor guide in place. Keep these screws; you might need them later!
3. Check the Area: Once the guide is removed, inspect the area for any damage or debris. It’s essential to have a clean surface for the new guide.
4. Remove Any Old Adhesive: If your old guide was glued down, you might need to scrape away the adhesive to ensure a proper fit for the new one.
This process can take a little time, especially if the screws are rusted or stuck. Patience is key here—just like in baking, rushing can lead to mistakes!
Installing the New Floor Guide
Now that the old guide is out, it’s time to install the new one. Here’s how to do it right:
1. Position the New Guide: Place the new guide over the area where the old one was. Make sure it aligns with the door’s track for optimal performance.
2. Mark the Holes: Use a pencil to mark where the screws will go. This step is crucial for ensuring that your guide is straight.
3. Drill Pilot Holes (if necessary): If the material is hard, you might want to drill pilot holes first. This makes it easier to screw in the next part.
4. Secure the Guide: Using your screws, attach the new floor guide securely. Make sure it’s tight enough to hold the door but not so tight that it’s hard to adjust.
5. Check for Level: Once installed, use your level to ensure it’s straight. This ensures that the door will slide smoothly without wobbling.
Think of this part like putting the icing on a cake. You want it to look good and set the stage for the final product!
Testing the Door Functionality
Once the new floor guide is in place, it’s time to test everything out. Here’s how to make sure your sliding barn door operates smoothly:
1. Open and Close the Door: Gently slide the door back and forth. Pay close attention to how smoothly it moves along the track. It should glide effortlessly without sticking or wobbling.
2. Check Alignment: Look at the space between the door and the wall. If you notice any gaps, you might need to adjust the guide slightly.
3. Make Adjustments if Needed: If the door isn’t sliding smoothly, consider adjusting the screws or repositioning the guide. Sometimes a small tweak can make a big difference.
4. Enjoy Your Work: Once you’re satisfied with the functionality, take a step back and enjoy your handiwork! You’ve just completed a simple yet effective home repair.
Maintaining Your Sliding Barn Door and Floor Guide
Now that you’ve replaced the floor guide, it’s essential to keep everything working well for the long haul. Here are some maintenance tips:
– Regularly Clean the Tracks: Dust and debris can accumulate over time, affecting how smoothly your door slides. A quick wipe down every few weeks can prevent build-up.
– Inspect the Guide Frequently: Every now and then, check the floor guide and screws. Look for any signs of wear or loosening. Catching issues early can save you time and trouble later.
– Lubricate the Track: If your door starts to stick, consider using a silicone-based lubricant on the track. This will help maintain smooth operation.
– Watch for Damage: Keep an eye out for any signs of damage to the door itself. If the door becomes misaligned, it could put stress on the floor guide.
By taking these simple steps, your sliding barn door can continue to be a beautiful and functional feature in your home for years to come.
Replacing a damaged sliding barn door floor guide might seem like a daunting task at first, but with the right tools and a little patience, it can be a straightforward DIY project. You’ve learned how to remove the old guide, install the new one, and maintain it to ensure long-lasting functionality.
Remember, just like any home repair, taking it step by step will make the process easier and less stressful. So don’t hesitate to roll up your sleeves and get to work! Your barn door will thank you for it, and you’ll enjoy a smooth, stylish entryway once again. Happy DIYing!