
Replacing a damaged interior door knob rosette isn’t as daunting as it may sound. Sure, it might seem like a small task, but it can make a big difference. Whether you have a traditional knob or a modern handle, knowing how to replace that rosette will keep your doors looking sharp. In this guide, we’ll walk you through the entire process, step by step, using examples from popular brands and styles.
What is a Door Knob Rosette?
The term rosette or escutcheon might sound fancy, but it’s simply the circular plate that sits around your door knob or handle. Its job is twofold: it enhances the aesthetic appeal of your door and covers the mounting holes of the knob. Think of it like a fashionable accessory. You wouldn’t leave the house without your favorite watch or necklace, right? The same goes for your door knobs!
Rosettes can be found in various materials, including metal, plastic, and even wood. Some are ornate, adding a touch of elegance, while others are sleek and modern, perfect for minimalist homes. The style you choose can impact not just the look of your door but also how it fits with the overall design of your space.
Identifying the Need for Replacement
You might be wondering, “How do I know if my rosette needs replacing?” Well, there are a few telltale signs. If you see cracks, chips, or discoloration, it’s time to consider a replacement. A damaged rosette not only looks unattractive, but it can also compromise the stability of the door knob. Here’s what to look for:
- Visible Damage: Cracks or extensive scratches can make your door knob look old and worn.
- Loose Fit: If the rosette feels loose or wobbly, it might indicate that it’s time for a new one.
- Corrosion: For metal rosettes, rust or corrosion can be a big red flag that it needs to be replaced.
Replace your rosette promptly to maintain both appearance and function. After all, a small detail like this can influence the first impression of a room.
Gathering Your Tools and Materials
Before diving into the replacement process, gather everything you need. Trust me; it makes the job smoother! Here’s a handy list of what you’ll require:
- New Rosette: Make sure it’s the right size and style for your knob.
- Screwdriver: Typically, you’ll need a Phillips head screwdriver.
- Utility Knife: For removing any old adhesive, if necessary.
- Level: If you want to ensure perfect alignment (optional, but can come in handy).
Having these tools ready will save you time and frustration during the process. Imagine trying to change a tire without a jack; it just doesn’t work!
Removing the Old Rosette
Now that you have your tools, it’s time to tackle the task at hand: removing the old rosette. Here’s how to do it step by step:
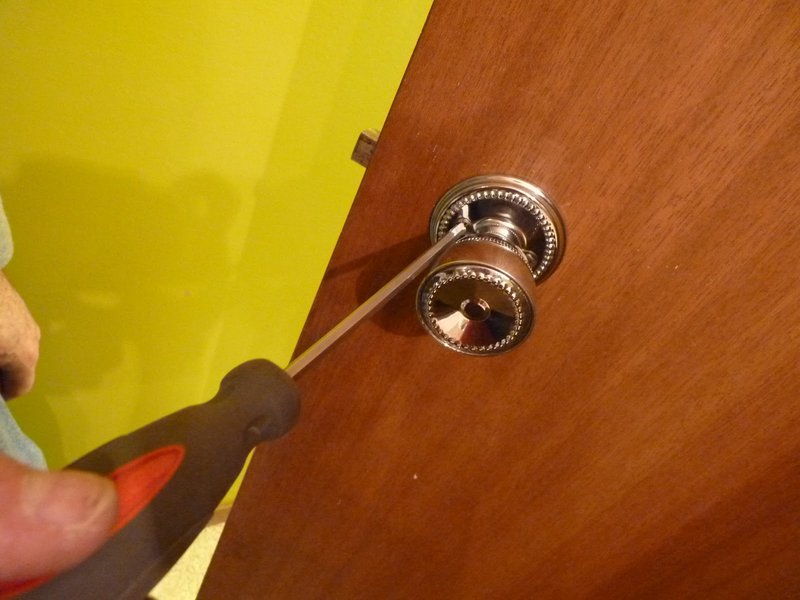
1. Start with the Door Knob: Depending on your door knob design, you may need to unscrew it first. Locate the screws on the back of the knob and remove them carefully.
2. Take Off the Rosette: Once the knob is off, gently pull the rosette away from the door. In some cases, it may slide off easily; in others, you might need to wiggle it a bit to free it from any adhesive.
3. Clean the Area: Before you install the new rosette, take a moment to clean the area around the door. Use a damp cloth to remove dust or residue left from the old assembly.
Removing the old rosette might feel like a bit of a chore, but it’s a crucial step to ensure your new rosette fits well!
Installing the New Rosette
With the old rosette gone, it’s time to put in the new one. Here’s how to install it easily:
1. Position the New Rosette: Place the new rosette over the existing holes in the door. Make sure it’s oriented correctly; some rosettes have a specific orientation due to their design.
2. Secure the Rosette: If your rosette comes with its own screws, tighten them using your screwdriver. Ensure it’s snug, but don’t overtighten as this could crack the material.
3. Reattach the Door Knob: Finally, screw the door knob back into place. Double-check that it operates smoothly without any sticking or wobbling.
After installing the new rosette, step back and admire your work. It’s the small details that help your home feel complete!
Common Issues During Replacement
Even though replacing a damaged interior door knob rosette is straightforward, you might run into a few hiccups along the way. Here are some common issues and how to troubleshoot them:
- Fit Issues: If the new rosette doesn’t fit properly, check the measurements. You might have picked the wrong size or style. Double-check compatibility with your existing door knob.
- Screws Won’t Tighten: If the screws are stripping or won’t tighten, you might need to use longer screws or consider a screw anchor for added security.
- Alignment Problems: If the rosette looks crooked, use a level to ensure it’s straight before fully tightening everything down.
Encountering these issues can feel frustrating, but they’re typically easy to fix. Just take your time and ensure everything is aligned and secure before considering the job done.
Final Thoughts and Maintenance Tips
Now that you’ve successfully replaced your damaged interior door knob rosette, don’t forget about maintenance. Regularly check your door knobs and rosettes for any signs of wear. Occasional tightening of screws can help keep everything secure and looking great.
Remember, your home is a reflection of you, and even small details contribute to that picture. A simple change like replacing a rosette can elevate the look of your doors, enhancing your home’s overall style.
Keep an eye out for any future needed repairs and don’t hesitate to dive back into DIY projects. With a little effort, you’ll keep your home beautiful and inviting for years to come.