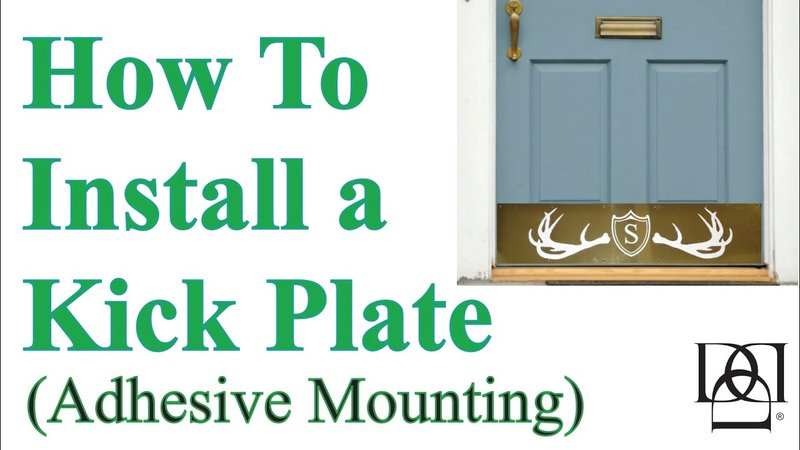
If you’re working with an adhesive-backed kick plate (popular with brands like Prime-Line and Schlage), the fix isn’t a big construction project. Still, getting it right takes a little patience and the right steps. Whether your old plate is scratched, the adhesive has let go, or you just want to swap it for an updated style, replacing a damaged adhesive-backed kick plate is a solid DIY project—no advanced skills required.
What Is an Adhesive-Backed Kick Plate?
Let me explain what we’re working with. An adhesive-backed kick plate is a thin plate—usually aluminum, brass, or vinyl—with a strong peel-and-stick adhesive layer on the back. You’ll find these mounted at the base of doors, especially exterior or commercial doors, to take the abuse from shoes, carts, pets, and whatever else life throws at them.
Here’s the thing: unlike the old-school “screw-on” kick plates, the adhesive version is quicker to install and doesn’t put holes in your door. That’s why you’ll see them in rentals or on newer doors where folks want to avoid drilling. The downside? Over time, moisture, heavy impacts, or frequent cleaning can wear out the adhesive, causing corners to curl or the whole plate to start peeling away.
You might be wondering if these plates are just for looks. But honestly, they’re like a little line of defense for your door. Besides hiding scuffs, they actually extend the life of your door panel, saving you repair headaches later.
Why Replace a Damaged Kick Plate?
If your kick plate is damaged, don’t shrug it off. There are a few good reasons to replace it, even if the rest of your door looks fine. First, a peeling or dented plate doesn’t just look bad—it can actually trap moisture, leading to rust or paint damage underneath. That “cheap sticker” look isn’t what anyone wants as their guests’ first impression.
Here’s another thing: when the adhesive fails, the plate can shift, catching on shoes or snagging pet paws. That’s just asking for further damage, or worse, someone taking a tumble on the doorstep. Some plates become downright sharp at the edges once they come loose.
And finally, if you’re trying to keep up your home’s curb appeal or prepping for a showing, small details like a clean, intact kick plate really do matter. It’s a quick fix with a big visual payoff—up there with swapping out old doorknobs or updating the welcome mat.
Gathering Tools and Materials
It’s not a complicated project, but let’s be real: a little prep saves a lot of frustration. Before you start peeling and scraping, grab the right gear. For replacing a damaged adhesive-backed kick plate, you’ll need:
- Replacement kick plate—match size and color as closely as possible
- Plastic scraper or putty knife—for gently prying and cleaning
- Rubbing alcohol or adhesive remover—removes sticky residue
- Clean rags or paper towels
- Measuring tape—just to double-check fit
- Pencil—for light marking
- Level (optional but helps keep things straight)
- Painter’s tape (optional—for precise placement before final stick-down)
Most adhesive-backed kick plates come with their own strong double-sided tape already applied, but it’s always good to check before you buy. Some cheaper brands include only a thin adhesive strip, so if you want extra strength or are worried about outdoor exposure, you can always add a few strips of heavy-duty mounting tape.
Removing the Old Kick Plate
Let’s dive in. Start by gently prying up an edge of the old kick plate—don’t just yank; you risk pulling off door paint or splintering wood. Use a plastic scraper (metal can gouge) and work slowly, sliding under the plate as the adhesive releases.
You’ll probably run into stubborn spots. If so, aim a hairdryer on low heat at the sticky area for a minute or two. Warm adhesive softens and lets go with way less fuss—think of it like peeling a sticker off a new fridge versus one that’s been there for years.
Once the plate is off, you may see leftover goo or bits of tape. Here’s where the rubbing alcohol or adhesive remover comes in. Dampen a rag, and gently rub off all the sticky stuff until the door surface is as smooth as you can get it. Any residue left behind makes it harder for your new kick plate to stick—and can cause bubbling or crookedness.
Finally, wipe the area down with a clean, dry rag. If there’s any paint damage, now’s the time for a quick touch-up. Let it dry fully before installing the new plate.
Prepping and Placing the New Kick Plate
Now for the fun part. Unpack your replacement adhesive-backed kick plate and set it in place without peeling the backing just yet. You’re doing a “dry fit” here—making sure the size is right and it lines up with the door’s base and sides.
If things are a little off, now’s your chance to adjust. Measure from each edge, mark lightly with a pencil if needed, and check with a level for extra precision. For glass or painted doors, you can use painter’s tape as a temporary “hinge”—taping the plate in position so it swings up while you remove the adhesive liner.
Once you’re happy, peel back a few inches of the adhesive liner at one end, then align that corner carefully with your marks. Press down gently and begin pulling away more liner, smoothing the plate into place as you go. This method avoids trapping air bubbles or misalignments.
When the full plate is in place, press down along the entire strip with firm, even pressure. It’s a good workout for your fingers—think of it like sealing an envelope, but about 30 times stickier.
Tips for a Clean, Lasting Install
A few small tricks make a big difference. Here’s what I’ve learned from past sticky situations:
- Surface prep is everything—even a little grease or leftover glue can wreck the bond.
- Work at moderate temperature; super hot or cold days can mess with adhesive strength.
- Go slow when aligning—once the adhesive grabs, you’ll have a hard time re-positioning without bending the plate.
- Extra tape on corners helps with doors that see a lot of action, like commercial entries or family homes with pets.
- Clean tools and hands keep fingerprints and dirt off the fresh adhesive surface.
If you notice a small bubble under the plate after you’re done, try smoothing it toward an edge or gently lifting the plate and re-applying if the adhesive allows. Most adhesive-backed kick plates will fully bond within 24 hours—avoid heavy cleaning or direct water until then.
Alternative Kick Plate Options
Maybe you’re thinking, “What about screw-on kick plates?” or “Is there a better alternative for heavy use?” Good questions! Here’s a quick breakdown of your options:
- Adhesive-backed kick plates: Fast, tool-free install. Best for clean, flat door surfaces and moderate wear. No holes, no damage if removed carefully.
- Screw-on kick plates: Classic, ultra-durable. The go-to for high-traffic commercial doors or any place where peeling is a worry. You’ll need a drill and screwdriver—and a little nerve if you hate holes in doors.
- Magnetic kick plates: Less common, but handy on metal doors. They swap out easily, but less secure for outdoor doors or rowdy households.
If you rent, or you’re on the fence about long-term changes, adhesive is the lowest-commitment choice. Just know that in very wet, gritty, or high-traffic spots, the classic screw-on style might win for sheer toughness.
Common Issues and Quick Troubleshooting
Let’s say you’ve followed all the steps, but something’s off. Maybe the plate won’t stick, is crooked, or bubbles have popped up. Here are some troubleshooting ideas:
- Adhesive won’t stick? Go back and clean the door again—any dust or old glue can ruin the connection. If needed, add extra double-sided tape from a hardware store.
- Plate is crooked? If you catch it quickly, you might be able to peel up and try again. Use a level or painter’s tape to guide future installs.
- Bubbles or gaps? Press firmly with a soft cloth, working from the center outward. Some minor bubbles may shrink over time as adhesive cures.
- Corners curling? Secure with a dab of strong mounting tape, pressing for 30 seconds. If the problem keeps returning, consider switching to a screw-on plate.
Sometimes, no matter how careful you are, adhesives just don’t get along with certain door surfaces—like extra-rough wood or textured fiberglass. In those cases, don’t beat yourself up. It’s not you; it’s the tape. Upgrading to a stronger mounting option might be the smartest call.
Finishing Touches and Maintenance
Your new kick plate is in place—nice work! To keep it looking good, wipe it down occasionally with a damp rag. Avoid harsh chemicals, especially on brass or painted plates, as they can cloud or wear the finish. If you see dirt building up along the edges, a soft toothbrush does wonders.
If you ever need to swap styles or upgrade later, replacement is simple—as you now know. Just follow the same careful removal and cleaning steps. And if you see a corner lifting in the future, a quick press-down usually solves it before bigger problems start.
Don’t forget: like any door hardware, a kick plate is just a small part, but it takes a daily beating. A clean, sturdy plate does more than just look nice; it actually helps your door last longer and stand up to whatever life throws at it.
Wrapping Up: A Simple Upgrade With Big Impact
Honestly, replacing a damaged adhesive-backed kick plate is one of those quick home fixes that pays off every time you open the door. It’s a straightforward job—just a little prep, some simple steps, and a bit of patience with sticky tape. Whether you’re updating a battered Prime-Line adhesive plate on your side door, or giving the front entry a refresh after years of scrapes, taking the time to swap it out will keep your door looking sharp and protected.
So next time you spot peeling edges or scuffed metal at your doorstep, you know what to do. It’s a small Saturday project with real curb appeal—all it takes is a little sticky know-how and some careful hands.
