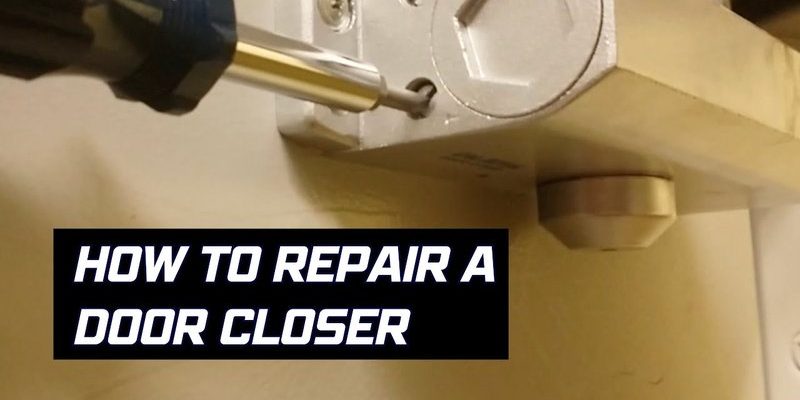
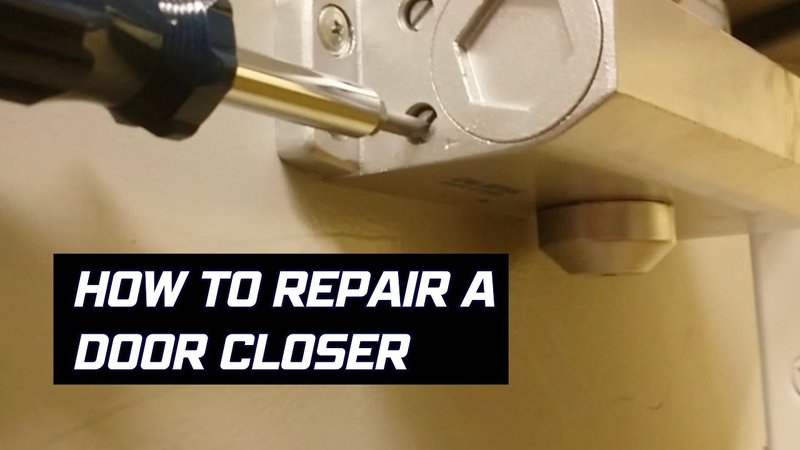
Replacing a broken door closer on an interior commercial door isn’t as daunting as it sounds. If you’ve got a light-duty door closer from a brand like LCN or Stanley, you’re in luck. With just a few tools and some basic instructions, you can bring that door back to life. Let me explain how to tackle this task step-by-step.
Understanding Door Closers
Before diving into the replacement process, it’s crucial to understand what a door closer does. Essentially, it helps the door close automatically after it has been opened, which aids in climate control, privacy, and security. Think of it as a soft sigh after a door opens; you want it to naturally settle back into place without a loud bang.
Door closers work through hydraulics or springs, depending on their design. Light-duty models are typically found in offices or conference rooms, where high traffic doesn’t demand heavy-duty solutions. When these closers fail, you’ll notice it right away. Doors might not close completely, or they could even remain ajar, leading to security issues or energy loss.
Choosing the right replacement is vital. You’ll want a closer that matches your door’s weight and use scenario. Installing a heavier duty closer on a lighter door can result in a door that slams or one that’s too stiff to operate smoothly.
Gathering Your Tools and Materials
Before you start, it’s important to gather the right tools and materials. You don’t want to get halfway through the job and realize you’re missing something. Here’s a quick checklist:
- Screwdriver (Phillips and flathead)
- Drill
- Replacement door closer
- Tape measure
- Level
- Pencil
- Safety glasses
Having everything on hand can save you from unnecessary trips to the hardware store. When selecting your door closer, make sure it’s compatible with your door type. The specifications are usually listed in the product description.
Removing the Broken Door Closer
Now that you’re prepared, let’s remove the broken closer. Start by carefully opening the door and holding it in place. You’ll likely find screws on the arm or body of the closer. Use your screwdriver (the Phillips head usually works best) to remove these screws.
Once you’ve unscrewed the closer, gently pull it away from the door. It might take a bit of wiggling, especially if the old adhesive is still holding it in place. If you encounter resistance, double-check to ensure all screws are removed.
After the closer is free, inspect the mounting brackets. You may need to remove them too, especially if they don’t match your new closer. Clean the area to prepare for your new door closer.
Installing the New Door Closer
Installing the new door closer is where all your preparation pays off. First, take your new door closer out of the box and review the installation instructions. Most manufacturers provide detailed guides tailored to their specific models.
Position the new closer onto the mounting brackets. Use a level to ensure it’s straight—this is key for proper function. Mark the screw holes with a pencil, and then drill pilot holes if required. This will make it easier to screw in the new closer without cracking the door material.
Next, secure the closer to the door with screws. Don’t overtighten them; a snug fit is all you need. Attach the arm to the door frame, ensuring it can move freely without obstruction. Take a moment to double-check all attached parts before closing the door.
Adjusting the New Door Closer
Once installed, it’s time to adjust the closer. Most light-duty door closers have adjustment screws that control the speed of the door’s closing and latching. Here’s the thing: get this right, and your door will close smoothly without slamming.
You might need to experiment a bit with these adjustments. Open the door to a 90-degree angle and let it go. If it slams shut, you may need to slow down the closing speed. If it doesn’t close all the way, increase the speed slightly. Make fine adjustments until you find the perfect balance.
Remember, safety is key. Make sure the door doesn’t close too quickly or slowly, as this could create hazards in busy areas.
Testing the Door Closer
Now comes the moment of truth: testing your new installation. Open and close the door several times to observe how the closer operates. Is it functioning smoothly? Does it latch properly?
Pay attention to any unusual noises or resistance. If things aren’t quite right, don’t hesitate to head back and tweak the adjustments as needed. A well-functioning door closer should operate quietly and smoothly without causing stress on the door or frame.
After thorough testing, you’re ready to enjoy your newly revived door.
Common Troubleshooting Tips
Even with the best installation, you might run into some common issues down the line. If the door starts closing too fast or not closing completely, here are a few troubleshooting tips:
- Check the alignment: Sometimes, the closer can shift slightly. Make sure everything is still aligned after installation.
- Inspect the screws: Loose screws can cause the closer to function improperly. Tighten any loose connections.
- Monitor humidity and temperature: Extreme changes can affect how the closer works. If you’re in a high-humidity area, consider using a closer designed for variable conditions.
By keeping an eye on these factors, you can ensure your door closer remains in great shape for years to come.
Wrapping It Up
Replacing a broken door closer on an interior commercial door might seem like a big task, but it’s a straightforward process when you break it down. By following the steps outlined above—removing the old closer, installing the new one, and making necessary adjustments—you can ensure your door operates smoothly and efficiently.
Having a functional door closer not only improves accessibility but also enhances security and energy efficiency in your workspace. So, next time you face a stubborn door, remember this guide, roll up your sleeves, and take charge of your door’s destiny!