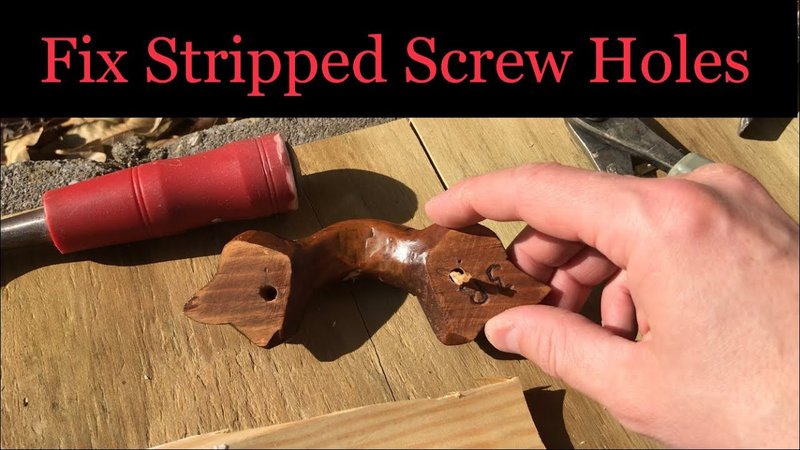
Here’s the thing: stripped holes are super common whether you’re hanging a shelf, fixing a cabinet door, or troubleshooting old furniture. Sometimes, the repair is as simple as using an oversized screw or a plug to give things new grip. These tricks save you from having to reset, replace, or rebuild the whole thing. Let me explain the process, and why it’s often the smartest move over starting from scratch.
Why Do Screw Holes Get Stripped In the First Place?
When you’re working with wood, MDF, or even some plastics, the threads inside the screw hole are what keep everything tight and secure. Over time, though, those threads can wear out or break away. Maybe you overtightened the screw, or maybe it was removed and reset too many times. Sometimes, the original hole was too big for the screw, or the material itself was just a little too soft.
Honestly, even if you use the right screw and try your best, these things just happen. I’ve stripped more cabinet hinge holes than I care to admit—usually while troubleshooting a wonky door that’s gone out of sync. It’s a common issue with older furniture or anywhere screws bear a lot of stress. When that grip is gone, the screw will just spin, refusing to tighten, or the whole thing might feel wobbly and loose.
A stripped screw hole is, at its core, a code problem—the code being the spiral grooves that let screws “pair” with the material. Once the groove is gone, you have to reset how the screw connects. This is where oversized screws and plugs come in. Both methods restore that crucial hold, often more securely than the original.
When Should You Use Oversized Screws?
You might be wondering: can’t I just use a little wood glue or jam the old screw back in? Sometimes that works for a quick fix, but if you want a reliable repair, an oversized screw is often your best bet. Here’s why.
Oversized screws simply have a larger diameter than the one that originally stripped the hole. This gives new threads something solid to bite into. The process is sort of like switching to a universal remote when your old one won’t sync up anymore—by going bigger, you sidestep the original problem entirely.
Here’s when it makes sense to use an oversized screw:
- The original hole isn’t huge, and the stripped area isn’t too battered or expanded.
- You need a quick, strong fix, like hanging hardware or a cabinet hinge.
- You don’t mind a slightly bigger screw head showing, or you can hide it beneath a cover.
For example, if you’re repairing a battery compartment on an old remote—or tightening a wobbly furniture leg—a slightly larger screw can get things back “in sync” with minimal hassle.
Step-By-Step: Fixing a Stripped Hole With an Oversized Screw
Let’s walk through a real-world repair. Imagine you tried to reset a loose doorknob, but the screws just spin. Here’s how you’d use an oversized screw to fix it:
- Remove the stripped screw and inspect the hole. Is it just a little loose, or is it totally wallowed out?
- Match an oversized screw to the hole. Usually, moving up just one size (in diameter) does the trick. If the original was
- Pre-drill if needed. Sometimes, you’ll need to slightly ream out the hole with a drill bit to fit the new screw. Don’t overdo it—a snug fit is best.
- Drive in the oversized screw. Go slowly, letting the fresh threads “sync” up with the wood. Don’t overtighten.
Pro tip: If the stripped hole is in particle board or soft wood, a longer screw can help too, grabbing new material deeper in.
After you’ve done this, the hardware should feel tight and solid again—a quick code reset for your project.
When Plugging Is a Better Option Than Going Oversized
Sometimes an oversized screw isn’t possible. Maybe the hole is so stripped that even the next size up won’t grab. Maybe you’re repairing something where the screw head absolutely must fit flush, or you don’t want to risk cracking the surrounding material.
Plugging the hole is like “troubleshooting” the material itself—you fill in the gap so the original screw can sync and reset securely. This is perfect for:
- Cabinet hinges where screw alignment is critical
- Furniture with thin sides (where there’s not much material to begin with)
- Restoring an old remote’s battery door where original screws have to match up
The idea is simple: create a solid “new” hole using a wood plug, dowel, or even glued toothpicks. Once dry, drill a pilot hole and reset the screw.
Why not just use glue? Glue alone doesn’t give screws much to grab onto. Plugs restore structure, making the repair last.
How To Plug a Stripped Screw Hole: Simple Steps
Let me break down the plug repair, using wood as our example (though you can use similar techniques in drywall or plastic):
- Clean out the stripped hole, removing loose debris or old code from broken threads.
- Cut a wood plug or use pre-made dowels. If you don’t have these, tightly pack the hole with toothpicks coated in wood glue. Make sure they fit snugly.
- Fill the hole entirely, then let the glue cure completely. This usually takes a few hours.
- Trim any excess plug material flush with the surface, using a chisel or utility knife.
- Drill a new pilot hole in the center of the plug once it’s dry. That’s your reset point for the original screw.
- Reinstall your hardware, driving the original screw into the new material. It should feel tight and secure, as if it was never stripped at all.
This method is especially handy for high-stress spots, like cabinet doors or remote battery compartments, where a strong hold is crucial.
Comparing Oversized Screws vs Plugs: Which Fix Is Better?
Choosing between oversized screws and plugs depends a lot on your situation. Here’s an honest comparison from someone who’s had to troubleshoot both fixes more times than I can count:
- Oversized screws are quick, easy, and usually plenty strong for most repairs. But they change the look a bit, and you can only go up in size so many times.
- Plugs take a bit more time and patience, but they let you reset with the original screw size—ideal if aesthetics or exact fit matter.
Think of it like choosing between a universal remote that works for everything vs. tracking down the original brand remote for your device. Oversized screws are universal, fast, and flexible; plugs are precise and sometimes the only way to get things back to “factory reset.”
For things like fixing furniture legs, a slightly bigger screw is usually fine. But if you’re restoring a family heirloom or syncing up hardware that needs to be perfect, plugging wins out.
What About Screw Hole Repair Kits?
If DIY fixes sound intimidating, you might be tempted to grab a screw hole repair kit. These are handy little sets with everything you need to plug, reset, or even “code” your way out of a stripped hole. Brands like Titebond and DAP make wood filler repair kits that include pre-sized plugs or resin fillers.
Here’s how repair kits typically work:
- They often include pre-cut plugs, glue, and even pilot drill bits for resetting holes.
- Some use resin or epoxy, which hardens like tough plastic—great for heavy-use areas or battery compartments on devices.
- Instructions are beginner-friendly, so you don’t have to troubleshoot much on your own.
If you’re not confident cutting your own dowels or mixing up filler, a repair kit is a solid way to keep things simple and ensure you’re back up and running with minimal fuss.
Tips To Prevent Stripped Holes In the Future
Nobody wants to reset the same screw hole over and over. A few habits can save you time—and your sanity—down the line:
- Don’t overtighten. Once the screw feels snug, stop. Too much torque strips even good material.
- Use the right size screw and driver. A mismatch slips and damages threads, just like trying to sync with the wrong remote code.
- Pre-drill pilot holes in hardwood. This gives screws an easier path and reduces the risk of splitting or stripping.
- Check for wear regularly, especially if you find yourself troubleshooting the same loose screws on a stubborn remote or cabinet.
Bonus insight: If you’re working with particle board, try using slightly longer screws and avoid removing and resetting hardware too often—it’s a material that strips “out of sync” faster than solid wood.
Final Thoughts: Quick, Reliable Fixes for Stripped Screw Holes
Repairing stripped screw holes doesn’t have to be a big deal. Whether you go with an oversized screw for a speedy reset, or take the time to plug and redrill for a perfect fit, both fixes give you a strong, lasting result. It’s a lot like troubleshooting a remote: sometimes a code switch is all you need, other times you have to pair things from scratch—but either way, you get things working the way they should.
If you’re willing to go slow and use the right method for your situation, stripped screw holes are no match for a little DIY confidence. Next time you run into a spinning screw, remember—there’s almost always a fix that’s easier (and stronger) than tearing the whole project apart.
