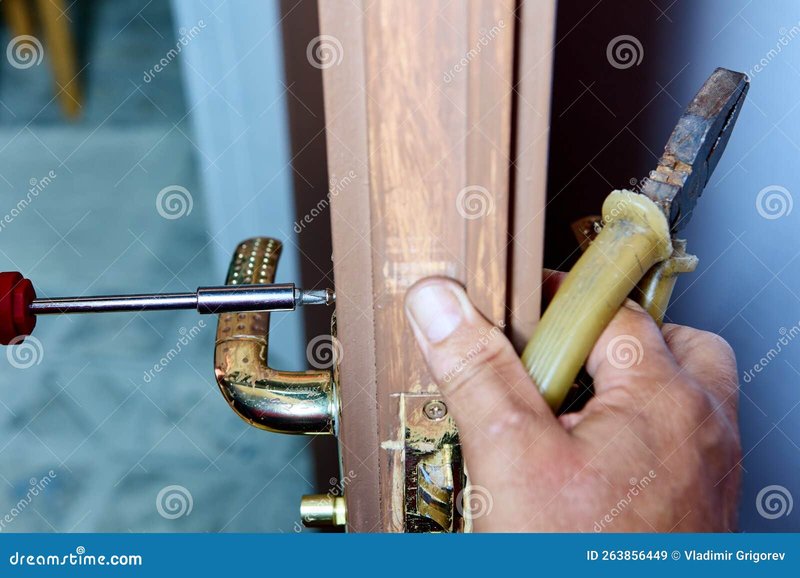
Instead of tripling your to-do list with a pricey replacement, tackling the scratches yourself can be a satisfying DIY project. Imagine sipping your coffee while your door levers shine bright once again. Let’s walk through how to handle those pesky scratches and bring back that polished look.
Why Satin Nickel? Understanding the Material
Satin nickel is popular for interior door levers because of its unique finish. It has a warm tone that blends beautifully with various decor styles. The satin finish also helps hide fingerprints and smudges better than shiny finishes. However, it’s not immune to scratches from daily use, and that’s where our focus lies today.
Here’s the thing: scratches can occur from rings, keys, or even just the normal wear and tear of opening and closing doors. They make your beautiful levers look neglected. Luckily, repairing these scratches isn’t as challenging as you might think. It just takes a bit of time, the right tools, and a little patience.
Gathering Your Supplies
Before you dive into the repair process, it’s essential to have everything you need at your fingertips. Here’s a quick list of supplies to gather:
- Metal polish: Look for a non-abrasive polish specifically made for satin finishes.
- Soft cloths: Microfiber works best to avoid further scratching the surface.
- Fine sandpaper: Choose a high-grit (around 1000-2000) to gently smooth out deep scratches.
- Clear lacquer (optional): This can help seal the surface after repairs.
Having the right supplies makes the job much smoother. Honestly, you don’t want to start and then realize you’re missing a crucial item.
Preparing the Surface
Before you start repairing the scratches, you need to prepare the surface. First, clean the handle thoroughly with warm, soapy water to remove dirt and oils. This step is crucial—think of it as getting the canvas ready before painting.
Once the handle is clean, dry it completely with a soft cloth. It’s important to avoid any moisture during the repair process, as it can affect how well the polish adheres later on. Just like painting, preparation is key for a successful outcome.
Dealing with Light Scratches
If your door lever has light scratches, you might be able to polish them out easily. Here’s how:
1. Apply Metal Polish: Put a small amount of metal polish on a clean, dry cloth.
2. Buff the Area: Gently rub the cloth over the scratched area using small circular motions. You want to blend the scratch into the surrounding finish, not just cover it up.
3. Wipe Clean: After buffing for about 30 seconds to a minute, take another clean cloth to wipe away any excess polish.
This process can often make light scratches virtually disappear. If the scratches are still visible, don’t despair; deeper scratches require a different approach.
Addressing Deep Scratches
For those pesky deep scratches that just won’t budge, sandpaper can be your best friend. Here’s how to tackle it:
1. Choose the Right Sandpaper: Select fine sandpaper (1000 to 2000 grit).
2. Sand Carefully: Lightly sand the area around the scratch. You want to apply only gentle pressure and move in the direction of the grain.
3. Check Your Progress: After a few passes, check to see if the scratch is minimized. If it is, clean off the dust with a soft cloth.
4. Polish After Sanding: Follow up with metal polish just like you did for light scratches to restore shine.
Remember, patience is essential here. Rushing can lead to further damage or uneven surfaces.
Sealing the Repair
Once you’re satisfied with the repairs, you might want to consider sealing the surface. Here’s why: sealing can help protect your work from future scratches and damage.
1. Apply Clear Lacquer: If you’ve chosen to use lacquer, apply it lightly with a new cloth, covering the area you repaired.
2. Let it Dry: Allow it to dry completely as per the product’s instructions.
3. Final Buff: After it’s dried, give the area a final buff with a clean, dry cloth.
Sealing your satin nickel lever will help maintain its beauty long after your repair is done.
Preventing Future Scratches
Now that your satin nickel interior door lever looks brand new, let’s talk prevention. Maintaining its shine and keeping it scratch-free is easier than you might think:
- Use Caution: Be mindful when opening doors—don’t let bags or objects drag against the lever.
- Regular Cleaning: Wipe down your levers every few weeks to remove dirt and oils.
- Consider Protective Covers: If you have pets or children, you might want to consider decorative covers that act as a barrier.
By taking these simple steps, you can prolong the life of your door levers and keep them looking great.
Final Thoughts
Repairing scratches on satin nickel interior door levers doesn’t need to be a daunting task. With a little patience and the right approach, you can restore their shiny appearance and keep them looking good as new. Remember, it’s all about understanding your materials and taking your time. So grab your supplies, follow these steps, and enjoy your beautiful, polished door levers once again!
