Think of repairing scratches on black iron door hardware as giving a nice polish to a family heirloom. It not only enhances the aesthetics but also adds years to the life of your hardware. Whether it’s your front door’s handle or a decorative hinge, knowing how to repair those scratches can save you time and money. Let me guide you through some straightforward steps to tackle this task and make your door hardware look as good as new.
Understanding the Type of Black Iron Hardware
To get started, it’s essential to understand what type of black iron hardware you’re dealing with. Most commonly found door hardware includes handles, hinges, and locks. Each piece serves a functional purpose, but they also contribute to the overall design of your door.
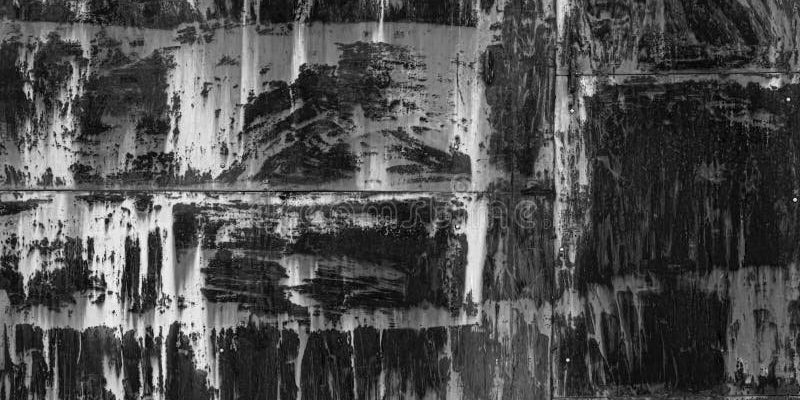
Black iron can vary in finish—from flat to glossy. The type of finish you have will dictate how you approach repairs. For example, a matte finish may be less forgiving and show scratches more easily than a glossier finish. When you’re aware of your hardware’s finish, it becomes easier to choose the right repair method.
Additionally, consider the age of your hardware. Older pieces might have accumulated a unique patina that adds character. If your hardware has this aged look, it might be worthwhile to preserve that charm rather than aiming for a perfect, shiny surface. So, keep in mind the personality of your hardware before diving into repairs.
Gathering Your Supplies
Before diving into the repair process, it’s crucial to gather the right supplies. Here’s a quick list to get you started:
- Fine Steel Wool
- Metal Polish or Wax
- Cotton Cloth
- Masking Tape
- Paint (if needed)
- Primer (if needed)
Each of these items plays a role. The fine steel wool will help gently buff out scratches, while metal polish will restore that gleam. A cotton cloth is perfect for applying the polish and wiping away any residue. Masking tape comes in handy for protecting surrounding surfaces, especially if you need to paint over deeper scratches.
You might be wondering about the paint or primer. If the scratches are deep and you can see bare metal, you’ll need to touch up the finish. Ensure you select paint that matches your hardware’s existing color to keep everything looking cohesive.
Preparing the Surface for Repair
Once you’ve gathered your supplies, it’s time to prepare the surface. Start by cleaning the hardware thoroughly. Dirt, dust, and grime can interfere with the repair process. Use a damp cloth to wipe down the scratched areas. Make sure the surface is completely dry before moving on.
If there are any sharp edges or loose paint around the scratch, take a moment to smooth those out. You can use the fine steel wool for this. Gently rub around the scratch to eliminate any roughness. Be careful not to rub too hard or you might create additional scratches.
If you’re working on a piece that has intricate designs, consider using masking tape to protect the areas that don’t need repair. This will help you focus on just the scratched parts, ensuring a cleaner finish. The preparation process is crucial because a good foundation leads to better results.
Repairing the Scratches with Steel Wool
Now comes the fun part: actually repairing the scratches. Take your fine steel wool and gently rub it over the scratched area. Use circular motions, applying light pressure. You might find that you don’t need to work on the scratch for long—often, just a few swipes will do the trick.
The key here is patience. If the scratch is particularly stubborn, don’t be afraid to spend a bit more time on it. After you’ve buffed out the scratch, wipe the area with a clean cotton cloth to remove any steel wool residue. This is important; failing to do so could leave behind tiny fibers that attract dirt.
Once you’ve finished with the steel wool, take a step back and admire your work. The scratches should be far less noticeable, if not completely gone. This is a significant step in the right direction, but there’s more to do for that polished look.
Applying Metal Polish for a Finished Look
After buffing out the scratches, it’s time to apply metal polish. This step not only adds shine but also provides a protective layer against future scratches. Apply a small amount of polish to your cotton cloth—less is more here. You can always add more if needed.
Gently rub the polish onto the hardware with circular motions, similar to how you applied the steel wool. You might notice that the hardware begins to shine almost immediately. Let the polish sit for a minute or two; this allows it to work its magic.
Once the time is up, buff the area with another clean section of your cloth. This final step makes all the difference, bringing out the beauty of your black iron hardware. Your door hardware should now look refreshed and almost sparkling.
Touching Up Paint for Deeper Scratches
If you encounter deeper scratches that reveal the bare metal, you’ll need to take an extra step: touch-up paint. First, ensure that the area is clean and dry. If it’s not already, use masking tape to outline the scratch and protect surrounding areas.
Apply a layer of primer if you can see raw metal; this helps the paint adhere better. After the primer dries, use a small brush to apply the matching paint. You might want to build up the color gradually, allowing each layer to dry before adding another. This ensures a smooth finish and helps the touch-up blend seamlessly with the rest of the hardware.
Once the paint has dried completely, remove the masking tape carefully. Take a moment to admire your handiwork. Not only has the scratch disappeared, but your attention to detail has restored the charm of the door hardware.
Maintaining Your Black Iron Door Hardware
Now that your black iron door hardware is looking sharp again, it’s essential to maintain it. Regular cleaning with a damp cloth can help prevent dirt buildup, which makes scratches more noticeable. Whenever you see a tiny scratch, try to address it quickly before it worsens.
Consider applying a metal polish every few months. This will keep the surface protected and shiny, making future repairs even easier. You might also want to inspect the hardware regularly for any signs of wear or damage. Early detection is key to prolonging the life of your hardware.
By staying on top of maintenance, you can ensure that your black iron hardware continues to look great for years to come. It’s a small effort for a significantly improved appearance and functionality. Plus, who doesn’t love showing off a door that looks brand new?
In conclusion, repairing scratches on black iron door hardware doesn’t have to be daunting. With the right tools and a little patience, you can restore your hardware’s beauty and protect it from future wear. So, roll up your sleeves, grab your supplies, and give your door hardware the care it deserves!