Here’s the thing: fixing up a stainless steel kick plate isn’t as complicated as it may seem. You don’t need a workshop full of special tools, nor do you have to live with unsightly scratches. A little patience—and the right approach—can make a scratched kick plate look refreshed and polished again. Let’s walk through what causes those marks, what you’ll need, and how to bring back that original shine.
What Causes Scratches On Stainless Steel Kick Plates?
Honestly, stainless steel kick plates get scratched just by doing their job. They’re meant to protect doors from everyday contact, but that means they see everything from shoes and pets to groceries being dragged through the entryway. It’s like putting a bumper on your car—it’s there to get dinged, but those dings still bug you.
Stainless steel is tough, but it’s not invincible. The finish on brand-name kick plates like Rockwood or Don-Jo, for example, resists corrosion and stains, but it can’t fight off all scratches. The most common types of scratches come from:
- Shoes scuffing as people enter and exit
- Pet claws (cats and dogs love to paw at doors)
- Dragging boxes, strollers, or carts over the plate
- Accidental contact while cleaning or moving furniture nearby
The direction and depth of the scratch often depend on the force and the sharpness of whatever made contact. Some scratches are barely noticeable, while others catch the light and make you wince every time you walk by.
How To Check The Type And Depth Of The Scratch
Before you jump into repairs, take a closer look at the damage. Not all scratches are created equal—some are fine surface marks, while others are deep gouges that might need more than a quick fix.
Here’s how you can figure it out:
- Light scratches usually run in one direction and aren’t deep enough to catch your fingernail.
- Moderate scratches are visible and your nail will catch on them, but they don’t go all the way through the finish.
- Deep scratches or gouges cut into the metal and may look darker or rougher than the rest of the plate.
If you’re not sure, run your fingernail gently across the scratch. If it glides or barely catches, the scratch is likely shallow and much easier to repair at home.
Taking a minute to check the direction of the steel’s grain is just as important. Most kick plates have a brushed finish, and the grain usually runs horizontally. Any repair work should follow that same direction for best results.
What You’ll Need To Repair Scratches On Stainless Steel
Let me explain—repairing scratches doesn’t require fancy gadgets or expensive kits (though they do exist, if you want to go that route). You can get the job done using supplies from your local hardware store or even your cleaning closet.
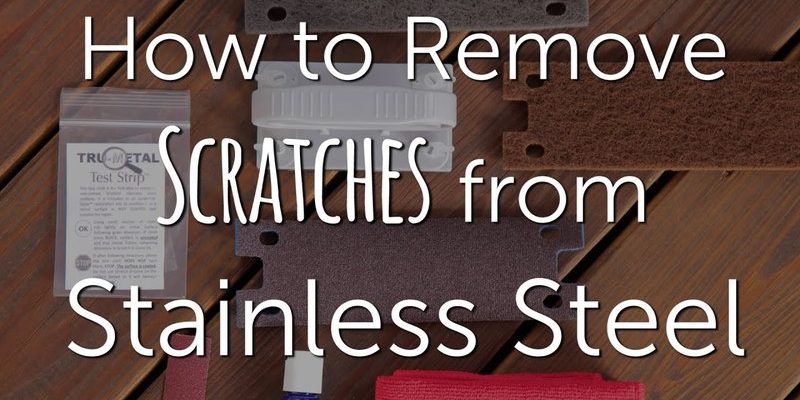
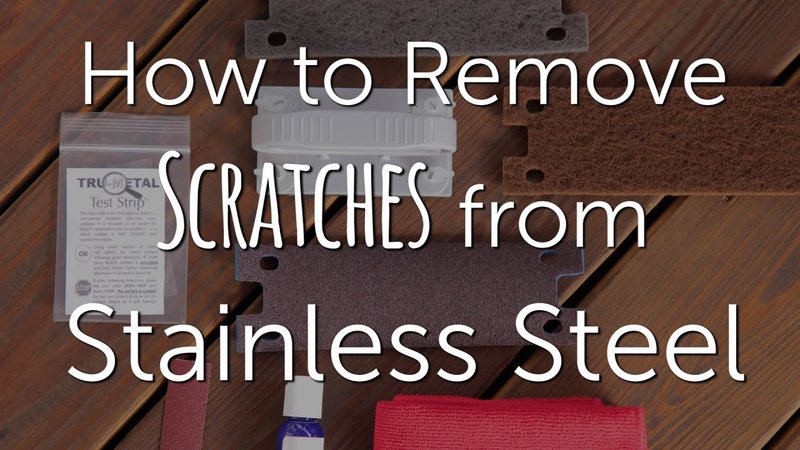
For most at-home repairs, gather the following:
- Microfiber cloths: Lint-free and soft, so you won’t risk new scratches.
- Mild dish soap and water: To clean the plate before starting.
- Stainless steel polish or olive oil: For buffing and restoring shine.
- Non-abrasive sponge or soft pad: For gentle cleaning.
- Fine abrasive pads (like 3M Scotch-Brite): For removing deeper scratches. Use only pads rated safe for stainless steel.
- Optional scratch-removal kit: Some brands offer kits with special compounds and pads—handy if you want an all-in-one solution.
If the scratch is especially stubborn, you might also need masking tape to protect surrounding surfaces, or a touch of stainless steel touch-up paint for colored finishes. But for most, the basic supplies above will do the trick.
Step-By-Step Guide: Repairing Light Scratches
If you’ve checked your kick plate and found only light scratches, you’re in luck—these are the easiest to fix, and you probably already have what you need.
- Step 1: Clean the Surface
Mix a tiny bit of dish soap with warm water. Dip your microfiber cloth into the mixture, then gently wipe down the kick plate to remove dust, grime, or any greasy spots. Dry thoroughly with a clean cloth. - Step 2: Buff With Olive Oil or Stainless Steel Polish
Add a drop of olive oil or a dab of stainless steel polish to a soft, dry cloth. Rub the cloth along the grain of the metal, not against it. Use light pressure and work in long, even strokes. You’ll notice minor scratches fade or disappear as the metal regains its shine. - Step 3: Wipe Away Excess
Use a separate dry cloth to wipe away any leftover oil or polish. This prevents sticky residue and helps the finish look even.
Honestly, this simple method takes less than 10 minutes. It won’t work miracles on deep gouges, but it’s perfect for freshening up everyday scuffs and keeping your kick plate looking polished.
How To Fix Moderate Or Deep Scratches
Here’s where you’ll need a bit more elbow grease—and a gentle touch. For moderate or deeper scratches, using an abrasive pad designed for stainless steel is key. You don’t want to go rogue with just any sandpaper, since it can cause even more damage.
- Step 1: Prep And Protect
Clean the plate as before. If your kick plate is attached to a painted or wooden door, use masking tape to cover the edges and anything you don’t want to accidentally scratch. - Step 2: Pick The Right Pad
A gray or maroon Scotch-Brite pad works well for most jobs. Make sure it’s safe for stainless steel—not one meant for rough tiles or metal stripping. - Step 3: Sand With The Grain
Dampen your pad lightly. Working along the grain (never across), rub the scratch using light, steady pressure. Keep your strokes long and even. - Step 4: Check Your Progress
Wipe the area clean with a microfiber cloth every few minutes to check if the scratch is blending in. Too much sanding will dull the finish, so take it slow. - Step 5: Finish With Polish Or Oil
Once the scratch is mostly gone, apply stainless steel polish or a little olive oil. Buff the spot gently to restore the shine.
If the scratch is still visible after a few rounds, you might want to try a scratch-removal kit designed for your kick plate’s brand. Kits from companies like 3M or Rejuvenate include special compounds and detailed instructions.
Maintaining Your Stainless Steel Kick Plate After Repair
You’ve put in the work, so it makes sense to protect your kick plate from future scratches as much as possible. Regular maintenance helps keep that sleek, shiny look and prevents everyday wear from piling up again.
- Clean Weekly: Wipe your kick plate once a week with a damp microfiber cloth. Avoid harsh chemicals or abrasive pads—they’ll only cause more scratches.
- Polish Monthly: Every few weeks, buff with a small amount of stainless steel cleaner or mineral oil. This fills in tiny scratches and gives a protective layer to the surface.
- Check For Loose Screws Or Edges: Sometimes, kick plates shift or loosen. Tighten screws and make sure there aren’t sharp edges that can catch on shoes or belongings.
- Preventative Measures: If your kick plate is in a high-traffic area, consider using a doormat to reduce the amount of grit and grime transferred from shoes.
Even the best stainless steel kick plates (like those from Don-Jo or Rockwood) need a little TLC to keep looking new over time.
When To Call A Pro Or Replace The Kick Plate
You might be wondering—what if the scratches are just too deep, or the finish is beyond saving? Sometimes, despite your best efforts, a kick plate needs more than a touch-up.
Here are some signs it’s time to call in a professional or swap out your kick plate:
- Scratches or dents have warped the shape of the plate
- Corrosion or rust is present, especially on lower-grade stainless steel plates
- You’ve tried sanding and polishing, but scratches are still obvious or the finish looks patchy
- The kick plate is coming loose or bent, making repairs impractical
Professional metalworkers can sand, buff, and even refinish stainless steel for a like-new look. But in most residential settings, replacing a beat-up kick plate is often faster and surprisingly affordable. Most standard sizes can be swapped out with a screwdriver and a few minutes of your time—no need for a complete door overhaul.
Common Mistakes To Avoid When Repairing Stainless Steel Kick Plates
Let me be honest: It’s easy to get carried away and make things worse if you’re not careful. Stainless steel might look tough, but it doesn’t forgive rough handling.
Watch out for these common slip-ups:
- Using the wrong abrasive. Not all pads and sandpapers are safe for stainless steel. If in doubt, stick with products labeled specifically for stainless steel kick plates.
- Scrubbing against the grain. This will create new, cross-hatched scratches that are far more noticeable than the ones you started with.
- Applying too much pressure. Gentle is better. Heavy-handed sanding can take off too much of the finish, leaving the plate dull or uneven.
- Skipping the cleaning step. Dirt and debris stuck on the surface can get ground into the metal during the repair, making scratches look worse.
- Overusing polish or oil. Too much product can lead to streaks and attract dirt, making your kick plate a magnet for new marks.
If you remember anything, remember to slow down and follow the grain. It’s not a race—your kick plate will thank you for a bit of patience.
Comparing DIY Repair Versus Professional Restoration Or Replacement
Sometimes a simple repair is all you need, but there are good reasons to weigh your options. DIY fixes score points for being cheap and quick. They’re great for everyday scratches and for people who enjoy a little hands-on work. As long as you follow the grain and use the right products, you’ll get a solid result.
Professional restoration comes into play when aesthetics or resale value matter—think commercial properties or historic homes. Pros have tools like buffing wheels and polishing compounds that can make even old stainless steel look new. They can also repair deep dents, reapply protective coatings, and handle complicated finishes.
Replacing the kick plate entirely is a smart move if yours is warped, rusted, or simply too far gone. New stainless steel kick plates are usually inexpensive, especially compared to the cost of a pro restoration. Plus, swapping in a shiny new plate gives your door an instant facelift.
| DIY Repair | Professional Restoration | Replacement |
| Good for light/moderate scratches | Best for deep gouges, dents, or special finishes | Ideal for severe damage or rust |
| Low cost, fast | Higher cost, longer turnaround | Low/moderate cost, quick install |
| Requires patience & correct supplies | Professional results, less DIY risk | Fresh, factory finish every time |
Closing Thoughts: Keeping Your Stainless Steel Kick Plate Looking Its Best
A scratched stainless steel kick plate doesn’t have to be a sore spot every time you pass your door. With a little time, a few simple supplies, and patience, you can buff out light scratches and even tackle some of the deeper ones. The trick is working gently, following the grain, and not rushing the process. If you’ve got a stubborn scratch or your kick plate has seen better days, weighing a professional fix or full replacement is always an option.
Strong, shiny, and easy to clean—stainless steel kick plates are built to handle tough traffic. Show yours a little care when it needs it, and it’ll keep doing its job (and looking sharp) for years to come.