When it comes to repairing interior door hardware after a lock-in incident, there are several steps you can take to fix things up. Whether it’s a standard knob lock or a more complex deadbolt, understanding how these systems work and what you can do to repair them is crucial. Don’t worry; you don’t need to be a DIY expert to manage this situation. Let’s dive into some practical solutions that can put your mind at ease.
Understanding the Types of Door Locks
Before we jump into repairs, it’s essential to understand the kind of locking mechanism you’re dealing with. Most interior doors use one of three types of locks: knob locks, lever locks, and deadbolts.
– Knob locks are the most common in homes. They have a simple mechanism that secures the door by turning the knob.
– Lever locks are easier for kids to operate because they require less strength, but they can also be just as tricky when locked.
– Deadbolts add an extra layer of security, requiring a key or a thumb turn to lock or unlock.
Knowing what type you’re facing will guide your repair process.
Recognizing the Problem
Here’s the thing: when a child locks themselves in, the problem can often stem from a malfunctioning latch or an incorrectly turned knob. You might hear some tapping or soft cries—your heart sinks, but you know the first step is to calm down and assess the situation.
Take a moment to listen. Is there any noise inside? If yes, that’s a good sign—they’re safe. If you can’t see them, it’s okay to knock gently and reassure them that help is on the way.
Gathering Your Tools
Before jumping into repairs, make sure you have the right tools handy. Here’s a quick checklist:
- Screwdriver (flathead and Phillips)
- Lubricant spray (like WD-40)
- Pliers
- Emergency tool kit (if you have one)
Having these tools at the ready can make the repair process smoother. Trust me, scrambling around for a screwdriver while your child is inside can add unnecessary stress to an already tense situation.
What to Do When the Door is Locked
If the door is locked and your child is inside, the first step is to stay calm. Frantic attempts to force the door open can lead to damage. Instead, try a few gentle nudges to see if the door can be unlatched. If that doesn’t work, here’s a simple method.
1. Use a credit card or a similar object: Slide it between the door and the frame near the latch. With some gentle wiggling, you might be able to push the latch back and open the door. This works best on spring latch locks but may not be effective on deadbolts.
2. Check for a hole in the knob: Some knobs have a small hole where you can insert a paperclip or a flathead screwdriver to unlock. This method is a quick way to regain access, so give it a try if you notice a small hole.
3. Remove the doorknob: If all else fails, unscrew the doorknob from the outside. This might sound scary, but removing the knobs can often give you direct access to the locking mechanism.
Repairing Common Door Hardware Issues
Once the door is open and your little one is safe, you’ll want to address any hardware issues. Here’s how to handle common problems.
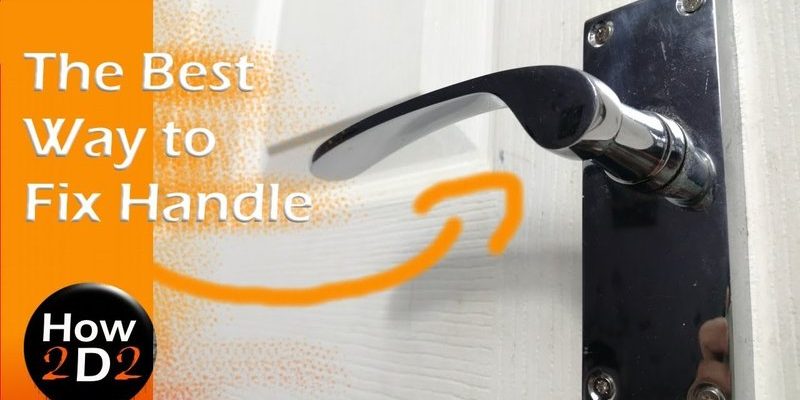
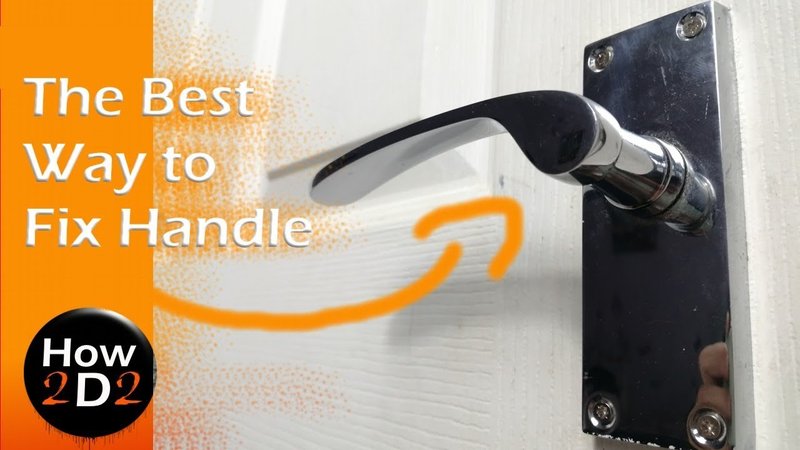
Broken Knob or Handle: If the knob or handle isn’t working correctly, it might need tightening or replacing. Use your screwdriver to check for loose screws. If the knob is cracked or broken, replacing it is usually the easiest option.
Stuck Latch: If your latch is sticking, applying a bit of lubricant can work wonders. Spray a little into the latch mechanism, and gently work it back and forth with the door open.
Misaligned Door: Sometimes, doors can become misaligned after repeated locking and unlocking. Check if the latch aligns with the strike plate. If it doesn’t, adjusting the hinges might help. Use your screwdriver to loosen the screws and reposition the door for a better fit.
Replacing Door Hardware
If repairs don’t work, it might be time to replace some hardware altogether. You can find door locks at any home improvement store. Here’s a quick guide to getting the right fit.
1. Measure: Take the diameter of your existing doorknob and the thickness of your door. This will help ensure you get a compatible replacement.
2. Choose a Type: Decide whether you want a knob or lever-style lock. There are many options, from basic to more stylish ones.
3. Installation: Follow the manufacturer’s instructions carefully. Usually, it involves inserting the new latch, securing it with screws, and then attaching the knob or lever. Don’t forget to test it a few times to ensure it works smoothly.
Preventive Measures for Future Incidents
Now that you’ve tackled the immediate problem, it’s wise to think about preventing future lock-ins. Here are some techniques to consider:
- Install a thumb turn lock: This allows quick access and gives you a bit more control.
- Teach your child about door safety: Explain what to do if they accidentally lock themselves in and reinforce safe practices.
- Consider child-proofing: There are many child-proofing devices available that can prevent little ones from locking themselves in again.
By taking a few proactive steps, you’ll save yourself potential headaches down the line and create a safer environment for your child.
Repairing interior door hardware after a child locks themselves in doesn’t have to be a nightmare. Whether you opt for a quick fix or a more permanent solution, the key is to stay calm and focused. You can navigate this situation successfully with the right tools and a little know-how.
Remember, accidents happen, and it’s all part of parenting. By understanding how your door locks work, you’ll feel more empowered to handle any unexpected situations. Stay relaxed, keep those tools handy, and give your child the reassurance they need during these moments.