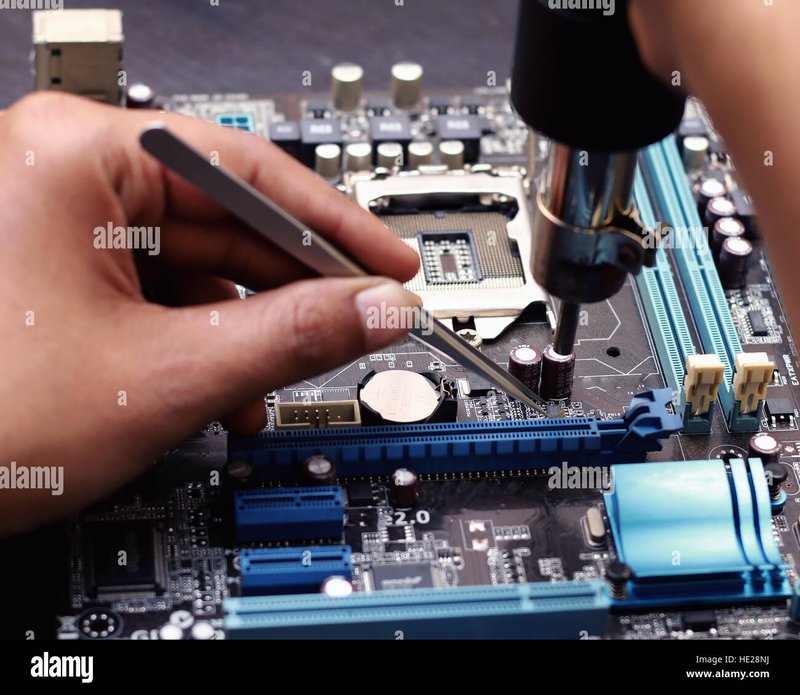
Honestly, most people don’t realize their devices are fighting an uphill battle every single day. Sure, you might blame a weak battery or dust, but a lot of those quirks come from the simple fact that parts are just worn out. Fatigue is a sneaky little villain in all sorts of gadgets—whether it’s a universal remote, a Sony game controller, or that old garage door opener. Let me explain what’s really happening, and how you can tackle it without feeling lost in a world of tiny screws and hidden codes.
What Is Hardware Fatigue?
Hardware fatigue isn’t just a fancy term repair techs toss around. It’s what actually happens when parts—especially the moving ones—get stressed out by being used over and over. Each button press, switch flip, or battery swap puts a little bit of strain on the materials, and over time, those tiny stresses add up. Metals can lose their springiness. Plastic can start to crack. Electronics might need a fresh battery or even a reset, but if the hardware is tired, that’ll only get you so far.
Here’s the thing: fatigue is different from a flat-out break. It’s more like your device is running a marathon instead of sprinting. It’ll keep going for a long time, but the effort shows up as weird glitches—think laggy buttons, unreliable sync, or trouble pairing. When a universal remote, for example, loses its crisp button feel, it’s waiting for some TLC.
You might be wondering, “Can I really fix this myself?” Sometimes, yes! The kind of repair you’ll tackle depends on what’s fatigued. For a worn-out keypad, a deep clean or a quick code reset might do the trick. For mechanical parts, sometimes you’ll need a replacement or a little hands-on repair to restore that like-new feel.
Spotting the Signs of Fatigue in Everyday Hardware
Knowing what fatigue looks like is half the battle. Most people jump straight to troubleshooting steps like swapping the battery or trying a new pair command on their remote. But real fatigue leaves clues you shouldn’t ignore.
- Mushy or Unresponsive Buttons: If your remote needs a double-tap or feels soft, the contacts inside have probably worn thin.
- Loose or Wiggly Parts: Think wobbly battery covers, loose screws, or anything that used to be snug. This hints at worn plastic or metal under stress.
- Lost Sync or Pairing Issues: Devices that randomly need to be reset, paired, or synced more often may be suffering from subtle internal wear.
- Obvious Physical Damage: Cracks, faded markings, or corroded battery contacts aren’t just cosmetic—they signal deeper fatigue.
Let’s be honest, it’s easy to chalk these up to age or bad luck. But if you know what to look for, you’ll save yourself from bigger headaches down the line. Catching fatigue early can make the repair much easier—and a lot cheaper.
Common Causes of Hardware Fatigue
Fatigue might sound like science fiction, but the reasons behind it are surprisingly basic. Picture your daily routine: every click, press, or battery change is a mini stress test for your device.
- Repeated Physical Stress: Just like bending a paperclip back and forth, constant pressure on remote buttons or switch levers will eventually wear them out.
- Electrical Cycle Fatigue: Internal contacts that carry current can erode or pit over time, causing that annoying lag when you try to *code* a new device or trigger a command.
- Batteries and Power Fluctuations: Swapping batteries isn’t always as innocent as it seems. Weak springs or corroded contacts suffer a little more each time you pop them in and out.
- Environmental Factors: Dust, humidity, and even sunlight can play a role in weakening plastics or damaging circuit boards, especially in high-use devices like universal remotes left on the coffee table.
Here’s what most manuals won’t tell you: even something as simple as not resetting your device after a big bump or spill can speed up fatigue. “Wear and tear” isn’t just a line—those little details add up every time you use your hardware.
Step-by-Step: Repairing Fatigued Hardware at Home
You don’t need to be a tech wizard to give your hardware a new lease on life. Let me walk you through a few basic repair tricks for tackling fatigue, especially if you’re dealing with code-based remotes or devices that just aren’t acting right.
1. Open It Up Carefully
Always start by removing the battery and any visible screws. Use a small screwdriver and take a picture before you fully disassemble anything—trust me, it’s a lifesaver when you’re putting things back together.
2. Clean the Contacts
Use a cotton swab and a bit of rubbing alcohol to gently wipe the button pads and any battery terminals. Dirt and corrosion are the enemy of a crisp, responsive remote.
3. Check for Wear & Weakness
If you see cracked plastic, flattened springs, or worn-down button pads, those are your trouble spots. Sometimes, you can fix flattened contact pads with a bit of conductive paint (from most electronics stores).
4. Try a Code Reset or Resync
For universal remotes or smart controls, resetting the code or re-pairing the device often helps. Follow the instructions—usually you’ll hold down a key until the light blinks, then punch in a code. This steps around software confusion, but it won’t cure a physically tired remote.
5. Replace What You Can
If a button or spring is too far gone, replacement parts are often available online. Search by your device’s brand and model, and compare the shape to what you’ve got.
Sometimes, a good repair is about knowing when to call it quits. If the circuit board is badly damaged or cracked, it’s usually cheaper and safer to replace the device.
When to Repair Versus Replace Fatigued Devices
Not every piece of hardware is worth salvaging. Universal remotes and brand-name controllers can often be repaired for less than $10, especially if the problem is limited to physical fatigue. But if you’re spending hours searching for rare parts, it’s probably smarter to look at a replacement.
- If the remote is still syncing fine after a reset, but buttons are soft, a quick button pad fix can buy you years.
- If multiple codes fail to program, or batteries drain abnormally fast, that’s a red flag for deeper circuit fatigue.
- Brand remotes might have higher-quality innards, but even they hit a fatigue wall eventually. Universal remotes are often easier (and cheaper) to service or swap.
Think about how much time and effort the repair will really take. Sometimes, the smartest troubleshooting is choosing the path of least resistance.
Preventing Fatigue: Simple Habits to Make Hardware Last Longer
You can’t stop time, but you can slow down how quickly your hardware gets tired. Taking a few precautions saves money, hassle, and the need for complicated troubleshooting.
- Keep Devices Clean: Wipe down remotes and keypads once a week with a dry cloth or alcohol wipe. This prevents dirt from grinding down internal contacts.
- Change Batteries the Right Way: Don’t pry or force battery covers. Be gentle with springs—they’re easy to bend out of shape.
- Avoid Over-Pressing: If a button feels sticky or slow, don’t mash it. Usually, a quick clean or code reset will help more than extra force.
- Store in a Safe Spot: Tossing remotes on the couch or leaving them in the sun speeds up plastic and electronic fatigue.
Honestly, most hardware fails from small, avoidable habits—not just age. Good care and regular cleaning will keep your devices working better, and help you spot fatigue before it’s a pain.
How Troubleshooting Steps Help Diagnose Fatigue
Troubleshooting isn’t just a box to check; it’s a way to figure out if you’re facing true hardware fatigue or just a glitch. A few well-chosen steps can save you the time and money spent on unnecessary repairs.
Start Simple
Swap batteries and try a quick reset or code re-pair. If things spring back to life, your issue was probably power-related, not fatigue.
Dig Deeper for Persistent Issues
If problems keep coming back despite resets and new batteries, it’s time to check for fatigue. Pay close attention to things like sticky buttons, strange noises, or connections that feel loose.
Test Alternate Devices
If your universal remote is acting up, try another (even a cheap backup). If the new one works perfectly, your original device is likely showing its age.
Troubleshooting is about patience, not luck. Take notes, check things in order, and be ready to ask, “Is this device just tired?”
Choosing Between DIY Repair and Professional Help
It’s tempting to dive in with a screwdriver anytime something goes wrong, but it’s not always the best call. Here’s how I think about it:
- DIY repair makes sense if the hardware is easy to open, parts are available, and you’re comfortable following instructions for your brand or remote type.
- If your remote uses advanced code systems, like Bluetooth or Wi-Fi pairing, you may need a software reset or even a firmware update—sometimes best left to a pro.
- For high-value or sentimental devices, investing in professional repair can be worth every penny, especially if it protects warranty or unique features.
If you’re ever in doubt, check online communities or discussion threads for your device. Plenty of folks have been down the same road, and sharing stories often leads to simpler, safer repairs.
The Bottom Line: Keep Your Hardware—and Sanity—Going Strong
Devices wear out, but with a little patience and the right approach, you can give your favorite hardware a second wind. Whether you’re troubleshooting a universal remote, resetting a tired game controller, or cleaning the family TV clicker, tackling hardware fatigue is about spotting the signs early and using practical, gentle fixes. Don’t be afraid to get hands-on, but also know when to call it and try something new.
Taking the time to repair hardware weakened by constant use is a bit like caring for a favorite old pair of sneakers—the better you treat them, the longer they’ll stick around. Stay curious and handy, and you’ll keep your essential gear running smoother, longer.
