Let me explain: Whether it’s your front entry, a garage door, or a window, every weatherstrip works about the same. Over time, wear and tear—or just gravity—can make it droop or pull away, especially if your door gets slammed a lot or the adhesive wasn’t top notch at the start. Sometimes, different doors (like a Clopay or Chamberlain garage door, or even a basic universal fit) have their own quirks, but the repair process is pretty similar. So, if your weatherstrip’s sagging or peeling, stick around—I’ll walk you through what causes it, how to fix it, and why it’s worth doing right.
What Causes Weatherstrips to Sag or Pull Away?
Here’s the thing: weatherstrips aren’t immune to age, temperature swings, or that occasional rough handling. Most weatherstrips are made from rubber, vinyl, or foam—materials that are flexible but prone to stretching, drying out, and losing their grip over time. When you open and close your door dozens of times a day, that repeated stress can start to work the strip loose, especially if it wasn’t installed perfectly straight to begin with.
You might be wondering if brand matters—honestly, some brands like Clopay, Genie, or Universal weatherstripping do hold up better than the bargain bin stuff. But even the best strips can sag if they’re exposed to sunlight, moisture, or shifting frames. Humidity can make the adhesive give up, while cold temperatures can turn rubber brittle. It’s sort of like a stretched-out hoodie drawstring—the more you mess with it, the worse it gets.
Another big culprit? Bad installation. If a weatherstrip isn’t pressed firmly against a clean, dry frame, it’s just asking to pull away. And let’s be real: sometimes adhesive types matter, too. Some strips need to be nailed, some need a special glue, and others rely on a basic peel-and-stick code, which isn’t always up to the challenge of Midwest winters or Southern summers.
How Do You Know When It’s Time to Repair?
Let’s talk symptoms. If your weatherstrip is sagging or peeling away, you’ll probably feel a draft, notice a line of light around the door or window, or even see the strip drooping at the corners. Sometimes you’ll hear a whistling noise on windy days, or rainwater might sneak in during a storm, pooling right where you don’t want it.
Testing is pretty simple. Run your hand along the edge with the door or window shut—if you feel cold air or see visible gaps, your weatherstrip needs attention. For garage doors—say, a Chamberlain model—look at the bottom after closing it. If the strip isn’t flush with the floor, chances are it’s time for a reset or a repair.
Pay close attention to corners and the “hinge” side of doors. That’s usually where sagging starts. If you can tug gently on the strip and it moves, the adhesive’s probably failed. Leave it too long, and you’ll spend more on heating, cooling, or eventual repairs than you would on a simple fix.
What Tools and Materials Do You Need?
Before you jump into this project, you’ll want to gather a few things. Trust me, nothing’s more frustrating than getting halfway through a repair only to realize you’re missing that one tool. Here’s what most folks will need:
- Replacement weatherstrip (make sure it matches the width, code, and style of your current one—universal kits can work for most frames, but check sizes)
- Strong adhesive (vinyl or construction adhesive works, but for peel-and-stick types, get extra double-sided tape just in case)
- Utility knife or scissors (for trimming to size)
- Flathead screwdriver or scraper (to remove the old strip and leftover gunk)
- Rubbing alcohol or cleaner (to clean the frame so the new strip sticks right)
- Hammer and finishing nails (for nail-on types)
- Measuring tape (for accuracy—you’d be surprised how easy it is to cut a strip too short!)
Honestly, most repairs won’t need fancy tools—half the job is taking it slow and making sure each step is done cleanly. For some high-end brands or specific garage door models, you might need a special pairing kit or reset instructions, but basic doors and windows are usually straightforward.
Removing the Old, Sagging Weatherstrip (Safely)
Okay, so you’re ready to start. First step: get that sagging, stubborn weatherstrip off. Let me explain—don’t just yank it. Most times, the adhesive will leave behind a sticky mess, and if you’re dealing with a garage door, you don’t want to bend the frame or damage sensors.
- Pry up a corner: Use a flathead screwdriver to lift one end. Go slow. If you feel resistance, score the strip lightly with a utility knife first.
- Peel, don’t pull: Gently peel the strip away, working along the length. If it’s nailed in, pop out the nails with your screwdriver or a small pry bar.
- Scrape off leftovers: Any stuck adhesive or foam bits? Use the scraper, then wipe everything down with rubbing alcohol. The cleaner your surface, the better the new strip will stick. Don’t skip this reset step—even a little dust will cause a poor seal.
- Inspect the frame: Look for any cracks, dents, or spots where the old strip left behind moisture. Fix those now, or you’ll have to repeat the code repair sooner than you’d like.
A smooth, clean frame means your new weatherstrip will have the best chance of sticking tightly and lasting for years. Cutting corners here almost always leads to repeat problems.
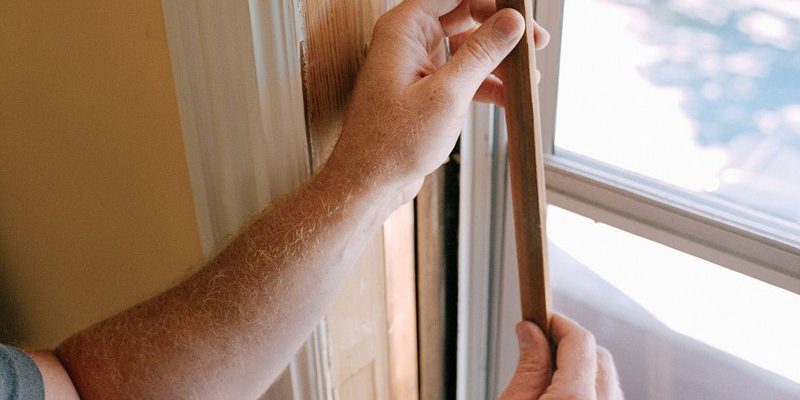
Preparing for Installation: Measuring, Cutting, and Fitting
Here’s where the magic happens. This part feels a bit like syncing up a pair of headphones or remotes—measure twice, cut once, and make sure everything lines up before pressing it down. Otherwise, you’ll be cursing a tiny gap that lets in more cold air than you bargained for.
- Measure the frame: Start at one corner and use your measuring tape to get the length of each side you’ll be weatherstripping. Write it down—trust me, you’ll forget midway through if you don’t.
- Match your new strip: Lay out the replacement strip and mark your cuts. If you’re using a universal kit, you may need to trim extra length or width to fit your brand’s specs.
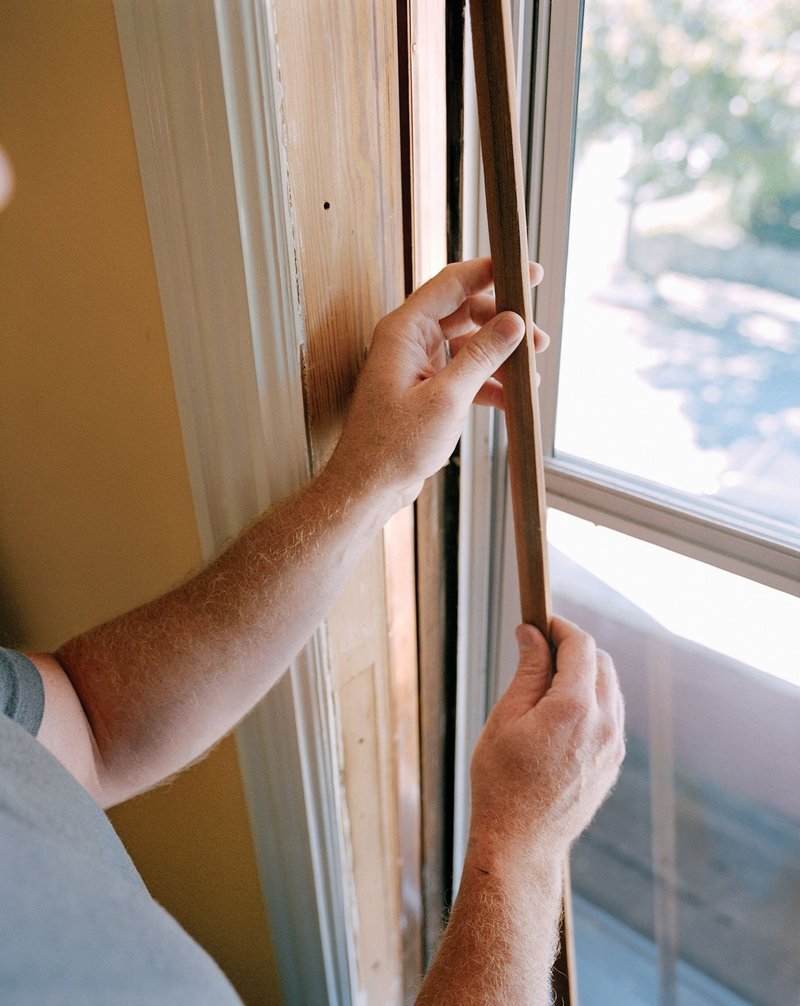
- Test fit: Before peeling any tape or squeezing glue, dry-fit the strip along the frame. Adjust as needed, making sure the corners meet without leaving a gap.
- Trim for odd angles: For some rounded or angled frames (like those on high-end remotes, code panels, or certain garage doors), you might need to cut notches so the strip bends without buckling.
You might be tempted to eyeball it, but honestly, a few extra minutes here can save you hours of troubleshooting drafts later.
Installing the New Weatherstrip
Okay, let’s sync this up. With your weatherstrip cut to size and test-fitted, it’s time to make things official. Depending on your strip, the installation process may vary:
- Peel-and-stick types: Remove the backing from the adhesive and press the strip firmly into the cleaned frame. Work slowly from one end to the other, smoothing as you go. Press down for 30 seconds to make sure it sticks.
- Glue-on types: Apply a thin bead of adhesive along the frame. Press the strip into place, holding it for a minute or two. Some adhesives need “pairing time”—check the label for instructions on drying or resetting.
- Nail-on types: Set the strip in place and use finishing nails every 10–12 inches. Tap them in gently—you want a snug fit, not dents in your door.
It’s a bit like resetting a remote that’s lost its sync—you need enough pressure and time for things to set correctly, but if you rush it, you’ll end up with another sagging strip in no time.
For trickier installations—like garage doors with sensor pads or slots—read the brand’s instructions. Some require special clips or even a code reset on the opener. Don’t guess; it’s worth getting it right.
Testing and Troubleshooting Your Repair
Don’t call it done until you’re sure the seal works. Close the door or window and check for:
- No visible light: Look along the edges. Any light means a gap—gently press or reset the strip as needed.
- No drafts: Run your hand along the frame. Still feeling cold air? Double-check that the strip is flush and fully attached.
- Easy operation: The door or window should close with a gentle push, not a struggle. If you have to slam it, the strip might be too thick or misaligned.
If you’re fixing a garage door (like a Chamberlain or Genie remote system), make sure the sensors aren’t blocked and that the bottom seal compresses evenly when shutting. Sometimes, the opener code or sync can get thrown off if the new strip is thicker than the old one. In that case, check your opener’s reset or troubleshooting steps—the brand manual often has a quick fix.
For most DIY repairs, the new strip will pair up with the frame just fine. But if you spot a persistent gap or the adhesive keeps peeling, try switching to a stronger glue, or check if your frame itself is warped. Sometimes, tightening up the strike plate or hinges can help everything line up better.
How to Prevent Future Sagging or Pulling Away
Honestly, an ounce of prevention is worth a pound of fixing saggy weatherstrips. A few habits can keep things sealed tight for years:
- Inspect regularly: Check your strips every season, especially after storms, big temperature swings, or lots of door use.
- Clean the frame: Wipe down the area every few months to keep dirt, dust, and moisture from loosening adhesive.
- Don’t slam doors: It’s easy to forget, but gentle closings help weatherstrips (and remotes!) last longer.
- Use the right adhesive: For humid or cold climates, look for heavy-duty or specialty glues—universal stuff can sag faster in extreme conditions.
- Re-pair or reset as needed: If you notice minor peeling, press it back ASAP. Waiting will only make the problem bigger (and chillier).
Just like keeping batteries fresh in your remote, these little steps pay off over time.
When Should You Replace the Entire Weatherstrip?
Sometimes, a simple repair job isn’t enough. If your weatherstrip is old, cracked, flattened, or just keeps pulling away no matter how many times you reset, it’s probably time to replace the whole thing. Old strips lose flexibility—think of a rubber band that’s sat in a drawer for five years. It might look okay, but the first stretch and snap, it’s toast.
If you’re dealing with a universal-fit weatherstrip, swapping out the entire length is straightforward. But for doors with built-in channels or special codes (like some garage or patio doors), check the owner’s manual. Some brands sell replacement kits made to sync with their unique groove or sensor layout.
Swapping out a whole strip might take a little more effort, but honestly, it’ll save you in energy bills, noise, and frustration in the long run. Plus, your home will feel cozier, your remotes and garage openers will work without interference, and you’ll spend less time troubleshooting.
Wrapping It All Up: Weatherstrip Repair Essentials
Sagging or peeling weatherstrips are more than a minor annoyance—they can drain your wallet, make your home uncomfortable, and even mess with your door codes or remote sensors. But with a little know-how, the right tools, and a touch of patience, you can repair or replace a weatherstrip in an afternoon. Whether you’re working with a basic universal strip, a high-end brand, or even troubleshooting the pairing between your garage opener and its sensors, each fix follows the same core steps: remove, clean, measure, fit, and test.
Remember, strong seals keep the weather (and bugs) out, your energy bills down, and your doors working smoothly. Take it slow, use quality materials, and don’t be afraid to reset or re-pair anything that’s not working right. You’ve got this—one snug, sturdy weatherstrip at a time.