Here’s the thing: Therma-Tru doors are made to last and keep your home both welcoming and well-insulated. But like anything around the house, bits and pieces can eventually break down. That black rubbery strip along the edges? It’s the unsung hero that keeps your living room toasty and your energy bill from creeping up. If you’ve noticed yours has started to split, peel, or just isn’t sealing like it should, it’s time to roll up your sleeves. Don’t worry—I’ll walk you through the repair process, step by step, so you can handle that torn weatherstrip yourself and get your Therma-Tru door back to prime condition.
What Does The Weatherstrip Actually Do?
Let me explain what this strip really does. The *weatherstrip* forms a tight seal between your exterior door (like those popular Therma-Tru fiberglass models) and the door frame. Think of it as the door’s own winter coat—it keeps out cold air, rain, dust, and even bugs. When it’s in good shape, it helps save on heating and cooling by keeping your climate-controlled air where it belongs.
This thin rubber or foam gasket wraps around the edges of your door. Every time you open and close the door, it flexes just a little to adapt to the movement, fitting snugly each time. Over time, this constant flexing, along with sun exposure and slamming (we’ve all been there), can stretch or tear the strip. When it’s no longer making a good seal, things outside can sneak inside without an invite.
Ignoring a torn weatherstrip might not seem urgent, but that’s how you end up with water under your floorboards or extra noise from the street. Plus, tiny critters are surprisingly clever about finding these little gaps. So, swapping out or repairing that strip isn’t just about comfort—it’s about protecting your home and wallet.
How To Spot A Damaged Weatherstrip On Your Therma-Tru Door
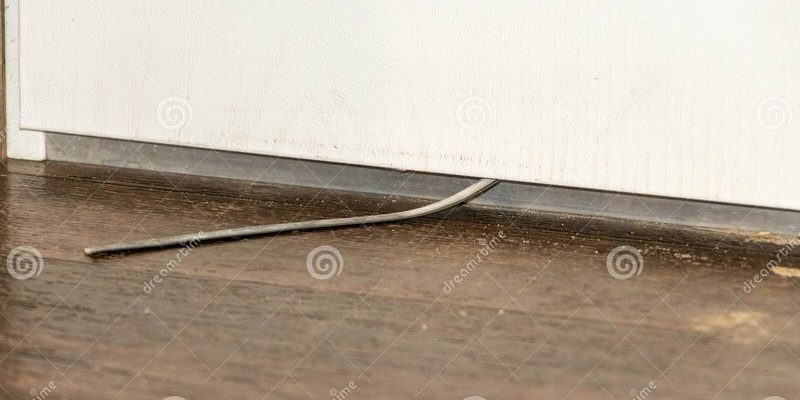
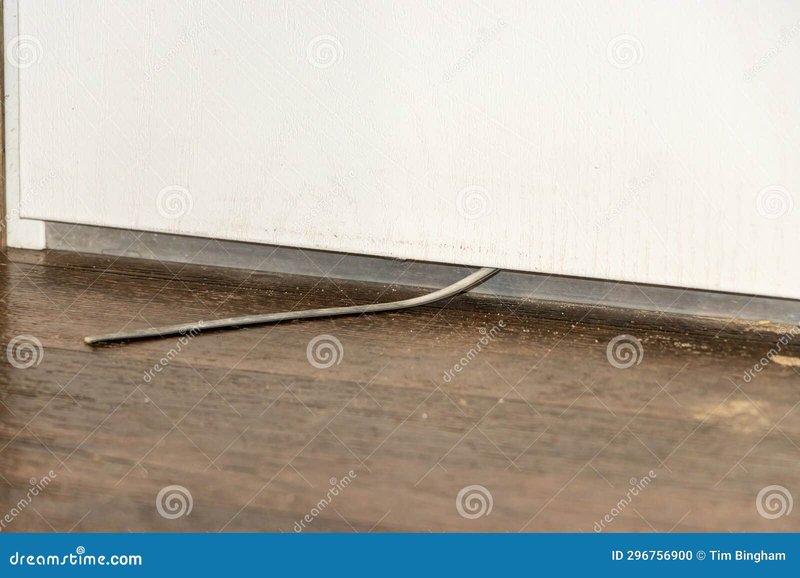
You might be wondering, “How do I know if my weatherstrip really needs attention?” Here’s what to look for. Run your finger along the edge of your Therma-Tru door. If you feel any cracks, splits, or spots where it’s loose, that’s a sign. Sometimes the strip gets brittle and flakes off in little rubbery bits. Other times, you’ll see a visible gap between the door and the frame, even when it’s shut tight.
Double-check the corners—honestly, that’s where weatherstrips most often start to wear out. If there’s a draft on a windy day or you spot daylight peeking around the edges, that’s your cue. And if you notice your energy bill creeping up for no clear reason, your weatherstrip might be the silent culprit letting air leak in and out.
Even if you’re not dealing with a full-on tear, a weatherstrip that’s smushed flat or permanently dented won’t bounce back to form a good seal. The good news is, checking this is quick, and any issues are usually easy to fix once you know what to do.
Gathering Tools & Finding The Right Replacement Weatherstrip
Before you start pulling anything off your Therma-Tru door, it helps to pause and gather what you’ll need. Here’s a simple checklist to keep things smooth:
- Replacement weatherstrip: For a Therma-Tru fiberglass door, you’ll want to match the style and profile. Look for the “Q-Lon” style weatherstrip—this is a foam core, wrapped in a flexible vinyl shell, made specifically for these doors. It comes in rolls or pre-cut lengths.
- Flathead screwdriver or putty knife: Handy for gently prying out the old strip.
- Scissors or utility knife: For trimming the new strip to size.
- Measuring tape: To make sure your replacement fits perfectly.
- Mild cleaner and rag: To wipe away dirt or sticky bits in the strip channel before installing the new one.
Most hardware stores carry common styles, but bringing a small chunk of your old weatherstrip as a sample is honestly the easiest way to match profiles. If you’re not sure, Therma-Tru has a solid customer service line, or you can check the code printed on the edge of the original weatherstrip for a quick match.
Removing The Old Weatherstrip Safely
Here’s where a gentle touch matters. Weatherstrips for Therma-Tru fiberglass doors usually sit in a groove along the frame. They’re often “compression fit”—which means they just press into place, no glue or nails required. That’s great for repairs! Still, you’ll want to avoid tearing or damaging the groove, which can make the new strip hard to seat.
Start at one end—top is easiest—and use your fingertips, or a flathead screwdriver if it’s stuck, to pry up a section of the old weatherstrip. Work slowly. Pull gently along the length, and try to keep the strip in one piece (it’ll help when you’re shopping for a match). If bits of it rip off and stick in the channel, a putty knife is your friend. Just be careful not to gouge the frame.
Once the old weatherstrip is out, take a minute to inspect the channel. Wipe it clean with a damp rag to clear out dust and gunk. Honestly, a clean groove means the new weatherstrip will seat better and last longer—which is what you want.
Pro tip: If you spot any peeling paint, rust, or water damage in the channel, fix that up with a little sanding or paint touch-up before putting in the new strip. That way, your repair actually lasts.
Cutting And Fitting The New Weatherstrip
Let’s talk about getting the new weatherstrip fitted just right. Start by measuring each side of your Therma-Tru door’s frame—top, latch side, and hinge side. Even if the original strips look the same, doors and frames shift over time. Measure twice, cut once. Trust me on that.
Lay the replacement weatherstrip flat, and use sharp scissors or a utility knife to cut your lengths. If your weatherstrip has a bulb or fin profile, make sure to orient it the same way as the old one, so the “bulb” points toward the door and not away. That’s what keeps the seal tight when the door shuts.
When everything’s cut, press one end into the top channel of the frame, making sure it’s fully seated. Work your way along, pressing it in with even pressure. For the sides, tuck each piece into the corresponding groove, butting the corners up neatly (no bunching or gaps—you want to avoid leaks there). If your Therma-Tru model has a magnetic strip, line it up so it meets the steel edge of your door for a snug closure.
Making Sure The Repair Works—Troubleshooting Tips
Okay, you’ve swapped out the weatherstrip—how do you know your repair was a success? Here’s what to check:
- Close the door gently. It should require a little push to seal, but not so much that you have to force it. If it’s hard to close, the strip might be too thick, or not seated all the way.
- Look for light leaks. Turn off your lights and look around the edges from inside at night. If you spot any slivers of light, there’s still a gap. Adjust the strip or double-check your corners.
- Test for drafts. On a windy day, hold a tissue or thin strip of paper near the edges. If it flutters, air’s sneaking in.
- Check the latch. If the door doesn’t latch easily, the strip might be too long or installed backwards.
If you’re still not getting a good seal, you might need to try a slightly thinner or thicker weatherstrip, depending on your door’s age and how much the frame has settled over time. Sometimes, a universal replacement strip won’t fit a Therma-Tru model exactly. If you keep having issues, look up your door’s model number and order the official replacement from Therma-Tru—they’re usually not expensive and are molded perfectly for the groove.
Comparing Repair Vs. Full Replacement (And When Not To DIY)
Here’s the thing—not every weatherstrip repair needs to be done by a professional, but there are moments when it’s smarter to call in help. If your Therma-Tru door has severe frame warping, water damage, or the weatherstrip channel is badly damaged, a quick fix won’t cut it. In those cases, a pro can assess whether you need the groove rebuilt, or (rarely) the entire door replaced.
Most of the time, though, repairing a torn weatherstrip is super doable for a handy homeowner. Universal strips can work in a pinch, but honestly, using a Therma-Tru branded replacement usually gives the best seal and longevity. If you don’t want to deal with hunting down the exact brand, some home centers carry “Q-Lon” strips marked as compatible with Therma-Tru.
Let me put it this way: if your only trouble is a ragged or missing strip, replacing it yourself will almost always solve the problem without much fuss. Save your money for bigger projects.
Keeping Your Weatherstrip Working For The Long Haul
Once your Therma-Tru door has a fresh weatherstrip, it pays to keep an eye on it so you don’t end up doing this repair again next season. Here are some quick habits that make a difference:
- Wipe the weatherstrip with a damp cloth every few months to clear dust and debris. This stops grit from wearing it down.
- Avoid slamming the door hard. It sounds obvious, but the less shock the strip takes, the longer it’ll last.
- Check edges during seasonal changes. Rapid shifts in temperature can make strips stiff or brittle, so stay alert for cracks in spring and fall.
- Reseat or replace the strip if it comes loose. Don’t wait for a major tear—catching little problems early saves effort.
If your weatherstrip’s starting to look tired or flattened, don’t stress. These strips are designed to be replaced every few years—it’s totally normal maintenance for any fiberglass door, even sturdy ones like Therma-Tru.
Wrapping Up: A Simple Fix That Makes A Big Difference
Honestly, fixing a torn weatherstrip on your Therma-Tru fiberglass exterior door is one of those projects that seems small but pays off in comfort and savings. It’s not flashy work, but sealing that gap keeps your home warmer, drier, and far less inviting to outdoor critters. Most repairs take less than an hour, need only basic tools, and can be done by anyone willing to measure, cut, and snap a strip into place. Keep an eye on those edges, and your door (and wallet) will thank you—no more drafts, higher bills, or unexpected pests. That’s home maintenance done right.