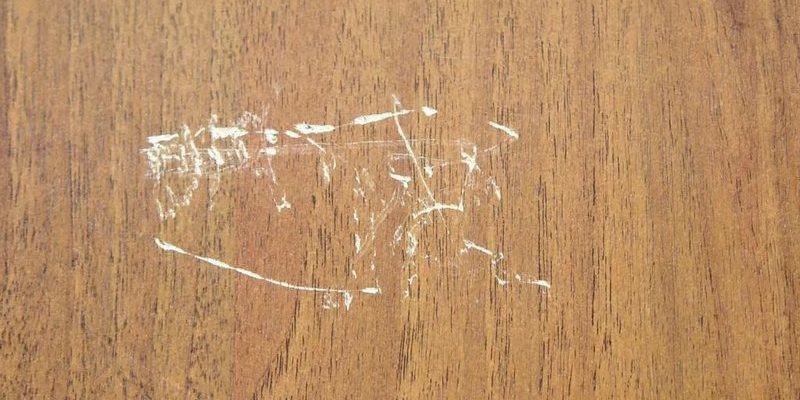
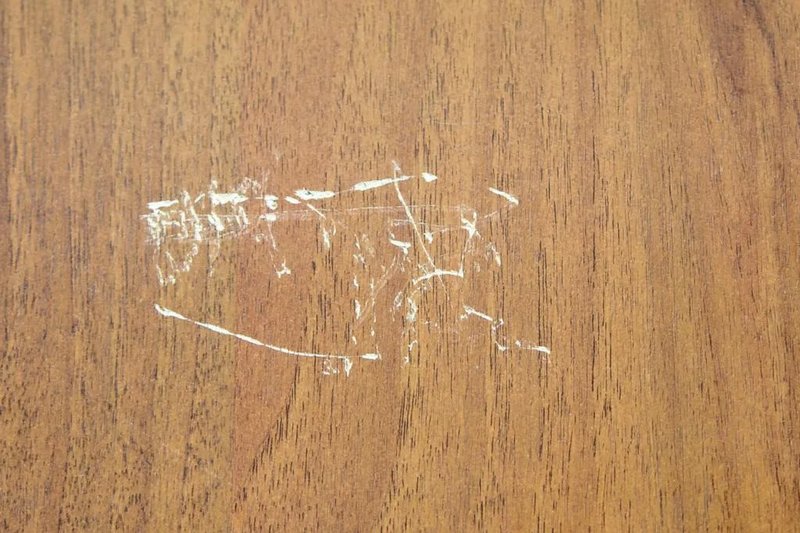
Thresholds, whether wood, metal, or even composite, take a constant beating. A little scratch here and there is completely normal, especially if you’re sliding furniture, dragging storage bins, or wrestling with bulky boxes. Here’s the thing: those marks don’t have to be permanent. With a few tools and a bit of patience, you can repair a scratched threshold and make it blend right in—even if you’re not especially handy. It doesn’t matter if your threshold is a classic oak strip, a shiny aluminum saddle, or a plastic-vinyl hybrid; the steps are approachable for beginners and renters alike.
Most people don’t think about their thresholds until there’s a problem. But with a few easy techniques, you can restore yours—no need to live with scuffs or spend money on a replacement. Let me explain how you can fix those scratches and help your threshold look as good as new.
What Causes Thresholds to Get Scratched?
Thresholds see more action than pretty much any part of a doorway. Every time furniture slides, wheels roll, or a pet claws at the door, that strip takes the impact. Honestly, the only way to keep a threshold in perfect shape is to avoid using the doorway—which isn’t realistic.
Here’s why scratches happen so easily:
- Furniture movement: When you push a dresser over a threshold, sharp corners or bits of metal can dig in and scrape the surface.
- Heavy items: Appliances and storage bins with hard plastic or metal feet will leave scratches if dragged instead of lifted.
- Shoes and pet claws: Even everyday use can wear down finishes, especially with dirt or grit underfoot acting like sandpaper.
The brand or type of threshold—whether it’s a hardwood model from M-D Building Products, a Home Depot metal saddle, or a vinyl strip from an apartment hardware kit—doesn’t really matter. All thresholds are exposed to the same abuse.
Think of it like a high-traffic intersection in your home. It’s completely normal for scratches to show up, and fixing them is less about reversing history and more about blending things in so they don’t catch your eye.
Finding Out What Type of Threshold You Have
Before you grab any repair tools, it’s important to know what kind of threshold you’re dealing with. There are a few main types:
- Wooden thresholds: These are common in older homes and often look like a narrow strip of stained hardwood.
- Metal thresholds: Usually made from aluminum or brass, these have a shiny or brushed surface. You’ll often see them under entry doors or between tile and carpet.
- Vinyl or composite thresholds: Many modern homes or commercial spaces use these for their low cost and easy upkeep.
How do you check? Tap the threshold—wood should sound dull, metal rings, and vinyl feels a bit flexible. A close look at the ends or underneath can give you hints too.
Knowing your threshold type isn’t just a trivia question. The repair approach changes depending on the material. For example, you can sand and refinish wood, but metal needs buffing and filler, while vinyl repairs are usually about camouflaging the scratch, not removing it.
What You’ll Need: Tools and Materials for Threshold Repair
You don’t need a garage full of tools, but having the right supplies makes the job a lot smoother. Here’s a basic list for each type:
- For wood: Fine-grit sandpaper (220–320 grit), wood filler, stain or finish pen, soft cloth, painter’s tape.
- For metal: Non-abrasive cleaner, metal polish or rubbing compound, touch-up paint (if colored), microfiber cloth, possibly a scratch repair kit.
- For vinyl/composite: Gentle cleaner, scratch repair marker (color-matched), soft cloth, and a putty knife if needed.
Don’t stress if you can’t find the exact product you see online—brands like Minwax and Rust-Oleum for wood, or Weiman and Brasso for metal, are widely available at hardware stores like Home Depot or Lowe’s.
Sometimes, you’ll want painter’s tape to protect nearby flooring or carpet so you don’t accidentally scuff or stain it during the fix. It’s a small detail, but honestly, it saves a lot of cleanup later.
Step-by-Step: Repairing a Scratched Wood Threshold
Let’s get into the actual process. If you’re dealing with a wooden threshold, here’s how to repair those scratches:
- Clean the area: Start with a damp cloth to remove dust and dirt, then let it dry completely. Any grime left behind will make scratches look worse after repair.
- Assess the scratch: Run your finger over it. If it’s just surface-level, you might skip wood filler. If it has depth, plan to fill it.
- Light sanding: Wrap your sandpaper around a small block or just use your fingers, and gently sand with the grain. You’re not removing wood—just smoothing edges of the scratch.
- Fill deeper gouges: If needed, apply wood filler using a putty knife. Press it into the scratch, smooth off the excess, and let it dry fully.
- Touch up the finish: Use a stain marker or finish pen to match the color. Start light, and layer for a deeper shade. Wipe away excess and buff gently with a cloth.
Honestly, the first time you do this, it feels nerve-wracking, but the trick is to take it slow. Let everything dry completely between steps, and don’t worry about matching the finish 100 percent—thresholds naturally get a bit of character.
Buffing Out Scratches on Metal Thresholds
Metal thresholds, like those from M-D Building Products or Pemko, are tough but not invincible. A sliding table or dropped toolbox can leave shiny streaks or ugly gouges. You might be wondering—can scratched metal ever look new again? The answer is yes, at least for lighter marks.
Here’s what works:
- Clean first: Use a non-abrasive cleaner and a microfiber cloth. Dirt or grit can make scratches worse if you buff over them.
- Polish the scratch: Apply a metal polish or rubbing compound to a soft cloth, then rub along the scratch, not across it. Circular motions help for shallow marks.
- Deeper scratches: For gouges that catch your fingernail, try a metal filler crayon (available at hardware stores), or touch-up paint for colored thresholds.
- Buff again: Wipe away excess and give the area a final buff with a clean section of your cloth.
If you’re dealing with a really deep gouge, replacing the threshold might make more sense. But for everyday scuffs, a polish and touch-up kit can make your metal threshold shine without a trace of the accident.
Fixing Scratches in Vinyl or Composite Thresholds
Vinyl and composite thresholds are common in newer homes and rental apartments. They’re designed to be tough, but scratches do happen—especially with rolling suitcases or if movers get a little too enthusiastic.
Here’s how to repair a scratched vinyl threshold:
- Gentle cleaning: Wipe the area with a soft cloth and mild soap. Dry it off—vinyl hates excessive moisture during repair.
- Hide minor scratches: Use a color-matched scratch repair marker (the kind sold for vinyl flooring). Dab it along the mark, let it sit, then wipe gently to blend. If you can’t find an exact match, go a shade lighter.
- Deeper gouges: Fill any larger scratches with vinyl repair paste or putty (available from most flooring retailers). Smooth with a putty knife and let it set before coloring over it.
- Buff to finish: Use a clean, dry cloth to softly buff the area. Composite materials aren’t as forgiving as wood, but they’re easy to camouflage with the right supplies.
Honestly, the results can be surprisingly good. Unless you go hunting for the spot, most people won’t even notice the repair. And the best part? Vinyl doesn’t require sealing or staining after you’re done.
How to Prevent Future Threshold Scratches
There’s no magic shield for thresholds, but a few simple habits make a big difference:
- Lift, don’t drag: Always pick up heavy furniture, appliances, or bins when crossing thresholds. Ask for help if you need it.
- Add felt pads: Stick felt or rubber pads to the bottoms of table legs or anything that might slide.
- Use a protective runner: Lay down a mat or runner when moving big items in or out. Even cardboard works in a pinch.
- Make pets’ nails a little shorter: Regular trims help cut down on accidental scratches—good for floors and thresholds alike.
It’s a lot like keeping a remote safe from drops: a little bit of care saves you from future troubleshooting. And if a scratch does show up, you’ll be ready to fix it.
When Should You Replace a Damaged Threshold?
Sometimes, scratches are just the tip of the iceberg. If you notice your threshold is warped, split, or coming loose from the floor, repair might not be enough. So when does it make sense to swap the whole thing?
Here are some situations where replacement wins out:
- The threshold is severely gouged, cracked, or splitting along its length.
- It wobbles, feels loose, or has nails sticking up that won’t stay down.
- Water damage or rust is spreading underneath the surface.
- You want to upgrade to a different style or material for appearance or accessibility reasons.
Replacing a threshold is a bit more involved—usually requiring a saw, new fasteners, and possibly some flooring adjustments. But for deep, structural damage, honestly, it’s the only way to guarantee a long-term fix.
Small Scratches, Big Difference: Final Thoughts on Threshold Repair
Dealing with a scratched threshold can feel pretty frustrating, but it’s one of those home fixes that’s easier than most people expect. Whether you have a classic wooden strip from M-D Building Products or an aluminum saddle threshold from the hardware store, a few careful steps can erase most marks, making your home look sharper and more cared-for.
You don’t need fancy tools or a contractor’s touch to get results—just a little patience and the willingness to slow down for each step. With some simple troubleshooting, the right code for the job (wood filler, polish, or repair marker), and a little time, you can repair a threshold that’s been scratched by moving furniture and keep it looking great for years to come.
If you ever do end up scratching it again, remember: thresholds take the hit so your rooms don’t have to. Each fix is just another sign that life—and a little furniture—keeps moving forward.