Here’s the thing: fixing a threshold that’s been battered by pet traffic isn’t some intimidating, pro-only job. It’s totally possible to repair or replace it with a few basic tools and the right approach. Whether your threshold is wood, metal, or a vinyl composite, I’ll walk you through the whole process—step by step. Think of it like refreshing a worn patch on your favorite jeans. It’s about making something last rather than giving up and buying new every time your pets get rowdy.
Spotting the Signs of Pet Damage on Your Threshold
Let’s start with the basics: What does pet damage actually look like on a threshold? It isn’t always dramatic—sometimes it’s subtle wear that builds with every little scratch or dig. Wooden thresholds often show scratch marks, gouges, and sometimes soft, chewed corners. If you run your hand across and feel rough splinters or notice a section that dips lower than the rest, your pets may have made their mark.
For metal or aluminum thresholds, the symptoms are a bit different. You might see dents, warped edges, or chipped paint where claws repeatedly dig in. Over time, even sturdy materials can start to loosen from their anchors or develop sharp edges.
You might be wondering why this matters. Well, besides the “ugly” factor, pet-damaged thresholds can create tripping hazards, let in drafts, or even become a spot where pests slip through. If your furry friend keeps going at the same corner, the damage can get much worse, much faster.
Deciding Whether to Repair or Replace the Threshold
Honestly, not every threshold needs a full replacement. Sometimes a repair is all it takes. But how do you decide? Think about these scenarios:
- Minor scratches or dents: If it’s mostly cosmetic and the structure feels solid underfoot, a bit of filler or a quick sanding often does the trick.
- Deep gouges or missing chunks: If your dog has chewed away a solid section, or part of the threshold seems loose, a more involved fix—or full replacement—might be needed.
- Wobbly or warped thresholds: If you notice the threshold moves when you step on it, or if it’s bent out of shape, it’s often easier and safer to replace the whole thing.
Let me explain: Skimping on a repair when the damage is structural can cause bigger headaches down the line. Imagine stepping onto a threshold that suddenly gives way—nobody wants that. Take five minutes to check: Is it still secure? Is the damage just on the surface, or deeper? Trust your senses—and your common sense.
Gathering Tools and Materials for Threshold Repair
Before diving in, gather what you’ll need. This step is like prepping ingredients before you cook—you’ll save time and frustration. For most threshold repairs from pet damage, here’s a handy list:
- Flathead screwdriver or pry bar
- Hammer or mallet
- Wood filler or epoxy (for wooden thresholds)
- Sandpaper (medium and fine grit)
- Replacement threshold (if needed—wood, metal, or composite)
- Utility knife
- Measuring tape
- Paint or stain (to match original finish)
- Caulk (for sealing edges, optional but helpful)
- Drill and screws (if installing a new threshold)
Strong tip: Always double-check your threshold’s size and material before buying replacements. Thresholds come in a surprising variety of widths and shapes, and getting the wrong one is a classic rookie mistake.
How to Repair a Wooden Threshold Damaged by Pets
Wood is the most common household threshold, and it’s also the easiest to fix when it comes to minor pet damage. Here’s how you can breathe new life into a battered threshold, step by step:
- Clean the Area: Sweep or vacuum up dust, dirt, and pet hair from the threshold. Wipe it down with a damp cloth.
- Sand Away Surface Damage: Use medium-grit sandpaper to smooth out scratches and rough spots. For deeper gouges, sand until the edges are even with the rest of the threshold.
- Fill and Patch: For deep scratches or chunks, apply wood filler with a putty knife, pressing it into the damaged areas. Let it dry according to the product directions.
- Sand Again for Smooth Finish: Once filler is dry, sand with fine-grit sandpaper until completely smooth and level.
- Paint or Stain: Match the threshold’s finish with paint or stain. Let dry fully before letting pets back through.
Honestly, don’t rush the drying time—especially if your pets are eager to “inspect” your work. One smudge can ruin a perfect finish.
Fixing Metal or Vinyl Thresholds After Pet Traffic
With metal or vinyl thresholds, the main issue is often dents, loose screws, or sharp edges. Luckily, these fixes are usually straightforward. Here’s what you need to do:
- Check for Looseness: Gently rock the threshold. If it wiggles, tighten or replace its screws.
- Address Dents or Warps: For light dents, you can sometimes tap them back into shape with a mallet and a cloth to avoid scratches. Big warps may require full replacement.
- Seal Sharp Edges: Use a metal file to smooth any rough spots your pets created. For vinyl, trim away jagged edges with a utility knife.
- Replace if Needed: If the threshold is cracked or badly bent, remove the screws, lift out the old piece, and set the new one in its place. Always check for a snug, flush fit before screwing down the new threshold.
You might be tempted to ignore smaller dents, but, trust me, pets have a knack for making small problems worse over time. A quick fix today can save you a total replacement later.
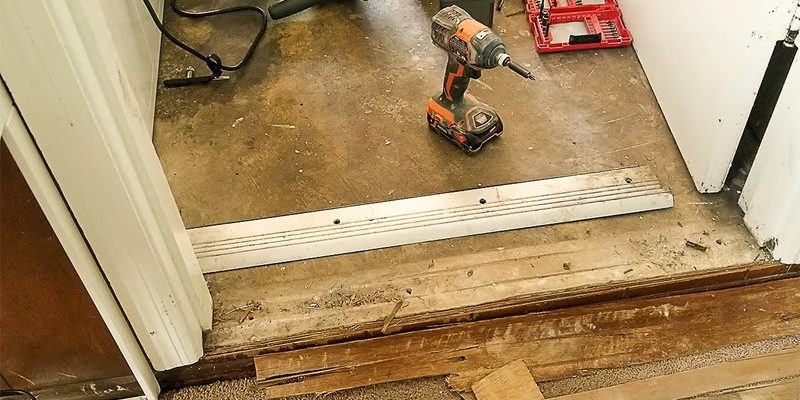
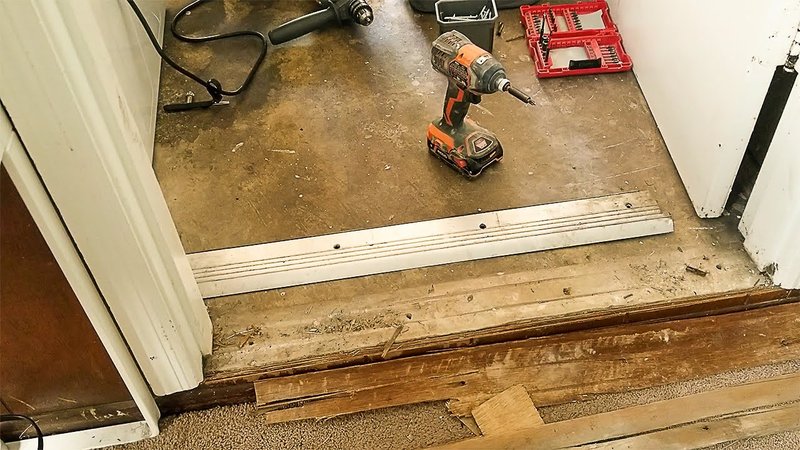
How to Replace a Threshold That’s Beyond Repair
Sometimes, no amount of patching will do—especially if your pets have really gone to town. If you’re ready to swap out your old threshold for a new one, here’s how:
- Remove the Old Threshold: Pry up gently with a screwdriver or pry bar, working from one end to the other. Go slowly to avoid damaging nearby flooring.
- Clean and Prepare the Area: Vacuum out debris, check for any leftover nails or screws, and make sure the surface is level.
- Measure and Cut the New Threshold: Use your old threshold as a template if you can. Mark and cut the replacement to the right length and width.
- Test Fit: Set the new piece in place. Make sure it sits flush and doesn’t rock.
- Secure the Threshold: Use screws or nails, as appropriate for your material. For extra stability, a line of construction adhesive underneath is a solid option.
- Seal Edges (Optional): For exterior doors, run a bead of caulk along the seams to keep out moisture and drafts.
A pro tip here: Label the underside of your new threshold with the installation date. If damage crops up again, you’ll know how long it lasted against your pets.
Protecting Your Repaired Threshold from Future Pet Damage
Now that your threshold looks good as new (or at least less chewed-up), it’s time to keep it that way. You might be wondering, “Is there anything I can do to stop my dog or cat from ruining it again?” Absolutely—prevention is half the battle.
- Use a threshold protector: Clear plastic or metal covers snap right over your existing threshold. They’re almost invisible but add a tough barrier against claws and teeth.
- Train pets away from the area: Sometimes pets paw at a threshold because they want out, or they’re anxious. Reinforce positive behavior elsewhere with treats and attention.
- Apply pet-safe deterrents: Bitter sprays (found at pet stores) can discourage gnawing and scratching without harming your threshold or your animals.
- Keep nails trimmed: Regular grooming helps cut down on accidental scratches—simple, but it makes a difference.
In my experience, the best defense is a combination of these methods. Every pet is different, so a little trial and error is normal.
Common Mistakes When Repairing Damaged Thresholds
Let me be honest: It’s easy to make some classic mistakes when repairing thresholds, especially if you’re new to DIY. Here are a few pitfalls I’ve seen (and, frankly, made myself):
- Ignoring correct material: Grabbing whatever’s on sale instead of matching the original material can leave you with a threshold that looks out of place or wears out quickly.
- Skipping preparation: Not cleaning thoroughly before starting can make paint or filler refuse to stick. Dust, dirt, or pet hair are the silent enemies of a smooth finish.
- Rushing the process: Trust me, waiting for filler, paint, or adhesive to cure completely is always worth it—even if your pets are hovering impatiently nearby.
- Forgetting to address the “why”: If you don’t solve what’s motivating your pet to attack the threshold, you’ll wind up repeating this dance sooner than you’d like.
Repairing a threshold that’s been damaged by pet traffic is often more about patience and attention to detail than anything else. The more care you take at each step, the longer your repairs will last—and the happier everyone (including your pets) will be.
Closing Thoughts: Enjoying a Pet-Friendly, Polished Home
Dealing with a threshold damaged by your pets is just another chapter in the “life with animals” story. It’s totally normal, and, honestly, nothing to stress over. With a little know-how and effort, you can repair or replace a battered threshold faster than you might think—and maybe even teach your furry friends to give it a break next time. Whether you’re patching up scratches, sanding out gouges, or installing a brand-new strip, taking care of these small details helps your home feel cared for and put-together. And in a house full of pets, that’s a win you can actually see (and step on).