
Imagine this: You’re halfway through your day, and the door you walk through carries a bit of a grudge. Every time it swings closed, it creaks and grinds, making a scene that could rival a soap opera. But before you call a carpenter, you can roll up your sleeves and tackle this small repair job yourself. Let’s dive into how to repair that split door frame and bring peace back to your household.
Understanding the Causes of a Split Door Frame
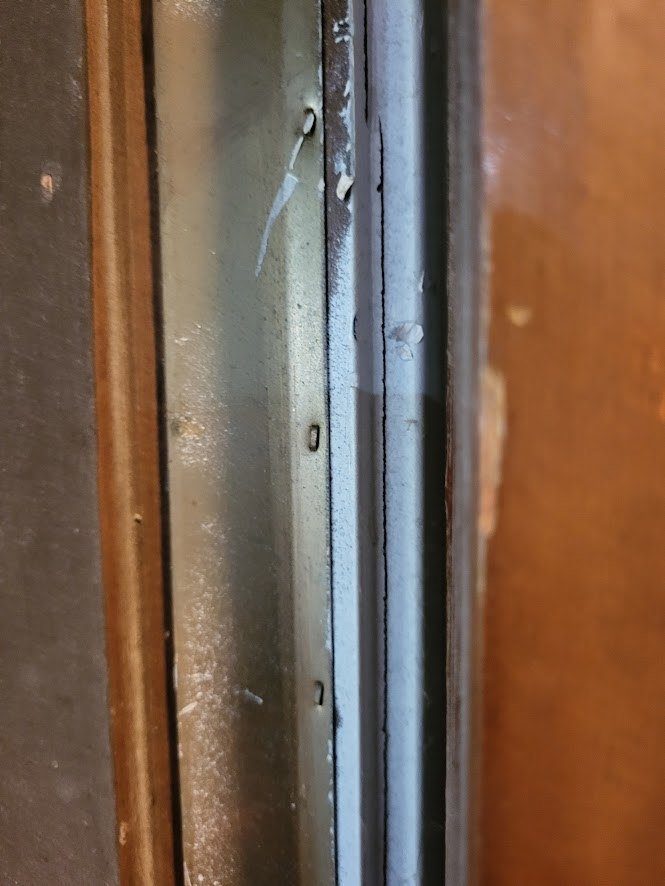
Before we get into the nitty-gritty of repairs, it’s essential to understand what causes a split door frame in the first place. More often than not, it’s wear and tear from years of use, but there are other culprits too. For instance, moisture can warp the wood over time, leading to splits. Humidity levels can change the wood’s shape, just like how a sponge expands when soaked in water.
Another common reason is poorly placed hinges. If a hinge is set too low or high, it can cause undue stress on the door frame. And let’s not forget about improper installation. If the frame wasn’t properly fitted to begin with, it may buckle under pressure. Understanding these causes isn’t just about feeling knowledgeable—it helps you prevent the issue from arising again.
Gathering Your Tools and Materials
Now that you know what you’re up against, let’s prepare for action! For this repair, you’ll need a few basic tools and materials. Here’s a handy list to get you started:
- Wood glue: This will help bond the split together.
- Screws: For reinforcement, especially if the frame is flimsy.
- Clamps: These will hold everything in place while the glue dries.
- Wood filler: To smooth out any imperfections after the split is repaired.
- Sandpaper: For finishing touches—it’s important for aesthetics.
- Wood stain or paint: If you want to match the color of your frame.
With your tools in hand, you’re ready for the first step.
Preparing the Area for Repair
Before you can jump into fixing that split frame, you need to prep the area. Start by removing anything that might get in your way, like door decorations or furniture nearby. A clear workspace makes the process smoother and reduces the risk of errors.
Next, check the extent of the damage. Are there just minor splits, or is there significant warping? If it’s only a small crack, you can often use wood glue alone. But for larger splits, you might need to drill pilot holes and add screws. Here’s a little tip: Assess the frame’s stability before you begin. If it feels unsteady, you may want to consider replacing the entire frame instead of repairing it.
Repairing the Split in the Door Frame
Now for the hands-on part! If you’re ready, here’s how to repair a split door frame:
1. Apply Wood Glue: Start by applying wood glue to the split. Make sure it seeps into the crack well enough for a good bond. You can use a small brush or an old credit card to spread the glue.
2. Clamp It Down: Once the glue is applied, bring the split edges together and use the clamps to hold them in place. Here’s the thing: Clamping ensures the glue sets correctly and reinforces the joint.
3. Reinforce with Screws (if necessary): If the split is significant or if you know the frame will take a lot of stress, drill pilot holes and insert screws to secure the crack further. You want the screws to be flush with the frame, so they don’t snag on the door.
4. Fill Any Gaps: After the glue dries (check the glue bottle for drying times), use wood filler to fill any gaps or imperfections. This part is like putting icing on a cake—make it smooth!
Finishing Touches: Sanding and Painting
Once everything is set and dry, it’s time for the finishing touches. Grab your sandpaper and gently sand down the area to make it flush with the surrounding wood. You want it to look seamless, like it was never damaged.
After sanding, if you’ve got a specific color in mind, now’s the time to grab that wood stain or paint. Apply it evenly, and don’t forget to let it dry completely. This step not only enhances the visual appeal but also protects the wood from future damage. Honestly, nothing says “I care” quite like a well-finished door frame.
Maintaining Your Door Frame to Prevent Future Issues
Now that your door frame is looking spiffy again, let’s talk about keeping it that way. Prevention is key, and there are simple steps you can take to prolong the life of your door frame:
– Monitor Humidity Levels: Keeping your home’s humidity balanced prevents wood warping. A dehumidifier can be a great investment for areas prone to dampness.
– Regular Inspections: Every few months, take a look at your door frame and hinges. Catching small issues early can save you from bigger repairs later on.
– Proper Door Usage: Teach everyone in the house not to slam the door or hang heavy items from it. Sometimes, it’s the little things that make a huge difference.
By following these maintenance tips, you can keep your door frame happy and healthy for years to come.
Repairing a split door frame around a hinge may seem daunting at first, but it’s a straightforward task you can handle with just a bit of know-how. By understanding the causes and gathering the right materials, you can confidently tackle this small repair. Plus, taking steps to maintain your door frame will help it stay strong and stable.
So, the next time you hear that familiar creak, don’t panic. Roll up those sleeves, grab some wood glue, and give your door frame the love it deserves. You’ll save money, learn a valuable skill, and, honestly, there’s nothing quite like the satisfaction of a job well done. Happy repairing!