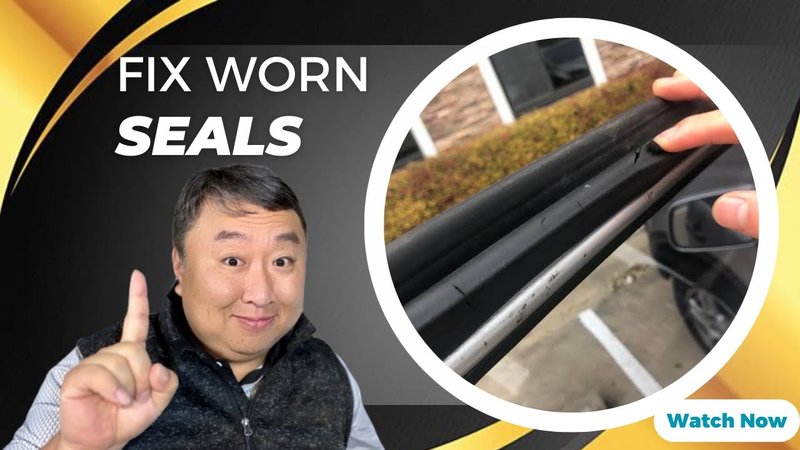
Honestly, fixing this damage can feel intimidating if you’ve never done it. Most of us don’t mess around with electronics, much less tiny rubber gaskets. But with a steady hand, a little patience, and the right approach, you can give that rubber weatherstrip a second life—without shelling out for a whole new Honda, Toyota, or Ford remote. Let’s walk through the repair process, so you can put your fob back in business and keep your ride secure, rain or shine.
Why the Rubber Weatherstrip Matters on Your Remote Key Fob
Here’s the thing: the rubber weatherstrip is more important than it looks. On remote key fobs—especially popular brands like Honda, Toyota, and Ford—it’s easy to overlook that thin seal around the buttons. But, just like the seals around your car doors or windows, this rubber plays a big role. It guards your remote’s electronics against water, dirt, and everyday grime.
Even a small tear in the weatherstrip can let in moisture. Over time, that can mean sticky buttons, corrosion, or total circuit failure. You might press “unlock,” and—nothing. Worse, if you try to code, pair, or reset your remote after water damage, you could be looking at a frustrating afternoon with no result.
So, it’s worth treating any damage right away. A strong, intact rubber seal keeps your car’s security and comfort features running smoothly. It’s much cheaper (and less stressful) than having to buy and sync a replacement remote down the line.
Spotting the Different Types of Rubber Weatherstrip Damage
You might be wondering: what does weatherstrip damage actually look like? Not all problems show up the same way. Some tears are obvious—a split, a hole, or a flap of rubber poking up. But sometimes the damage is sneakier. You might see the strip starting to peel away from the fob’s plastic body, or notice a spongy, loose feel around the buttons.
There are a few common types of damage:
- Small tears: These are tiny splits, usually around high-use buttons like “lock” or “unlock.”
- Peeling edges: The weatherstrip starts to detach from the case, especially near corners or spots you press the most.
- Complete separation: The whole strip comes loose, leaving the button contacts exposed.
With brands like Honda or Toyota, the rubber often fits snugly, but after a few years of pocket wear, things start to come loose. If you notice any of these signs—even if your remote still works—don’t wait. Early repairs can keep the damage from getting worse (and save you from a bigger headache later).
What You’ll Need for Repairing the Torn Rubber Weatherstrip
Before you start, gather a few simple tools and supplies. You don’t need anything fancy; in fact, most of these are probably sitting in a kitchen drawer or toolbox already. Here’s a practical list:
- Super glue or silicone adhesive: Make sure it bonds rubber and plastic.
- Rubbing alcohol and cotton swabs: For cleaning the area—think of it like prepping a wound before putting on a bandage.
- A toothpick or tweezers: These help you press the weatherstrip into place without making a mess.
- Replacement weatherstrip (optional): For complete separation, you might order a compatible rubber pad online—just match the make and model (Honda, Toyota, Ford, etc.).
If your remote’s battery is low or contacts are dirty, it’s a good time to clean or replace those too. A fresh battery and a clean circuit board mean fewer code or sync issues down the road.
Always double-check your remote’s model before ordering any replacement parts. Universal kits work in a pinch, but original equipment is best for a snug fit.
Step-by-Step Instructions to Fix a Torn Weatherstrip
Let me explain how to actually repair the torn rubber on your key fob. Take your time and work in a well-lit area.
- Open the remote: Use a small screwdriver or a coin to gently pry apart the key fob. Go slow—don’t force it, or you might crack the plastic.
- Remove the circuit board: Carefully lift out the battery and circuit board. Set them aside somewhere safe.
- Clean everything: Dip a cotton swab in rubbing alcohol and gently clean the area around the tear. Let it dry fully before moving on.
- Apply adhesive: Squeeze a tiny drop of super glue or silicone along the tear or peeling edge. Use a toothpick to spread it thinly—less is more here.
- Press and hold: Use tweezers to gently press the rubber back into position. Hold it for a minute or two until it feels secure.
- Let it cure: Don’t rush. Leave the case open and let the adhesive dry for at least 30 minutes (even longer if recommended on the glue’s label).
- Reassemble the remote: Once everything is dry, put the circuit board and battery back in place. Snap the case closed, making sure the weatherstrip is seated all the way around.
And that’s it! If the repair is solid and the remote works, you’re all set. If not, don’t worry—there are alternatives.
When to Replace vs. Repair the Rubber Weatherstrip
Here’s where a little judgment comes in. Sometimes a repair is enough, but sometimes you’ve got to bite the bullet and replace the weatherstrip—or even the whole remote. If the rubber is missing chunks, crumbling, or basically falling apart, there’s only so much glue can do. In those cases, look for a replacement part online.
Many sites sell rubber key fob pads for specific brands—Honda, Toyota, Ford, and plenty more. Compare the listings and check if you need a full set of buttons or just a single strip. Swapping in a new part is usually just a matter of opening the case and swapping out the old for the new.
If your entire remote is sketchy—buttons barely work, it won’t code or pair with your car, or the circuit board looks corroded—it’s probably time to buy a new remote and sync it to your vehicle. That can be a little more expensive, but it’s better than getting locked out after the next rain.
Common Mistakes to Avoid During Rubber Weatherstrip Repair
You might be tempted to rush, but weatherstrip repair is a bit like baking—patience pays off. The most common mistake is using too much glue. If adhesive seeps into the button contacts, your remote could get stuck or stop working.
Another pitfall: skipping the cleaning step. If you glue the rubber down with dirt or old adhesive in the way, it won’t stick well. In a few weeks, you might be right back where you started. And don’t forget to let the glue dry completely before snapping the case back together—moisture plus electronics is a recipe for disaster.
Finally, double-check the orientation as you put everything back together. Mixing up the circuit board or battery can mean extra troubleshooting or, in the worst case, a fried remote.
Comparing DIY Repair to Professional Repair Services
There’s no shame in asking for help. Some folks just aren’t comfortable taking apart electronics, especially something as important as a car remote. If this repair feels overwhelming, many locksmiths or car dealers offer remote repair. You’ll pay more—sometimes $40 to $100—but you’ll get guaranteed results.
Going the DIY route is almost always cheaper, especially for simple weatherstrip repairs. It’s also handy to know how your remote works, so you’re ready for code, sync, or battery issues in the future. But be honest—if you’re all thumbs with tiny screws, a pro might be the less stressful option.
How to Prevent Future Rubber Weatherstrip Damage
Once your remote is fixed, you probably want to avoid doing this all over again. The best way is to treat your key fob like a pocket-sized gadget (because, well, it is). Avoid dropping it on hard surfaces or tossing it in messy bags. If you use your remote a lot—think unlocking, coding, resetting, or pairing—try to keep your hands clean and dry, since sweat and oils can speed up the rubber’s wear and tear.
You could even buy a silicone sleeve or case for extra protection. They’re cheap, and honestly, they do a good job soaking up the bumps and bruises your key fob faces every day. If you spot any small damage in the future, patch it up right away—a stitch in time saves nine.
Final Thoughts
Repairing a torn rubber weatherstrip on your car’s remote key fob can seem tricky, but it’s usually a straightforward job if you follow the right steps. A little attention now can keep your remote working, your car secure, and your wallet happy. Every repair is a chance to learn a bit more about the gadgets you use every day. So take it slow, trust your hands, and don’t be afraid to get a little glue on your fingers—your freshly fixed remote will be worth it.