Think of your handleset like a sandwich. If you press the bread too hard, the middle squishes out and the whole thing warps. With hardware, it’s often the same. Over-cranking those mounting screws can strip threads, bend plates, or even crack the door itself. But don’t panic—most problems can be sorted with a careful, step-by-step approach. You’ll just need a bit of patience, some basic tools, and maybe a dash of troubleshooting wisdom.
How Over-Tightening Damages a Handleset
Let’s be real: when you’re installing something meant to keep your home safe, it’s tempting to tighten it “just a little more, for good measure.” But here’s what happens when you go overboard. Most modern handlesets have two or more long screws running through the door to hold everything together. These screws need to be snug, but if you use all your muscle, you’re likely to:
Strip the mounting holes or screw threads. Once the wood or metal inside the door is damaged, the screws won’t grip tightly anymore, no matter how much you turn.
Bend the escutcheon plates (the flat, decorative parts). Too much pressure can make them look warped or cause them to pinch mechanisms inside, like the latch or deadbolt.
Jam or misalign the lock mechanism. If parts move out of place, your key might not turn smoothly, or the latch won’t retract.
Honestly, it’s a bit like overtightening lug nuts on a car—at some point, you’re making things worse instead of better. If you’ve noticed a handleset that’s stiff, crooked, or won’t operate properly after a DIY job, over-tightening is probably to blame.
Signs Your Handleset Was Over-Tightened
Before you start any repairs, it’s smart to confirm that over-tightening is actually the cause of your trouble. Some symptoms are obvious, but others might sneak up on you. Here’s what to watch for:
- Handle feels loose even when the screws are tight. This usually means the screw holes or threads are stripped.
- Lock is hard to turn or the key sticks. Pressure on internal parts can misalign the lock cylinder or latch.
- Escutcheon plate looks bowed or uneven. If you see a gap between the plate and the door, or the plate is pinched, it’s a big red flag.
- Door latch or deadbolt won’t extend or retract smoothly. Over-tightening can bind moving parts, making them tough to operate.
You might be wondering, “Can this really be fixed without buying a new handleset?” The good news: in most cases, yes. Unless the metal’s snapped or the door is split, you can usually recover with a careful repair.
Tools and Materials for Repairing a Damaged Handleset
Repairing an over-tightened handleset doesn’t require a hardware store run (most of the time). You’ll want to gather a few essentials before you start:
- Phillips and flat-head screwdrivers: Handlesets can use either kind, depending on the brand.
- Wood glue or wood filler: For stripped screw holes.
- Toothpicks or wooden dowels: Used with wood glue to rebuild damaged holes.
- New mounting screws (if needed): Sometimes the old ones are too worn or bent to reuse.
- Small hammer or mallet: For gently tapping parts back into shape.
- Fine file or sandpaper: To smooth out bent edges or compressed wood.
If you’re working on a Schlage, Kwikset, or Yale handleset, almost everything you need is in a basic home toolkit.
Just don’t skip the careful prep—even a great repair job can go sideways if you rush the setup.
Step-by-Step: How to Fix a Handleset Damaged by Over-Tightening
Let me explain exactly what to do. Take it slow, and don’t lose any tiny screws. Here’s a common process:
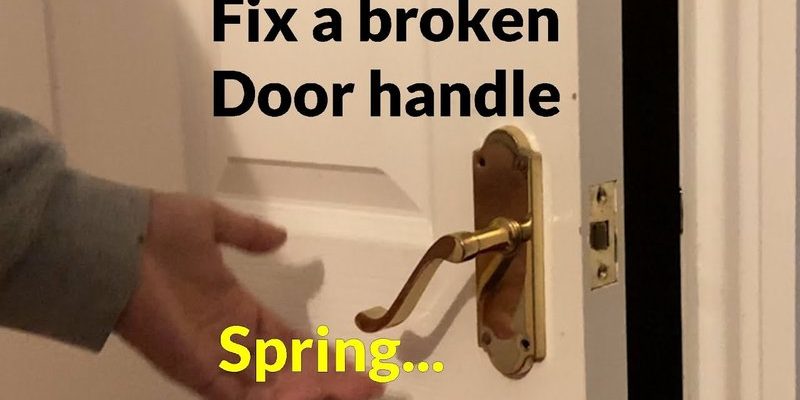
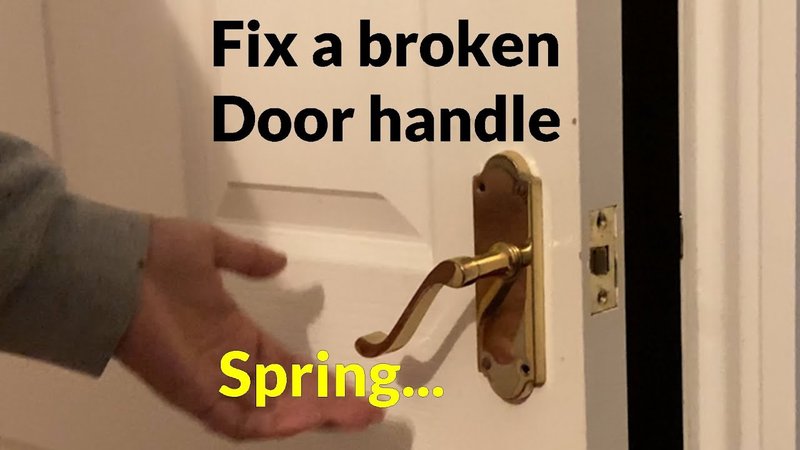
- Remove the handleset: Gently back out all the mounting screws and take off both sides of the hardware. Set them on a towel so nothing gets scratched.
- Inspect for damage: Look at each part—especially the screw holes in the door and the handleset’s plates. If you see cracks, compressed wood, or bent plates, that’s your target area.
- Repair stripped holes: Dab some wood glue in the hole, stuff in toothpicks or a small dowel, and let it dry. Trim flush, then re-drill a small pilot hole. This gives the screw something to bite into again.
- Straighten bent plates: Place the warped piece on a flat surface, use a soft cloth to protect it, and gently flatten with a mallet. Don’t hammer too hard.
- Check the mechanism: If the latch or deadbolt is stiff, look for parts rubbing or binding. A drop of lubricant can help, but make sure nothing’s bent out of alignment.
- Reinstall carefully: Line up everything, add the screws, and tighten them just until snug—never force it. Test the handle’s movement as you go. If it feels tight, back off a bit.
You might be amazed at how often a “wobbly” handle is just a stripped screw hole, or a jammy lock is from a pinched plate. Reset, pair, or code adjustments aren’t usually needed unless it’s a smart lock or remote model.
Tips for Preventing Handleset Damage in the Future
Once you’ve fixed the handleset, you probably don’t want to go through this again. Here’s how to avoid trouble next time—whether you’re using a universal handleset or one from Schlage, Yale, or another brand.
- Tighten screws slowly and evenly. Alternate between screws, tightening each a bit at a time so pressure is balanced.
- Stop when the plate is snug, not squished. If you see the escutcheon start to bend, you’re already too tight.
- Check for alignment as you go. Make sure the latch, handle, and lock work smoothly before final tightening.
- Don’t use power tools for final tightening. Honestly, hand tight is all you need. Power drivers can easily strip threads or over-compress parts.
If you ever feel resistance while installing or turning the key, back up and check your work—better safe than sorry. And if you swap out a remote-style or smart handleset, be sure to code and sync according to the instructions, since electronics can get finicky with alignment too.
When to Replace Instead of Repairing a Handleset
Not every handleset can be saved, especially if the damage is severe. Here’s how to know if replacement is your best bet:
- Cracked or split door panels: If the door itself is damaged, fixing the hardware won’t help much.
- Permanently bent or broken lock cylinders: If the core mechanism is broken, it usually makes sense to get a new handleset.
- Repeatedly stripped screw holes: If repairs don’t hold after a couple tries, it’s time for something stronger—like a larger screw or even a metal insert.
For older or non-standard handlesets, consider a universal replacement kit. Brands like Schlage and Kwikset offer sets that fit most modern doors, and most come with clear step-by-step instructions for code, pairing, and reset if you’re dealing with a remote or smart model.
Comparing Handleset Repair to Professional Replacement
Fixing a handleset on your own can save time and money—if the job’s straightforward. But let’s be honest: for big repairs, sometimes it’s worth calling a pro. Here’s a quick comparison:
| DIY Repair | Professional Replacement |
|
|
If you’re ever in doubt (or if the repair feels above your skill level), a locksmith can give advice—sometimes even over the phone. For big brands and essential doors, a pro job can offer better peace of mind.
Final Thoughts on Fixing a Handleset Damaged by Over-Tightening
Repairing a handleset that’s been damaged by over-tightening isn’t rocket science, but it does call for a little patience and the right approach. Don’t be discouraged if you’ve accidentally stripped a screw hole or bent a plate—it happens to the best of us. Start by taking things apart gently, check each piece, and build things back up with care. And remember: in hardware, “snug” beats “super tight” every time.
Whether you’re dealing with a classic Schlage, a Yale smart lock, or any brand in between, most repairs are totally doable for a beginner with basic tools. Just take your time, check your alignment, and don’t be afraid to ask for help if you get stuck. Keeping your handleset in top shape means less troubleshooting down the road—and one less thing to worry about every time you turn your key.