Imagine you’ve just installed a new door, and it looks great. But as you start to use it, you notice it doesn’t quite align with the frame. This misalignment can cause all sorts of headaches—like air drafts, pesky noises, or worse, a door that won’t close altogether. If you’re feeling a bit overwhelmed, don’t worry. I’m here to guide you through the hinge adjustment process step by step.
Understanding How Door Hinges Work
Door hinges work like the joints in your body. They allow the door to swing open and closed smoothly. There are generally three types of hinges you might encounter: butt hinges, continuous hinges, and pivot hinges. Each of these serves the same basic purpose, but they can differ in style and function.
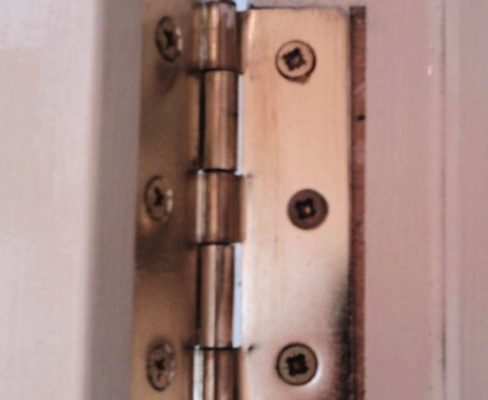
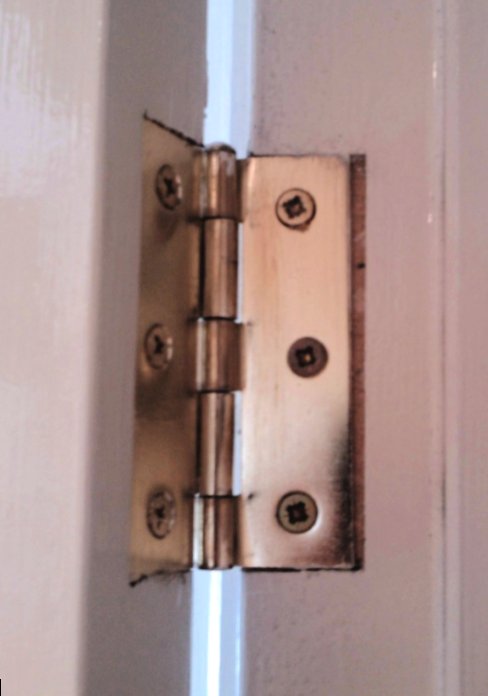
Most interior doors use butt hinges, which consist of two plates attached to the door and the door frame. The plates are connected by a pin that allows the door to pivot. Understanding this basic mechanism will help you appreciate why even minor adjustments can make a significant difference in how your door operates.
You might be wondering why your hinges have suddenly decided to misbehave. Various factors can cause this, including settling of the house over time, the weight of the door, or even the way it was hung initially. Remember, a small adjustment can lead to a world of difference.
Identifying the Problem
Before diving into adjustments, take a moment to identify the issue with your door. Watch how it operates and listen for any strange noises. Are there spots where it drags, or does it seem to be too tight against the frame? You should also check if the door hangs unevenly.
Here’s a simple trick: close the door halfway and look at the gap between the door and the frame. If one side is wider than the other, you probably need to adjust the hinges on that side. Also, check the screws on the hinges for tightness. Sometimes, it’s as easy as tightening a few screws to fix alignment issues.
If your door is sticking, it might be due to humidity causing the wood to swell or even dirt build-up around the hinges. Proper identification of the problem will guide you in the right direction as you prepare to make adjustments.
Gathering Your Tools
You don’t need a full toolbox to tackle a hinge adjustment. Here’s a quick list of tools you’ll likely need:
- Phillips or flathead screwdriver (depending on your screws)
- Level (to check the door alignment)
- Pencil (for marking adjustments)
- Wood shims (if needed)
- Drill (optional, for stubborn screws)
If you find that the screws are stripped or rusted, you might need a new set of screws. Having everything ready before you start can save you time and frustration later on.
Honestly, if you’ve ever worked on a DIY project before, you know the importance of being prepared. It’s like gathering your ingredients before you start cooking—you don’t want to run out of flour mid-baking!
Adjusting the Hinges
Now it’s time to get to the nitty-gritty of adjusting those hinges. Here’s how to do it step by step:
1. Loosen the screws: Using your screwdriver, carefully loosen the screws on the hinge that’s causing the problem. Don’t remove them completely; just get them loose enough to move the hinge a bit.
2. Adjust the hinge: If the door is dragging at the bottom, lift that side of the door slightly to create more space. If it’s too far from the frame at the top, press that side down.
3. Tighten the screws: Once you’ve adjusted the hinge to your liking, retighten the screws securely. Be careful not to overtighten them, as that could strip the screws or damage the hinge.
4. Check the door: Test the door multiple times to ensure it swings freely without sticking. Make additional adjustments as necessary.
Sometimes, all your door needs is a little TLC—like a good relationship, communication is key here!
Using Shims for Larger Adjustments
If your door still isn’t aligned after adjusting the hinges, you might need to use wood shims. Shims are small wedges that can help raise or lower your door. Here’s how to incorporate them into your hinge adjustment process:
1. Identify the gap: Determine where the door needs support. If one side sits lower than the other, you’ll want to add a shim under that hinge.
2. Insert the shim: Gently remove the screws from the hinge where you’ll place the shim. Slide the shim into the gap between the hinge and the door frame.
3. Reattach the hinge: Attach the hinge back to the frame, securing it with screws. The shim will raise the door at that point, helping it to align with the frame better.
4. Trim excess shim if necessary: If the shim sticks out, you can trim it with a utility knife for a cleaner finish.
Shimming can feel a bit like playing with building blocks, but once you get it right, you’ll be amazed at how smoothly your door swings!
Routine Maintenance for Doors
Once you have everything functioning beautifully, it’s essential to keep it that way with a little routine maintenance. Here are a few steps to ensure your door stays aligned:
– Regularly check screws: Make it a habit to check your door hinges every few months. Tightening screws regularly can prevent future issues.
– Lubricate the hinges: Applying a little lubricant to your hinges can help them operate smoothly. Grease or silicone spray works great for this.
– Inspect for damage: Keep an eye out for wear and tear on both your door and hinges. Catching small issues early can save you from bigger headaches later.
Let me explain—neglecting your door could lead to problems that require more drastic measures down the road. Think of it like changing the oil in your car; a little effort now can prevent a big repair bill later.
When to Call in a Professional
Sometimes you’ll encounter problems that are beyond a simple hinge adjustment. If your door frame is warped, or if multiple doors in your home are experiencing similar issues, it might be time to call a professional. They can assess the bigger picture, like structural issues with your home, that may require expert attention.
Here’s how to know when to pick up the phone:
– If the problem persists after multiple adjustments.
– If you notice significant warping or damage to the door frame.
– If you feel uncomfortable attempting repairs yourself.
Calling in a professional isn’t admitting defeat; it’s recognizing when the task is outside your skill level. Plus, it can save you time and potential headaches.
Final Thoughts
Repairing a door that was hung incorrectly can feel like a daunting task, but with a little guidance, you can often solve the issue yourself. By understanding how hinges work and taking the time to make careful adjustments, you can restore your door to proper functionality.
So, the next time you notice that pesky door misbehaving, remember you have the tools and knowledge to fix it. Happy adjusting!