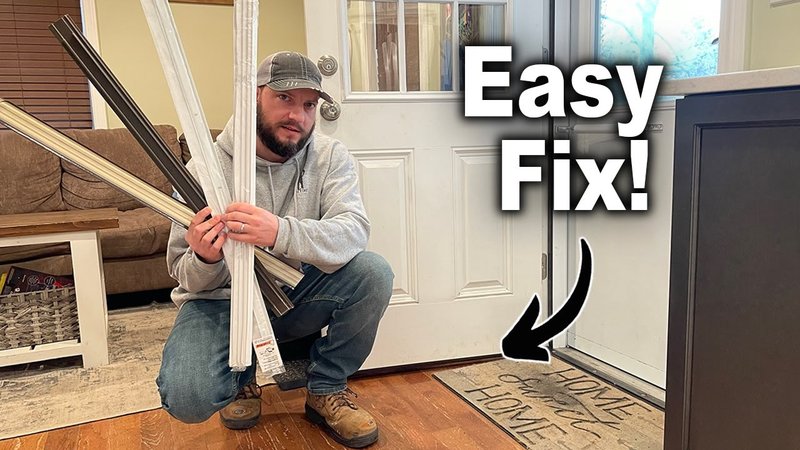
Honestly, a damaged door sweep doesn’t just look rough—it messes with your comfort and your energy bill. Maybe you’re tired of that whistling sound each time the wind picks up, or you’ve caught yourself sweeping up leaves near the entryway one time too many. Whatever your situation, understanding how to repair a door sweep that’s been beat up by foot traffic is all about knowing why it matters, which fix works best, and how to do it without making things worse. Let’s break it all down together.
Why Door Sweeps Take So Much Damage From Foot Traffic
You might be wondering, “Why does my door sweep wear out so quickly?” The answer is pretty simple: location, location, location. Door sweeps sit right at shoe level, so every time someone walks in or out, they’re a target for scuffs, kicks, and even the odd shopping bag or stroller. It’s easy to forget about the sweep until it’s too late—out of sight, out of mind, until you notice water or cold air sneaking in.
The type of sweep you have matters too. There are a few main kinds:
- Rubber or vinyl sweeps are quiet and flexible, but can tear from repeated impact.
- Brush-type sweeps handle dust but get matted down easily with steady friction.
- Metal-backed sweeps have a rigid structure, but their edge can still split or bend if kicked hard.
Honestly, even the top brands like M-D Building Products or Frost King can’t design around the basic fact: shoes, boots, and wheels beat the heck out of anything that lives at floor level. Over time, the material gives way, making that sweep less effective at blocking drafts, bugs, and noise.
Signs Your Door Sweep Needs Repair (Or Might Need Replacing)
So how do you know when it’s time to stop ignoring your door sweep and actually do something about it? Here’s what almost always tips people off:
- Visible tears, cracks, or missing pieces along the bottom edge of the sweep.
- Larger gaps between your door and the threshold—enough for light, air, or even little critters to slip through.
- Drafts you can feel, especially on windy days. If you put your hand near the base and feel a stream of air, that’s a giveaway.
- Extra dirt, leaves, or moisture building up inside, right by the entryway.
Here’s the thing: some sweeps can handle a little abuse and be patched up, while others need a total replacement. If the sweep still seems basically intact, a few quick repairs might add months to its life. But if it’s dangling, shredded, or won’t stay attached, don’t waste your time—grab a new one and start fresh.
Tools and Supplies You’ll Need To Repair a Damaged Door Sweep
Before you tackle this repair, it helps to know what you’re dealing with. Different types of damage call for different tools, but here’s a basic list to cover most situations:
- Phillips or flathead screwdriver (for removing and reattaching screws or tracks)
- Utility knife or sharp scissors (for trimming away loose or damaged rubber or vinyl)
- Adhesive or weatherproof sealant (for minor patch jobs or reattaching sweeps that have pulled loose)
- Replacement sweep (if patching won’t cut it—make sure it matches your door width and type)
- Measuring tape and marker (for sizing up repairs or cutting a new sweep)
- Drill and small drill bits (sometimes needed for new holes or if old screws have stripped out)
Let me explain: you don’t need to be a pro or own a ton of specialized tools for this job. Most of this stuff is already in your basic toolkit or can be picked up for a few bucks at any hardware store.
Step-by-Step: How To Repair a Door Sweep Damaged by Foot Traffic
Once you’ve got your tools and supplies, you’re ready to roll up your sleeves. Here’s a slow walk through the process.
1. Remove the Door Sweep (If Needed)
- Open the door wide so you’ve got room to work.
- If your sweep is screwed or nailed on, use a screwdriver to take it off. Set the screws aside somewhere safe.
- If your sweep slides into a track, gently wiggle it free. Sometimes a bit of force is needed if the sweep’s been bent or worn down by foot traffic.
2. Inspect the Damage
- Look for torn, frayed, or flattened sections—especially in the middle, where feet land most often.
- Check if the sweep is still tightly attached to the backing or track. If it’s pulling loose, that’ll need fixing too.
- Decide: can you patch this up, or is it time to replace the sweep entirely?
3. Patch or Trim the Sweep
- If only a small section is damaged, use your utility knife to carefully trim off the ragged part. Try to keep a straight edge so the sweep still forms a seal.
- For minor tears, apply a thin bead of weatherproof adhesive, press the torn edges together, and let it dry fully. A clamp or masking tape can help hold things in place while it cures.
- If the sweep is badly mangled or won’t stay put, skip to replacing it instead.
4. Reinstall or Replace the Sweep
- Put the sweep (or your new replacement) back on. Double-check that the fit is snug but not overly tight—too much pressure can actually wear it down faster, especially if people tend to drag their feet.
- Use your screws or track to secure everything. If existing screw holes are stripped, move them slightly or use larger screws for a firmer grip.
- Close the door and test by slipping a sheet of paper under it. You should feel some resistance, but not so much that the door drags on the floor or the sweep bunches up.
Common Mistakes When Repairing Door Sweeps
Here’s where a lot of DIY efforts go sideways, even with the best intentions. Repairing a door sweep is simple in theory, but there are a few traps beginners (or even seasoned fixers) can fall into.
- Using too much adhesive: More isn’t better. Thick glue blobs can keep the sweep from sealing flat, or break loose quickly from repeated pressure.
- Trimming off too much material: You want the sweep to block the gap but not drag on the floor. Cut in small increments and test after each trim to avoid an annoying gap.
- Ignoring the backing or track: If the sweep keeps pulling loose, check the metal or plastic track. Sometimes replacing just the rubber is pointless if the mounting is bent or corroded.
- Skipping the test: Always check for drafts, light, and smooth door movement before calling the job done. It’s easier to tweak things now than after you’ve put away the tools.
Honestly, there’s no shame in having to redo part of the job. Most issues are fixable with patience and a bit of trial and error.
When To Replace Instead of Repairing a Door Sweep
Let’s be real—some door sweeps just aren’t worth saving. If yours looks like it’s been run over by a lawnmower, or the mounting bracket is warped beyond recognition, replacement is your best bet.
A replacement sweep isn’t expensive, and modern options—like the self-adhesive sweeps from Frost King—are much easier to install than the old screw-on types. Just make sure you get the right width and sweep type for your door: exterior doors often need heavier duty sweeps with better weather stripping.
- If the sweep keeps falling off, no matter how much you tighten the screws or glue it, that’s a hint the mounting is shot.
- If the sweep has torn all the way through or large chunks are missing, patching isn’t going to last long—just replace it.
- If you’ve repaired the sweep more than once and it keeps breaking, it’s time to stop fighting and get a new one.
Replacing the sweep also gives you a chance to upgrade. For doors that see a ton of foot traffic, a reinforced rubber or heavy-duty brush sweep will generally last much longer.
Tips To Prevent Door Sweep Damage From Foot Traffic
No one wants to repair a door sweep every few months. A little prevention can stretch its life (and save you the annoyance of constant fixes). Here’s what I’ve learned:
- Install a door mat both inside and outside the entryway to catch grit and moisture before it hits the sweep.
- Remind people (kids especially!) not to kick the door open or drag heavy bags over the threshold.
- Use a reinforced or metal-backed sweep for high-traffic doors—it’s no guarantee, but they take a lot more abuse.
- Check the sweep every season—a quick look can alert you to fraying or damage before it gets unmanageable.
Honestly, you can’t bubble-wrap your door sweep, but a few simple habits can save you a lot of hassle.
Comparing Repairing With Replacing: Which Is Smarter?
You might feel torn between squeezing a little more life out of your current sweep or just replacing it. If you’re handy and the damage is minor, a quick repair is fast, cheap, and can work just fine. A dab of adhesive or a careful trim will buy you several more months under normal use.
But here’s the reality: if the sweep has taken a serious beating from foot traffic, repairs are often a temporary fix. Replacing the damaged sweep with a new one—especially a more rugged model—will save you time and frustration in the long run. Plus, you’ll get the full benefits of a tight seal without constant troubleshooting or the need to sync up additional patches.
Think of it like shoes: you can patch them a few times, but eventually, it’s just time for a new pair.
Final Thoughts: Keeping Drafts Out and Door Sweeps in Good Shape
So, repairing a door sweep that’s been damaged by foot traffic isn’t rocket science, but it does take a little care and attention. Whether you go for a patch job or a full replacement, your main goal is to keep the outside out and the inside, well, cozy and protected. Choosing the right materials, staying on top of regular checks, and being gentle when you come and go all help stretch the life of your door sweep.
If you ever feel stuck, remember: it’s a simple fix that pays off every single day—less cold air, fewer bugs, and less dirt sneaking in. A happy door sweep might not get much attention, but when it works, everything just feels a little more comfortable at home.
