Think of the door latch as the gatekeeper of your home. It’s there to provide security and ease of access. When the plunger—which is the part that pops in and out to engage with the strike plate—is bent or damaged, that gatekeeper isn’t doing its job. This article will guide you through the steps to repair a door latch with a plunger that’s not quite right, so you can regain peace of mind and easy access.
Understanding the Door Latch Mechanism
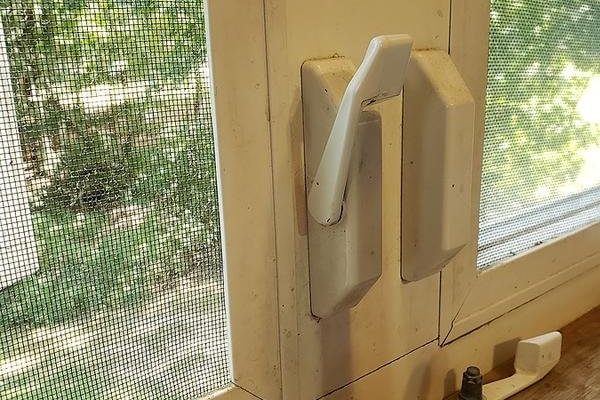
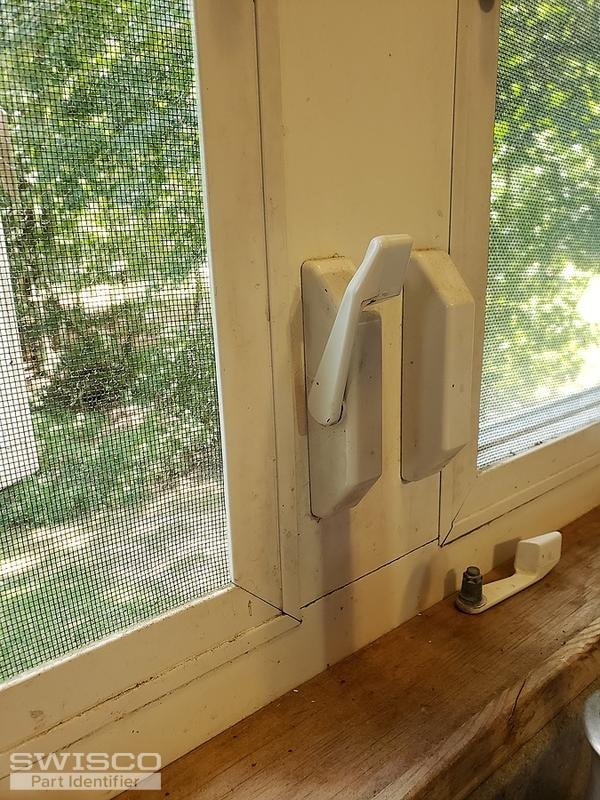
Before we dive into repairing a damaged plunger, let’s take a moment to understand how the door latch works. At its core, the latch is a simple mechanism that allows your door to open and close smoothly. The plunger is the part that extends into the strike plate when the door is closed, keeping it securely shut.
When you turn the door handle, the latch retracts, allowing the door to swing open. If the plunger is bent, it won’t fully retract, making it difficult to open the door. Think of it like a stubborn friend who refuses to let you in—no amount of coaxing will do the trick unless something changes.
In most cases, door latches come in two main types: spring-loaded and deadbolt latches. For our discussion, we’ll focus on spring-loaded latches, but understanding how both operate can give you a clearer picture when troubleshooting.
Identifying the Problem
Now that we have a grasp of how the door latch functions, let’s move on to identifying the problem. First things first: does the door latch feel stiff or stuck? Is the plunger visibly bent or misaligned? These are telltale signs of a problem that needs fixing.
To assess the situation, you’ll want to closely inspect the latch and plunger. Here’s how you can do it:
- Check the Plunger: Look for any visible bends or damage. If it’s not sitting straight, it might be causing issues.
- Test the Latch: Try operating the latch a few times. If it sticks or doesn’t retract when you turn the handle, that’s a red flag.
- Examine the Strike Plate: Make sure the hole in the strike plate is aligned with the plunger. If it’s out of line, the plunger might hit the plate instead of going inside.
Taking these steps will help you pinpoint exactly what’s wrong. Here’s the thing: diagnosing the issue accurately is key to making a successful repair.
Gathering Your Tools
Once you’ve confirmed that the plunger is indeed bent or damaged, it’s time to gather your tools. You won’t need a lot, but having everything on hand will make the process smoother. Here’s a quick list of what you’ll need:
- Screwdriver: A flathead or Phillips, depending on your latch screws.
- Pliers: Ideal for bending the plunger back into shape.
- File or Sandpaper: For smoothing out any rough edges.
- Lubricant: A silicone-based spray helps keep everything moving smoothly.
This toolkit is more like a handful of essentials; you don’t need fancy equipment to fix your latch. With these items in hand, you’re ready to tackle the repair head-on.
Repairing the Bent Plunger
Now for the fun part: the actual repair. If you’ve got a bent plunger, here’s how you can fix it:
1. Remove the Latch: Using your screwdriver, carefully unscrew the latch from the door. Pay attention to how it’s aligned, as you’ll want to put it back the same way.
2. Inspect and Bend: Once it’s out, take a good look at the plunger. If it’s slightly bent, use your pliers to gently bend it back into position. Just be careful—too much force can break it entirely.
3. Smooth the Surface: After straightening, you might notice some rough edges. Use your file or sandpaper to smooth these out. This will keep the plunger from getting stuck in the future.
4. Reattach and Lubricate: Put the latch back into the door. Once it’s secured, apply a bit of lubricant to the plunger and the latch mechanism. This will help it operate more smoothly, preventing future issues.
Honestly, this step-by-step guide makes the repair sound a lot more complicated than it actually is. With patience, you can restore your latch without needing to call in a professional.
When to Replace the Latch
Sometimes, despite our best efforts, a latch simply can’t be saved. If your plunger is severely damaged or bending it back doesn’t seem to help, it might be time to consider replacing the entire latch.
Here are a few signs it’s time for a new latch:
- Severe Damage: If the plunger is cracked or broken, it’s more reliable to invest in a new latch.
- Rust or Corrosion: If you see rust, that could compromise the latch’s integrity.
- Frequent Issues: If you keep having to fix the same latch, it might just be time for a change.
Replacing a latch is typically not a complicated task, and most come with installation instructions. This can be a simple fix that saves you a lot of trouble down the line.
Preventative Measures for Future Latch Issues
After going through the repair process, you might be wondering how to prevent future problems. Here are some easy tips to keep your door latch in great shape:
- Regular Maintenance: Check the latch periodically for wear and tear. A quick visual inspection can catch problems early.
- Keep it Clean: Dust and debris can build up, so clean the latch and strike plate regularly.
- Use Lubricant: A quick spray of silicone lubricant every few months will keep the mechanism working smoothly.
These simple steps can extend the life of your door latch. Think of it like giving your latch a little spa day—regular pampering keeps it functioning well.
Repairing a door latch with a bent or damaged plunger might seem daunting at first, but it’s definitely doable with a bit of patience and the right tools. By understanding how the latch works, identifying the problem, and following the repair steps, you can get your door back to functioning properly in no time.
Remember to take your time on repairs and always prioritize regular maintenance. This way, you can enjoy a smoothly operating door latch for years to come. You’ve got this!