Imagine your faceplate as the sturdy frame in a picture. If it’s loose or damaged, the picture might not hang straight or could even fall. Similarly, a well-secured latch not only keeps your door functional but also enhances your home’s security. Today, we’ll explore how to diagnose and repair a loose or damaged door latch faceplate, with tips that’ll make the process feel like a breeze. Let’s get started!
Understanding the Faceplate and Its Function
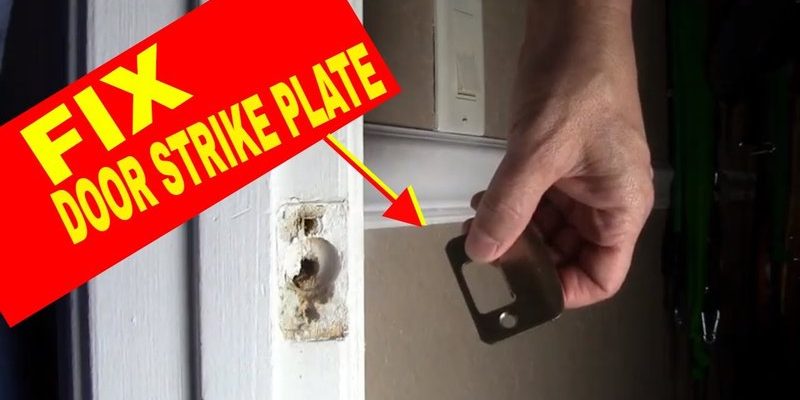
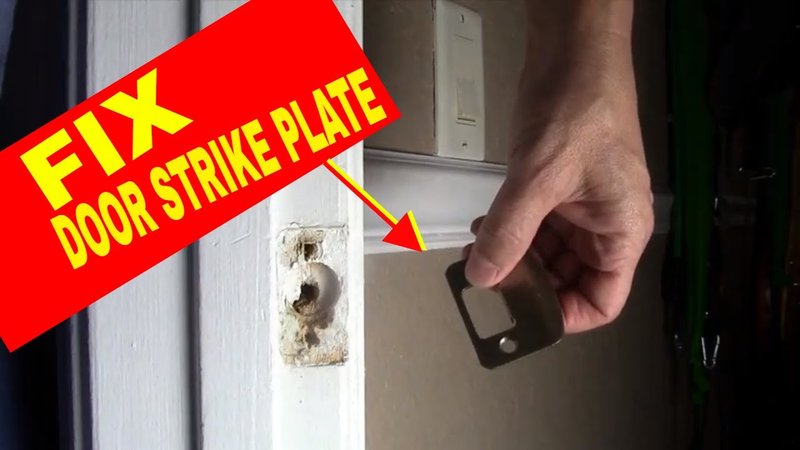
Before we dive into repairs, it’s essential to grasp what a door latch faceplate is and what it does. The faceplate is that metal or plastic trim that surrounds your door latch. It’s like the first line of defense, ensuring everything works smoothly when you push the door shut and turn the knob. Without a solid faceplate, your latch may not engage properly, potentially interfering with your door’s ability to lock or close fully.
When the faceplate is loose, you might notice that the latch doesn’t line up correctly with the strike plate. This can lead to frustration when trying to lock or unlock your door. If the faceplate is damaged, like bent or cracked, it not only looks unappealing but could compromise the latch’s effectiveness. Recognizing these issues early on can save you time and hassle down the line.
Gathering Your Tools
Repairing a door latch faceplate doesn’t require an arsenal of tools. In fact, you might only need a few items that you likely already have at home. Here’s a quick list to collect before diving into the repair:
- Screwdriver: A Phillips or flathead depending on your screws.
- Replacement screws: In case yours are stripped or damaged.
- Wood glue or epoxy: For more serious damage.
- Drill (optional): If you’re re-installing or replacing the faceplate completely.
Having everything on hand makes the process smoother. You might find that just tightening a screw is enough to fix the problem, but if the faceplate is damaged, you may need some extra materials. No big deal! Being prepared is half the battle.
Inspecting the Faceplate and Latch
Now that you have your tools ready, it’s time to inspect the faceplate and latch closely. Start by examining the faceplate for any visible damage or bending. If the screws holding the faceplate are loose, that’s your first indication of what needs fixing. If they’re stripped, that means they can’t hold the faceplate tightly anymore.
Once you’ve inspected the faceplate, check the latch itself. Make sure it moves freely and doesn’t stick. Sometimes, a bit of dirt or dust can cause issues, making it feel looser than it is. Just like how a car door functions better when it’s clean, so does your door latch. If you notice any obstructions, gently clean around the latch area.
Tightening Up Loose Screws
If you’ve pinpointed loose screws as the issue, you can fix this quickly. Grab your screwdriver and start by tightening each of the screws around the faceplate. Here’s a quick way to do it:
1. Identify all screws holding the faceplate.
2. Use your screwdriver to turn each screw clockwise until it feels snug. Don’t over-tighten, as this can strip the screw.
3. Test the latch by opening and closing the door to see if it feels more secure.
Sometimes, that’s all it takes! If it’s still feeling loose after tightening, there might be other underlying issues at play.
Replacing Stripped Screws
If your inspection reveals stripped screws, you’ll need replacements. Stripped screws can’t hold anything in place effectively, and this is where things can get a little tricky. But don’t worry; it’s manageable. Here’s how to proceed:
1. Remove the faceplate by unscrewing what’s left of the stripped screws.
2. Choose new screws that are the same size. If you don’t have any, you can take the old screws to a hardware store for a match.
3. Insert the new screws in the same holes. If the holes are too big now, consider using a toothpick or wooden dowel to fill it first. Then, reinsert the new screws.
This solution can work wonders, and you’ll be amazed at how a simple screw change can make your latch feel brand new.
Repairing or Replacing a Damaged Faceplate
If your faceplate is damaged, you might want to consider repairing or replacing it entirely. If it’s only minor damage, wood glue or epoxy could be your best friend. Here’s how to apply it:
1. Clean the damaged area to ensure good adhesion.
2. Apply a small amount of wood glue or epoxy to the damaged area.
3. Press the pieces together firmly and hold until it sets. Refer to product instructions for drying times.
If the damage is severe, replacing the faceplate could be necessary. Simply unscrew the old one and replace it with a new unit. Most faceplates are readily available at hardware stores, and you can find one that matches your door smoothly.
Final Checks and Testing
Now that you’ve repaired the faceplate, it’s crucial to test everything thoroughly. Start by gently closing the door and locking it. Does the latch engage smoothly? Is there any resistance? If it feels good, you’re likely in the clear.
You might also want to check if there’s any light coming through the edges of the door. If the latch is working correctly, everything should line up nicely, preventing drafts and ensuring security. If you still feel something’s off, go back through your steps and make any necessary adjustments.
Maintaining Your Door Latch
Once you’ve successfully repaired the latch faceplate, maintaining it is key for longevity. Here are some quick tips to keep your door latch in top shape:
- Regularly check screws: Every few months, ensure they remain tight.
- Clean the latch: Dust or debris can cause it to function poorly.
- Lubricate the latch: A little graphite powder or silicone spray can keep it smooth.
Consistency is key here. Just like you wouldn’t ignore a small hole in a tire, don’t neglect these little repairs. Keeping an eye on your door latch can save you from bigger issues down the line.
In closing, repairing a loose or damaged door latch faceplate is quite manageable with the right knowledge. Whether you’re simply tightening screws, replacing them, or dealing with a damaged faceplate, you can tackle these repairs confidently. With a bit of patience and the right tools, you’ll ensure your door functions smoothly while adding to your home’s overall security. So, roll up your sleeves and get to work! You’ve got this.