Think of it like cleaning out an old piece of machinery. Just as you’d clean and restore an antique car or bike to make it run smoothly again, your door knob deserves the same attention. Let’s dive into how to restore that corroded door knob to its former glory, step by step.
Understanding Door Knob Corrosion
Corrosion happens when metal reacts with moisture and air, causing it to rust or break down. This often shows up inside door knobs, especially if they’re older or made from a steel alloy not designed for longevity. You might notice some discoloration, a rough texture, or even a little flaking when you take a closer look.
Humidity can be a major culprit. Think about how often you open and close that door, possibly bringing in moisture from outside or from your hands. This constant exposure can accelerate the corrosion process. The key is to address it before it gets worse, leading to a non-functional knob or, even worse, needing a full replacement.
Tools and Materials You’ll Need
Before you start, gather a few basic supplies. Here’s what you’ll need:
- Screwdriver: To remove the knob.
- Sandpaper: Fine-grit works best for smoothing surfaces.
- Steel wool: Helps remove rust effectively.
- Metal polish or rust remover: A good product will do wonders.
- Lubricant: Silicone spray or graphite can help ensure smooth operation.
- Cloth: For wiping down surfaces.
Having these items ready will make the repair process smoother and less of a hassle. It’s like having the right ingredients before you cook a meal—the outcome is often much better that way!
Removing the Door Knob
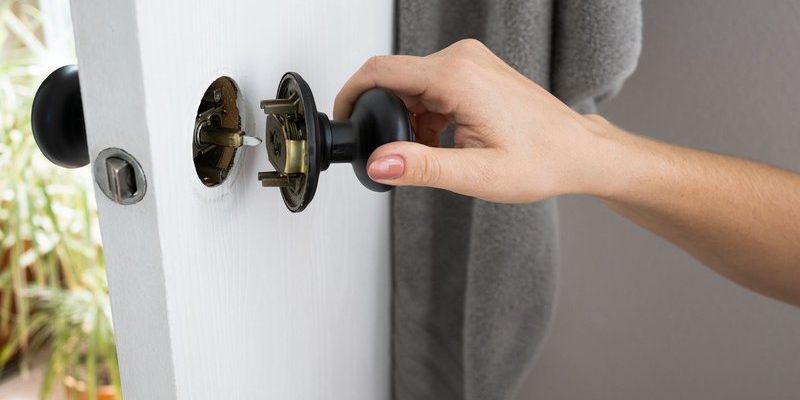
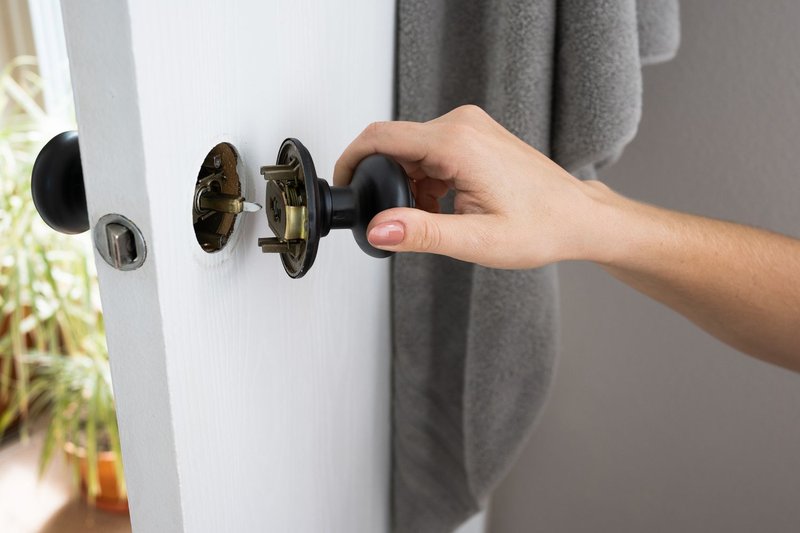
Start by removing the knob from the door. This usually means unscrewing it, which is straightforward enough. Most door knobs have visible screws, but if you don’t see any, check for a small set screw—this is often found on the side or underneath the knob.
Once the screws are out, gently pull the knob off. Don’t force it. If it’s stuck, try wiggling it back and forth a bit. Think of it like coaxing a shy puppy out of its hiding spot; a gentle touch often works best.
With the knob removed, you’ll have a clearer view of what’s going on inside. You’ll want to inspect it carefully, looking for rust or other signs of corrosion that might be affecting its performance.
Cleaning the Corroded Surfaces
Now it’s time to get your hands a bit dirty. Use the steel wool or sandpaper to scrub off any corrosion you see. Start with a gentle touch; you can always apply more pressure if needed. Remember, the goal is to clean it up without damaging the underlying metal.
If you’re dealing with stubborn rust, don’t hesitate to use your rust remover. Apply it according to the product’s instructions, and let it sit for a few minutes if required. Think of this as giving your door knob a spa day—a little soak can do wonders!
Once clean, wipe everything down with a damp cloth to remove any residue from the cleaner or dust from sanding.
Polishing the Door Knob
After cleaning, it’s time to polish the knob. This step not only improves the appearance but also protects the metal from future corrosion. Apply a small amount of metal polish to a clean cloth, and buff the knob in circular motions.
You’ll see it shine up before your eyes. Picture polishing a car; you want it to gleam and look as good as new. Plus, this buffing process helps create a protective layer that helps fend off moisture in the future.
Lubricating for Smooth Operation
After all that cleaning and polishing, you want to make sure your door knob operates smoothly. This is where the lubricant comes in. A silicone spray or graphite lubricant works best here.
Simply spray or apply a small amount to the moving parts. Turn the knob several times to ensure the lubricant gets into all the crevices. You might even notice a satisfying sound as it turns more easily now. It’s like greasing the wheels on a bike—the smoother the motion, the better!
Reassembling the Door Knob
Once everything is cleaned, polished, and lubricated, it’s time to put your door knob back together. Line it up correctly and gently push it into place. Again, don’t force it. If it doesn’t fit immediately, check for any misaligned parts.
Once everything is situated, replace the screws you removed earlier. Make sure not to overtighten them, as this could cause the knob to jam or break. Think of it like securing a lid on a jar; it should be snug but not crushing.
Preventing Future Corrosion
Now that your door knob is all spruced up, it’s wise to take some steps to prevent future issues. Regularly check the area around your door for signs of moisture. If your door is near a bathroom or outside where it can get wet, consider applying a weather seal.
Also, make it a habit to clean your door knob every few months. A quick wipe-down can make a huge difference, keeping that knob shiny and functional. You might find that keeping up this maintenance becomes second nature, just like watering a houseplant—you’ll notice when it needs attention!
In summary, repairing a corroded door knob is a simple DIY project that can save you the hassle of replacing it entirely. With just a few tools, some elbow grease, and a little bit of knowledge, you can restore your door knob to its former glory. And who knows? You might even feel a sense of pride every time you reach for that knob, knowing you fixed it yourself.